DIYbrico | Discover, Create, Inspire

How To Crochet A Cute Cat: An Easy Tutorial For Beginners
Learn how to crochet a cute cat with this easy step-by-step tutorial for beginners. Gather your materials and follow along to create your own adorable plushie!

Crocheting can be a fun and rewarding hobby, and making a cute cat plushie is a great project for beginners. In this tutorial, we’ll walk you through the steps to learn How To Crochet A Cute Cat. Whether you’re looking to make a gift or just want to add a cute decoration to your home, this project is perfect for you!
Key Takeaways
- Materials Needed: Plush yarn, 5 mm hook, safety eyes, stuffing, and more.
- Step-by-Step Instructions: Follow along with the rounds to create the cat.
- Customization: Feel free to add your own flair to the design!
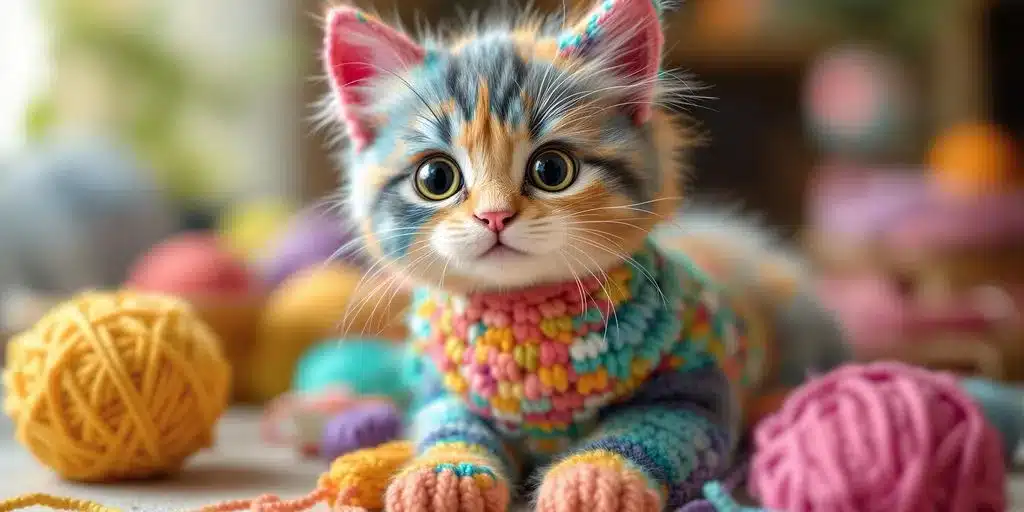
Materials Needed
Before we get started, let’s gather all the materials you’ll need:
- Plush yarn: This will be the main material for your cat.
- Hook: A 5 mm crochet hook works best.
- Dark cotton yarn: For details like the nose and mouth.
- Safety eyes: 6 mm in size for the cat’s eyes.
- Stuffing: To fill your plushie.
- Wool needle: For sewing parts together.
How To Crochet A Cute Cat – Getting Started
Now that you have your materials let’s jump into the crochet rounds. We’ll go through each round step by step.
- Round 1: Start with a magic ring and make 6 single crochets (sc) into the ring.
- Round 2: Increase in each stitch (12 sc).
- Round 3: (1 sc, inc) repeat around (18 sc).
- Round 4: (2 sc, inc) repeat around (24 sc).
- Round 5: (3 sc, inc) repeat around (30 sc).
- Round 6: (4 sc, inc) repeat around (36 sc).
- Round 7: (5 sc, inc) repeat around (42 sc).
- Round 8: (6 sc, inc) repeat around (48 sc).
Adding Safety Eyes
Once you’ve completed round 8, installing the safety eyes is time. Position them where you want the eyes, usually around the 5th or 6th round from the bottom.
Filling The Plushie
After placing the eyes, fill the cat with stuffing. Make sure to pack it in well so it holds its shape but isn’t too tight.
Creating The Tail
To make the tail, you can crochet a simple chain and then attach it to the back of the cat. You can make it as long or short as you like!
Making The Ears
For the ears, you’ll want to create two triangles:
- Round 1: Start with a magic ring and make 3 sc.
- Round 2: Increase in each stitch (6 sc).
- Round 3: (1 sc, inc) repeat (9 sc).
- Round 4: (2 sc, inc) repeat (12 sc).
Assembling The Cat
Now that you have all the parts, it’s time to assemble your cat! Sew the ears onto the top of the head, attach the tail to the back, and make sure everything is secure.
Adding Details
Finally, you can use dark cotton yarn to embroider a nose and mouth. This is where you can really personalize your cat and make it unique!
Conclusion
And there you have it! Your very own cute cat plushie. This project is fun and a great way to practice your crochet skills. Don’t forget to share your finished product on social media and tag the designer! Happy crocheting!