DIYbrico | Discover, Create, Inspire

How to crochet a granny square in 5 Easy Steps

Welcome to our guide on how to crochet a granny square, a classic design perfect for beginners. It’s a timeless favourite for making beautiful blankets, accessories, and home decor. Its simple pattern makes it ideal for learning, allowing you to practice while creating something unique.
The granny square pattern is easy to start with, needing just a few hours to complete. It’s perfect for making cosy blankets, stylish accessories, or home decor. So, let’s dive into the crochet world with this classic granny square pattern.
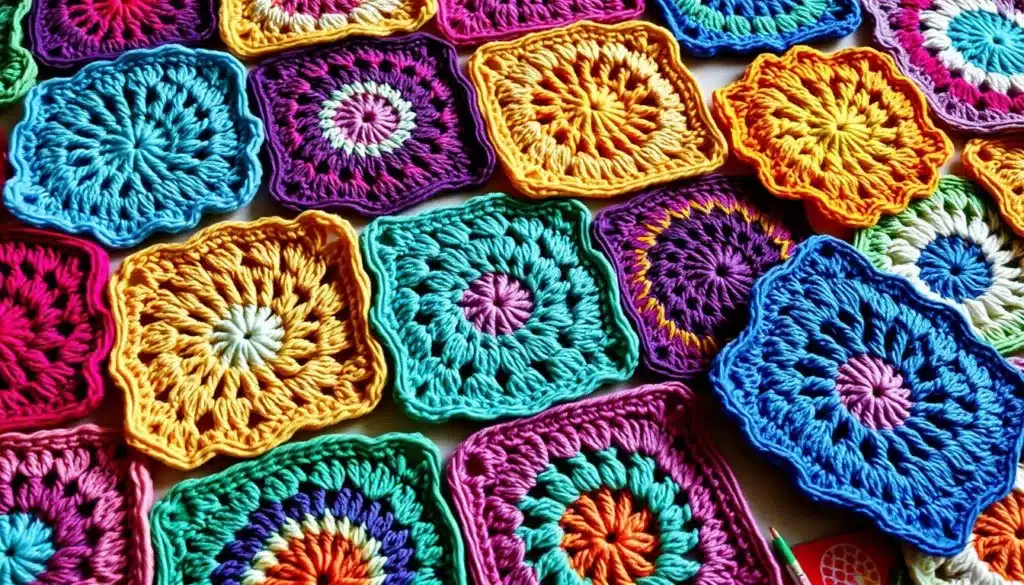
This guide will show you how to make a granny square in 5 easy steps. We’ll cover basic stitches to the final touches. We aim to give you a detailed guide to mastering the granny square and improving your crochet skills.
Introduction to the Granny Square
Before we start, let’s explore what makes the granny square special. This classic pattern has been loved for decades. It’s perfect for beginners, allowing you to practice while making something unique.
Key Takeaways
- The granny square pattern is a great choice for crochet for beginners
- This classic design is versatile and can be used to create a variety of items
- The granny square requires minimal equipment and can be completed in just a few hours
- Our guide will take you through the process of creating a granny square in 5 easy steps
- With practice and patience, you can master the granny square pattern and take your crochet skills to the next level
- The granny square pattern is a great way to practice your stitches while creating something unique and beautiful
Essential Materials for Crocheting a Granny Square
You’ll need the right crochet materials to start your granny square project. You’ll need to pick a good yarn and a matching crochet hook. The yarn you choose affects the texture and colour of your project. When picking your yarn selection, consider the fibre, weight, and colour.
A high-quality yarn selection is key to your granny square’s look and feel. Look for soft, durable, and easy to work with yarns. Acrylic, cotton, and blends are popular choices for granny squares. After picking your yarn, choose a crochet hook that fits its weight and type.
You’ll also need basic tools to start. These include scissors, a tapestry needle, and a stitch marker. With these essentials, you’re ready to make a beautiful granny square.
Choosing the Right Yarn
- Consider the fibre content and weight of the yarn
- Think about the colour palette and overall aesthetic you want to achieve
- Choose a yarn that is soft, durable, and easy to work with
Selecting Your Crochet Hook
Make sure your crochet hook matches your yarn. The hook size depends on the yarn’s weight and type. A quality hook helps you work with your yarn smoothly and evenly.
Understanding the Basic Stitches Before You Begin
You need to know the basic stitches to start crocheting a granny square. Crochet for beginners can seem tough, but learning these stitches makes it easier. The granny square uses three main stitches: the chain stitch, single crochet, and double crochet.
Here’s a quick look at each stitch:
- Chain stitch: This stitch creates a foundation for your project.
- Single crochet: A simple stitch that works well for creating a solid fabric.
- Double crochet: This stitch is similar to the single crochet but creates a slightly taller stitch.
Practising these basic crochet stitches will help you develop the necessary skills to complete a granny square. Start with a simple project, like a scarf or a dishcloth, to get a feel for the stitches before moving on to a more complex project, like a granny square.
With patience and practice, you’ll become proficient in these stitches and be ready to start your granny square project. Don’t be afraid to make mistakes – they’re an opportunity to learn and improve your skills. As you become more comfortable with the stitches, you can move on to more complex projects and explore the crochet world for beginners.
| Stitch | Description |
|---|---|
| Chain Stitch | Foundation stitch for projects |
| Single Crochet | Simple stitch for solid fabric |
| Double Crochet | Taller stitch similar to single crochet |
How to Crochet a Granny Square: Step-by-Step Instructions
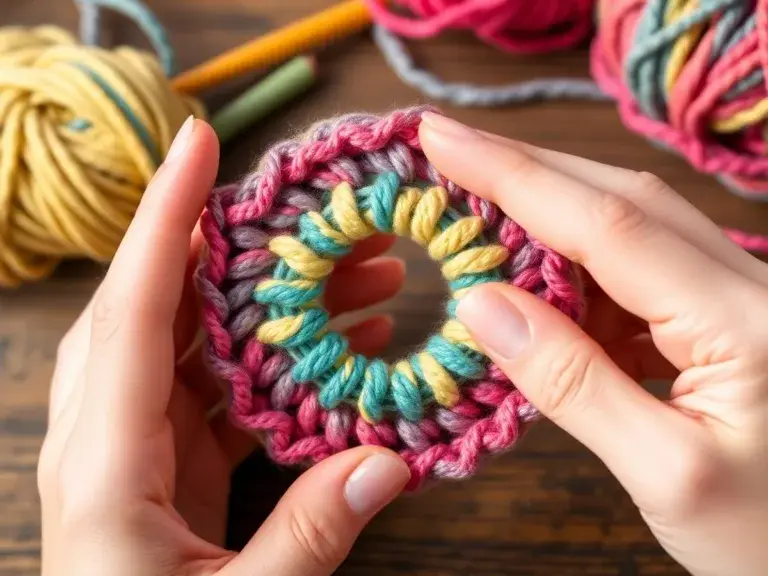
To start your granny square tutorial, first learn the basics of crochet. Begin with a centre ring, the foundation of your granny square. This step is key to your project’s success.
After the centre ring, work on the first round. This is when your granny square begins to form. Make sure to follow the instructions closely for even stitches.
Building the Rounds
As you add more rounds, your granny square will grow. Keeping a steady tension is important for a flat square. Use a granny square tutorial for detailed instructions and tips.
Joining and Fastening Off
Once you’ve finished all rounds, it’s time to join and fasten off. This step is crucial for your granny square’s look. Careful following of instructions will help you achieve a beautiful granny square.
You’ll soon make your own granny square with these instructions and practice. Use a tutorial for help and try different colours and patterns to make it unique.
Common Mistakes and How to Fix Them
When crocheting a granny square, common crochet mistakes can be annoying. But they’re also chances to learn and get better. Uneven tension is a big mistake, making the square look wrong. To fix this, keep your tension even while crocheting.
Miscounting stitches is another big mistake. It makes the square the wrong size. To avoid this, count your stitches carefully. Make sure you have the right number of stitches all the way through the pattern. Fixing mistakes like these takes time, but it’s worth it for a beautiful granny square.
Some common mistakes to watch out for include:
- Incorrect stitch count
- Uneven tension
- Misplaced stitches
To fix these mistakes, first find the problem. Then, take steps to fix it. This might mean ripping out stitches and starting over or using a stitch marker to keep track.
Knowing and fixing these common crochet mistakes helps you make a beautiful granny square. With practice and patience, you can become great at crocheting granny squares. Your projects will impress everyone.
| Mistake | Solution |
|---|---|
| Uneven tension | Maintain consistent tension while crocheting |
| Miscounted stitches | Count stitches carefully and maintain the correct number throughout the pattern |
Tips for Perfect Granny Square Corners
Mastering a few key techniques is crucial to get perfect granny square corners. Keeping your stitches even is key. This makes your granny square look beautiful and professional.
Counting your stitches correctly is also vital. It’s easy to lose track while crocheting. Use a stitch marker or count as you go to keep your corners even and symmetrical.
Creating sharp corners takes practice and patience. Use a crochet tip to guide your hook and keep stitches even. Online tutorials or stitch dictionaries can also help you master the perfect corner. With these tips and practice, your granny square corners will look amazing.
Maintaining Tension
- Keep your stitches consistent to maintain even tension
- Use a stitch marker to keep track of your stitches
- Count your stitches as you go to avoid mistakes
Creating Sharp, Even Corners
With these tips and practice, you’ll make perfect granny square corners. Always follow crochet tips and guidelines for a beautiful project.
Colour Combinations and Pattern Ideas
Exploring granny square patterns opens up a world of creativity. The fun part is trying out various colour combinations. You can pick classic colours or go for something bold and new.
Looking for inspiration online or in crochet books is a good start. You can also mix colours to create something unique. For instance, soft pastels give a delicate look, while bright colours make a statement.
Popular granny square patterns include the traditional and chevron granny squares. You can also try new stitches to make your own pattern. The most important thing is having fun and being creative with colour combinations and granny square patterns.
Here are a few tips for choosing your colour combinations:
- Think about the occasion and who will get the project
- Look for colors that go well together
- Don’t be scared to try new things
Joining Multiple Granny Squares Together
You might want to join more together once you’ve learned to crochet a single granny square. This could be for a bigger project like a blanket or afghan. Joining granny squares can be tricky, but you can get a beautiful result with the right techniques. Thinking about the crochet layouts and how the squares will fit together when joining granny squares is key.
To begin, you need to pick a joining method. You can choose from the whipstitch or single crochet join. Each has its own benefits and drawbacks, depending on your project. Here are some points to consider:
- Whipstitch: This method is fast and simple, but it can look a bit bulky.
- Single crochet join: This method is more flexible and can make a nearly invisible seam.
When planning your crochet layouts, consider the design and how the squares will fit. Use graph paper to sketch your design. This will help you see how the squares will look together. By planning well, you can make a beautiful and unique project to be proud of.
Creative Projects Using Granny Squares
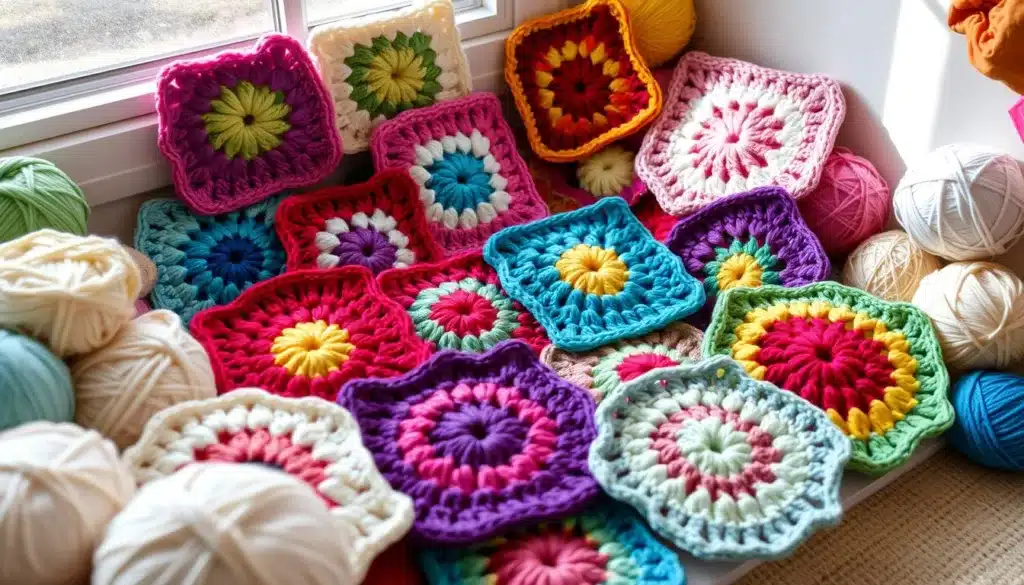
Granny square projects let you show off your creativity and make something special. You can turn them into cosy blankets, stylish accessories, or home decor. Whether you’re experienced or just starting, there’s much to explore.
Some popular granny square projects include:
- Blankets and throws: Create a warm blanket or throw for your living room or bedroom.
- Accessories and clothing: Make hats, scarves, bags, or other items to add a personal touch to your outfit.
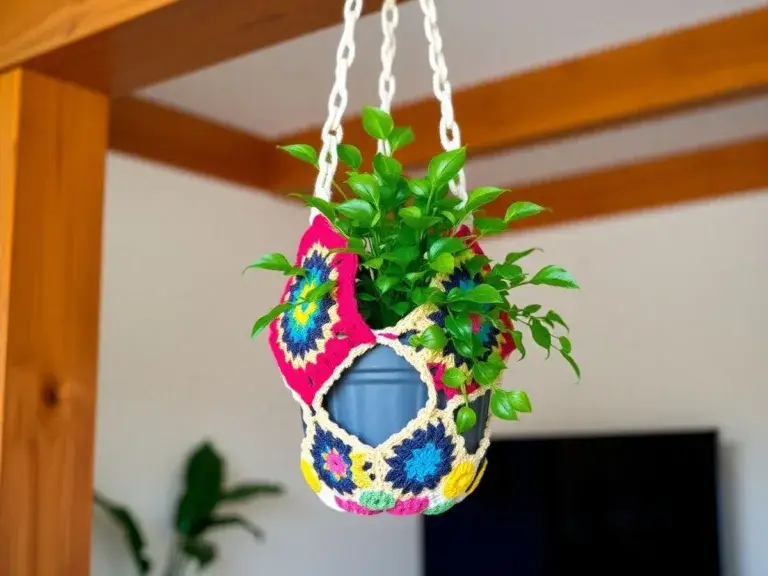
- Home decor items: Use granny squares for pillow covers, table runners, or other items to warm your home.
These projects are great for anyone who loves to crochet and wants to make something unique. With so many ideas, you will find something that fits your style and skill. So, why not get creative and start making your own granny square projects today?
| Project | Difficulty Level | Time Required |
|---|---|---|
| Blanket | Easy | 10-20 hours |
| Hat | Medium | 5-10 hours |
| Pillow Cover | Easy | 2-5 hours |
Caring for Your Finished Granny Square Projects
To keep your granny square projects looking their best, knowing how to care for them is key. This includes washing and blocking to keep their shape and look. Proper care will keep your projects vibrant and in good condition for years.
Here are some tips for caring for your granny square projects:
- Check the yarn label for specific washing instructions, as some yarns may require dry cleaning or hand washing.
- Use a mild detergent and cold water to prevent fading or shrinkage.
- Reshape your project while it’s still damp to maintain the original dimensions.
- Allow your project to air dry, away from direct sunlight and heat.
Blocking is a crucial step in caring for crochet projects. It helps even out the stitches and gives your project a professional look. By following these simple care instructions, you’ll enjoy your granny square creations for a long time. They will show off your caring for crochet projects skills.
| Care Tip | Description |
|---|---|
| Washing | Check yarn label for specific instructions |
| Blocking | Allow the project to air dry, away from direct sunlight and heat |
| Drying | Allow project to air dry, away from direct sunlight and heat |
Following these care tips’ll keep your granny square projects looking their best. They will be a beautiful example of your caring for crochet projects skills, including washing and blocking.
Conclusion: Taking Your Granny Square Skills Further
Your journey in crocheting granny squares has been thrilling. Now, you’re ready to explore more. Try advanced crochet techniques and different granny square variations to improve your skills.
Challenge yourself with complex stitches, unique colours, or your own patterns. The granny square is very versatile. It lets you show your creativity in many ways. This is your chance to make your projects stand out and show off your crochet talent.
Keep enjoying the process as you get better. Crochet is a way to relax and express yourself. It lets you make special, unique items. Stay curious and let your creativity shine. There’s no limit to what you can do with your granny square skills.
FAQ
What is a granny square?
A granny square is a classic crochet design. It’s often used in blankets, afghans, and home decor. It’s known for its square shape and repeating patterns of clusters or shells.
Why is the granny square so popular?
The granny square is loved for many reasons. It’s easy to learn and perfect for beginners. Its square shape makes it easy to join together for bigger projects. Plus, it’s great for trying out different colours and patterns.
What materials do I need to crochet a granny square?
To make a granny square, you’ll need yarn, a matching hook, scissors, a tapestry needle, and a stitch marker (if you like). Choose your yarn and hook based on the project’s size and look.
What are the basic stitches used in a granny square?
The granny square uses three main stitches: the chain stitch, single crochet, and double crochet. These stitches create the classic granny square pattern.
How do I create the centre ring of a granny square?
To start the granny square, make a slip knot and a chain. Then, work a series of double crochet stitches into the ring. Close the round with a slip stitch to the first double crochet.
How do I maintain even tension when crocheting a granny square?
To keep your granny square even, crochet with consistent tension. Hold your yarn and hook loosely and keep your stitches even. Check your work often to adjust as needed.
What are some common mistakes to watch out for when crocheting a granny square?
Watch for mistakes like not counting stitches right, uneven tension, dropping or adding stitches, and losing the square shape. These can ruin your granny square.
How do I join multiple granny squares together?
You can join granny squares with a whipstitch or single crochet join. Choose the method that looks best for your project.
What are some creative projects I can make with granny squares?
Granny squares are great for many projects. You can make blankets, throws, hats, scarves, bags, and even home decor like pillows, rugs, and wall hangings.
How do I care for my finished granny square projects?
To care for your granny squares, wash them as the yarn instructions say. Blocking can help keep the shape. Store them properly to avoid damage.