DIYbrico | Discover, Create, Inspire

Mastering the Moss Stitch Crochet: A Comprehensive Guide for Beginners
Learn moss stitch crochet with our beginner-friendly guide. Master techniques, tools, and creative project ideas.

Crocheting can be so much fun, especially when learning a stitch as versatile as the moss stitch crochet. Whether making a cozy blanket or a trendy bag, this stitch is beginner-friendly and creates a neat, woven texture. Even if you’ve never picked up a hook, this guide will walk you through everything you need to know to get started and even take your skills to the next level.
Key Takeaways
- The moss stitch crochet is perfect for beginners due to its simplicity and versatility.
- Using the right tools, like a comfortable hook and smooth yarn, makes a big difference.
- Maintaining consistent tension is key to achieving a clean, professional look.
- This stitch is ideal for a variety of projects, from home décor to accessories.
- Experimenting with colors can add a unique touch to your moss stitch creations.
Understanding the Basics of Moss Stitch Crochet
What Makes Moss Stitch Unique
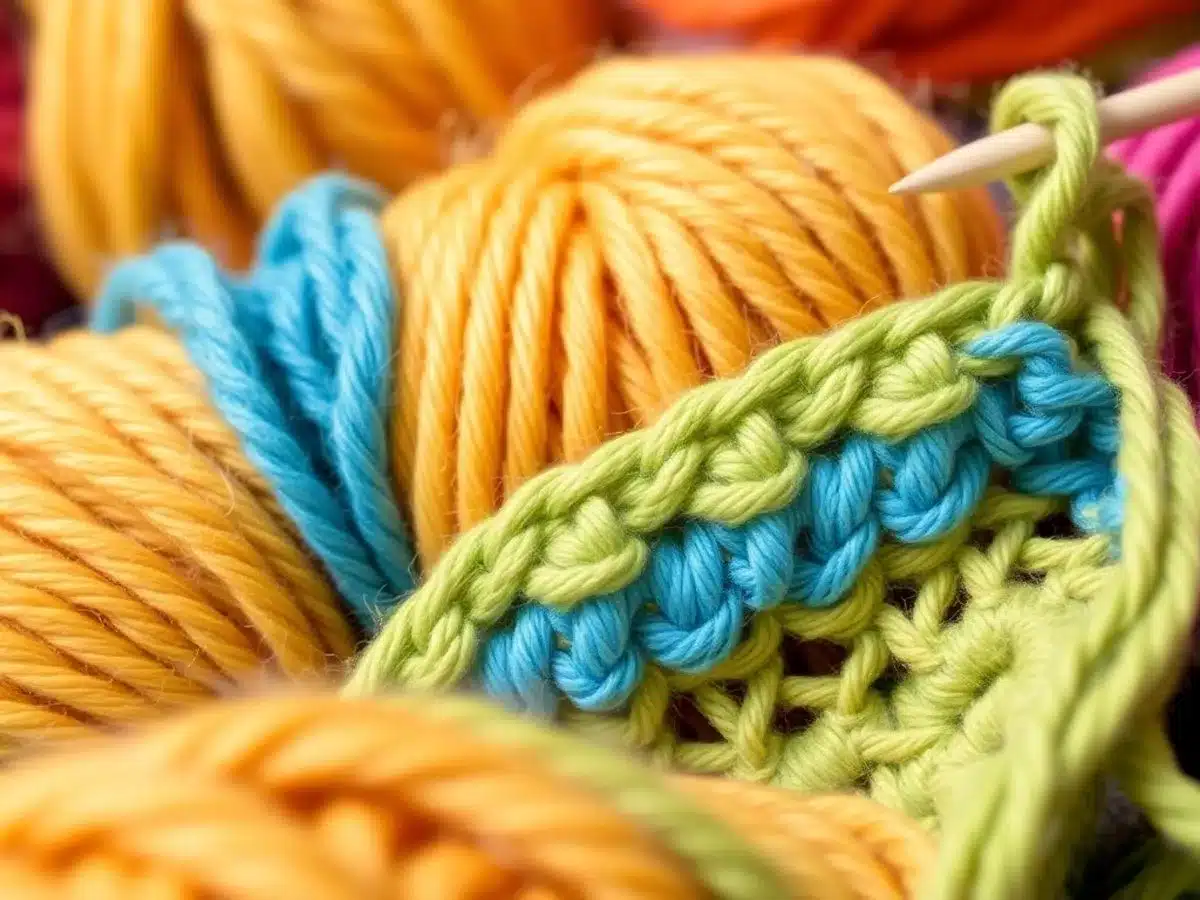
The moss stitch, sometimes called the linen or granite stitch, stands out because of its simple yet elegant design. It uses just two basic stitches—chain and single crochet—to create a textured, woven look. This makes it perfect for beginners who want to create something beautiful without getting overwhelmed. Plus, it’s super versatile; you can use it for anything from blankets to bags. The stitch’s stretchy nature also makes it great for projects that need a little give, like scarves or baby clothes.
Essential Tools and Materials
To get started with moss stitch crochet, you’ll need just a few key items:
- Crochet Hook: A medium-sized hook (like 5.5mm) is a good place to start.
- Yarn: Choose a smooth, medium-weight yarn in a light color. This helps you see your stitches more clearly.
- Scissors: For cutting your yarn.
- Tapestry Needle: Useful for weaving in loose ends.
Optional extras include stitch markers to keep track of your rows and a measuring tape for sizing.
| Tool | Recommendation |
|---|---|
| Crochet Hook | 5.5mm ergonomic hook |
| Yarn | Medium-weight acrylic yarn |
| Scissors | Small, sharp scissors |
| Tapestry Needle | Blunt-tipped needle |
Common Beginner Mistakes
When learning the moss stitch, it’s easy to make a few missteps. Here are some common ones to watch out for:
- Skipping Chain Spaces: Remember to work into the chain spaces, not the actual stitches.
- Inconsistent Tension: Keep your tension even to avoid wavy or tight rows.
- Wrong Stitch Count: Always start with an even number of chains to maintain the pattern.
Take your time and don’t stress about perfection. Crocheting is as much about enjoying the process as it is about the final result.
By keeping these basics in mind, you’ll set yourself up for success as you explore the moss stitch. For more detailed guidance, check out this video and written tutorial on the moss stitch.
Step-by-Step Guide to Mastering Moss Stitch Crochet
How to Start with a Foundation Chain
Getting the foundation chain right is the first step to mastering the moss stitch. Start by making a slip knot and placing it on your crochet hook. Then, chain an even number of stitches. This even number is crucial because the moss stitch pattern alternates between single crochets and chain spaces, which rely on an even count for proper alignment. Keep your chains loose but consistent—tight chains can make it harder to work into them later.
Creating the First Row of Moss Stitch
Once your foundation chain is ready, begin the first row by inserting your hook into the fourth chain from the hook. Make a single crochet, then chain one. Skip the next chain and repeat: single crochet, chain one, skip. Continue this pattern until you reach the end of the row. Turn your work. For the next row, work your single crochets into the chain spaces from the previous row, not into the stitches. This creates the signature woven texture of the moss stitch.
Tips for Maintaining Consistent Tension
Keeping your tension consistent is key to creating even, professional-looking stitches. Here are some tips:
- Relax your grip on the yarn and hook to avoid overly tight stitches.
- Use your non-dominant hand to guide the yarn smoothly, letting it flow naturally.
- Check your work every few rows to ensure the stitches are uniform.
If you’re struggling with tension, consider practicing with a thicker yarn and larger hook size, as these can be more forgiving. For more on foundational crochet techniques, you might find mastering the half double crochet stitch a helpful starting point for refining your skills.
Crocheting the moss stitch is like learning a rhythm—it may take a few tries to get it right, but once you do, it becomes second nature. Stick with it, and you’ll be creating beautiful patterns in no time!
Creative Projects Using Moss Stitch Crochet
Designing Baby Blankets with Moss Stitch
Baby blankets are a classic choice for the moss stitch because of their soft, woven texture. This stitch creates a cozy, stretchy fabric that’s perfect for wrapping up little ones. To start, pick a soft yarn—cotton or acrylic blends work great—and choose colors that complement a nursery theme. You’ll need a foundation chain in an odd number of stitches, then alternate single crochets and chain stitches for a smooth, repetitive pattern. Add a border in a contrasting color for a polished finish.
Crafting Stylish Bags and Accessories
Moss stitch isn’t just for blankets—it’s also fantastic for trendy bags and accessories. Tote bags, clutches, and even headbands can be made using this versatile stitch. For bags, use a sturdy yarn like jute or cotton to ensure durability. To add flair, try incorporating stripes or color blocks. Accessories like headbands or wristcuffs can be made quickly and make great gifts!
Incorporating Moss Stitch into Home Décor
From throw pillows to table runners, moss stitch can elevate your home décor. Use neutral tones for a minimalist look or vibrant colors for a bold statement. For a table runner, start with a long foundation chain and work rows of moss stitch until you achieve the desired width. Want to add texture? Combine moss stitch with other patterns like the shell or puff stitch for a unique design.
Moss stitch is more than just a stitch—it’s a gateway to endless creative possibilities. Its simplicity makes it beginner-friendly, while its versatility keeps seasoned crocheters coming back for more.
Troubleshooting and Perfecting Your Moss Stitch Crochet
Fixing Uneven Stitches
Uneven stitches can be frustrating, but they’re usually easy to fix. The key is to maintain consistent tension throughout your work. Here are a few tips to help:
- Check your grip on the yarn. Too tight or too loose can cause irregular stitches.
- Use stitch markers to keep track of rows and ensure consistency.
- Pause occasionally to inspect your work and adjust if needed.
If you notice uneven stitches after completing a row, you can gently tug on the fabric to even things out. Blocking your project at the end can also help smooth things out.
Understanding and Avoiding Gaps
Gaps in your moss stitch can occur if your chain stitches are too loose or if you miss a stitch. To avoid this:
- Keep your chain stitches snug but not overly tight.
- Double-check your stitch count at the end of each row.
- Use a smaller hook size if your stitches tend to be too loose.
For persistent gaps, consider practicing your foundation chain and first row to get a feel for the correct tension. This will improve your overall stitch quality.
Tips for Achieving a Professional Finish
A polished finish makes all the difference. Follow these tips for a professional-looking moss stitch project:
- Weave in loose ends neatly using a tapestry needle.
- Block your work to set the stitches and give your project a clean, even look.
- Trim any stray threads carefully to avoid fraying.
Taking the time to perfect these small details will elevate your crochet from “handmade” to “handcrafted.”
Exploring Variations of Moss Stitch Crochet
Even Moss Stitch for a Woven Texture
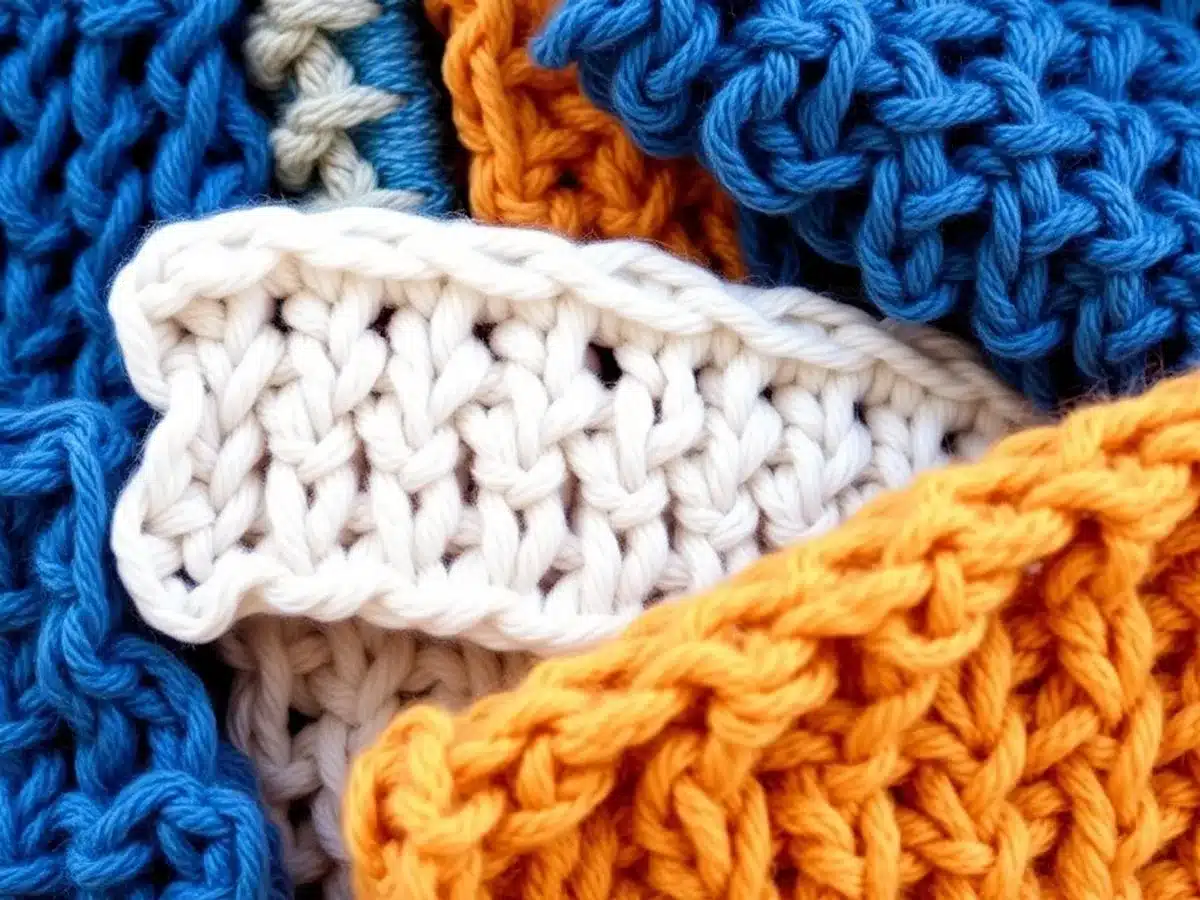
The even moss stitch is a slight twist on the classic moss stitch, giving your projects a woven, grid-like texture. It’s achieved by alternating single crochet and chain stitches but with a consistent rhythm that creates a smooth and uniform appearance. This variation is perfect for projects like placemats or table runners, where a clean, structured look is key. To get started, make sure your foundation chain has an even number of stitches. This will help maintain the pattern’s symmetry.
Combining Moss Stitch with Other Patterns
Why stop at just moss stitch? Combining it with other patterns can add depth and character to your work. For example:
- Pair moss stitch with a shell stitch border for a decorative edge.
- Alternate rows of moss stitch with rows of double crochet for a textured contrast.
- Use moss stitch as a filler between more intricate patterns, like cables or lacework.
Mixing patterns not only makes your project visually interesting but also challenges your skills as a crocheter.
Using Color Changes to Enhance Designs
Color changes can completely transform the look of your moss stitch projects. You can experiment with:
- Stripes: Change colors every few rows for bold, graphic lines.
- Gradient Yarns: Let the yarn do the work with self-striping or gradient yarns.
- Color Blocking: Divide your project into large sections of different colors for a modern aesthetic.
A little planning goes a long way—sketch out your color ideas or use scrap yarn to test combinations before committing to a full project.
Adding color changes not only enhances the design but also makes the stitching process more fun and engaging.
Learn to crochet the double moss stitch to expand your repertoire of textured crochet techniques!
Choosing the Right Yarn and Hook for Moss Stitch Crochet
Best Yarn Types for Moss Stitch
When picking yarn for moss stitch crochet, it’s all about balance. You want something smooth enough to show off the texture but not so slick that your stitches slide all over the place. Here are some great options:
- Cotton yarn: Perfect for crisp, defined stitches. Great for home decor projects.
- Acrylic yarn: Affordable and versatile, ideal for beginners.
- Wool blends: Adds warmth and stretch, perfect for blankets and scarves.
For beginners, acrylic yarn is a safe bet—it’s forgiving and easy to work with while still showing off your stitches nicely.
How Hook Size Affects Your Stitch
The size of your crochet hook has a huge impact on how your moss stitch turns out. A larger hook creates looser, more open stitches, while a smaller hook gives you tighter, denser fabric. Here’s a quick guide:
| Hook Size | Stitch Effect | Recommended Use |
|---|---|---|
| 4 mm | Tight, compact stitches | Bags, accessories |
| 5 mm | Balanced, medium tension | Blankets, scarves |
| 6 mm | Loose, airy stitches | Lightweight shawls, summer tops |
Pro Tip: Always check the yarn label for the recommended hook size, but don’t be afraid to experiment!
Recommended Tools for Beginners
To get started with moss stitch crochet, you don’t need a ton of fancy tools. Just a few basics will do:
- Ergonomic crochet hooks: These reduce hand fatigue and are easier to grip.
- Tapestry needles: For weaving in those pesky ends.
- Stitch markers: Essential for keeping track of your rows.
Starting with the right tools can make all the difference in how enjoyable your crochet journey is. Don’t skimp on comfort—your hands will thank you!
Advanced Techniques in Moss Stitch Crochet
Creating Intricate Patterns with Moss Stitch
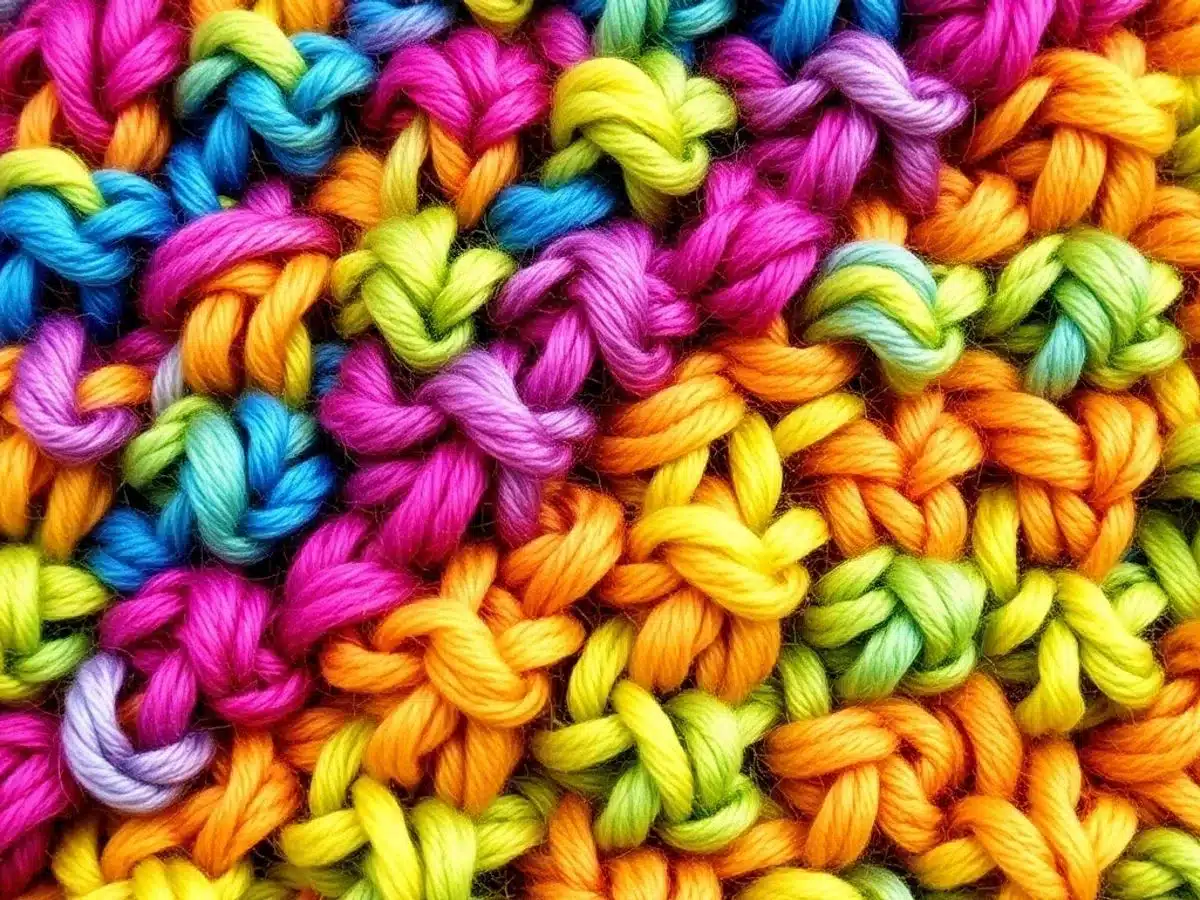
Adding intricate patterns to your moss stitch projects can elevate your crochet game. Try combining moss stitch with other techniques like filet crochet or overlay crochet. These methods can help you create stunning designs, such as floral motifs or geometric patterns. The key is to plan your design carefully and count your stitches meticulously.
Adapting Moss Stitch for Larger Projects
When working on larger items like blankets or throws, maintaining consistency is crucial. Use stitch markers to keep track of your rows, especially if you are incorporating color changes or other design elements. Consider using a lightweight yarn to make your project less cumbersome as it grows.
Experimenting with Multi-Color Designs
Playing with colors can bring a whole new dimension to your moss stitch projects. Alternate between two or more colors every few rows to create stripes or gradients. For a more complex look, try using variegated yarns that shift colors naturally. Remember to carry your yarn neatly along the edges to avoid tangles.
Wrapping It Up
So, there you have it—everything you need to get started with the moss stitch! It’s one of those patterns that’s simple enough for beginners but still looks super polished when finished. Whether you’re making a cozy blanket, a scarf, or even a bag, this stitch has you covered. Just remember, practice makes perfect. Don’t stress if your first few rows aren’t perfect—it’s all part of the process. Grab your hook, pick out some yarn you love, and start stitching. Before you know it, you’ll be whipping up projects like a pro. Happy crocheting!
Frequently Asked Questions
What is the moss stitch in crochet?
The moss stitch, also called the granite or linen stitch, is a simple crochet technique that alternates single crochet stitches with chain spaces to create a woven look.
What type of yarn works best for moss stitch?
Smooth yarns in medium weight are ideal for moss stitch. They make it easier to see the stitches and create a neat, even texture.
How do I keep my tension consistent while crocheting?
To maintain consistent tension, hold the yarn with the same grip and pull it evenly across each stitch. Practice and using the right hook size also help.
Can beginners try moss stitch crochet?
Yes, moss stitch is perfect for beginners. It uses basic stitches and is easy to learn, making it a great starting point for new crocheters.
What projects can I make using moss stitch?
You can create a variety of items like blankets, scarves, bags, and home décor pieces. The stitch’s versatility makes it suitable for many designs.
How do I fix gaps in my moss stitch?
Gaps usually happen due to uneven tension or missed stitches. Double-check your pattern and ensure your stitches are snug but not too tight.