DIYbrico | Discover, Create, Inspire

Create Your Own Stylish Crochet Bucket Hat: A Comprehensive Guide for All Skill Levels
Craft a stylish crochet bucket hat with our guide, perfect for all skill levels. Learn tips, techniques, and more!

Table of Contents
Ever thought about making your own crochet bucket hat? It’s easier than you might think, and you don’t need to be a crochet expert to get started. This guide will walk you through everything you need to know, from picking the right materials to adding those personal touches that make your hat one-of-a-kind. Whether you’re a seasoned crocheter or just picking up a hook for the first time, you’ll find tips and tricks to create a stylish accessory that’s perfect for any occasion.
Key Takeaways
- Choosing the right yarn and hook is essential for a good-looking and comfortable crochet bucket hat.
- Understanding how to measure and adjust your crochet work will help you achieve the perfect fit.
- Personalizing your hat with colors and embellishments can make it truly unique.
- Proper care and storage will keep your crochet bucket hat looking great for years.
- Crocheting a bucket hat is a rewarding project that crafters of all skill levels can complete.
Choosing the Perfect Yarn and Hook for Your Crochet Bucket Hat
Picking the right yarn is like setting the foundation for your crochet bucket hat. You want something that’s both durable and comfy. Cotton yarn is a top choice for bucket hats because it’s breathable and holds its shape well. But don’t just grab any cotton yarn. Pay attention to yarn weight. Worsted weight yarn, often labelled as #4, is a solid pick for this kind of project. It’s not too thick, not too thin, making it ideal for hats that need a bit of structure without being too heavy.
Selecting the Right Hook Size
Now, onto the crochet hook. The hook size can make or break your project. For a worsted-weight yarn, a 5.5mm (I/9) hook is usually just right. But hey, don’t just take my word for it. Always check the yarn label for hook recommendations. If you’re new to this, start with the suggested size and adjust if needed. If your stitches are too tight, try a larger hook; if they are too loose, go smaller.
Matching Yarn and Hook for Best Results
Getting the yarn and hook to play nicely together is key. It’s all about balance. You want your stitches to be even and consistent, which means the yarn and hook must complement each other. Try making a small swatch first. This will give you a feel for how the yarn and hook work together. If the swatch feels stiff, switch to a larger hook. Too floppy? Go smaller. It’s all about getting that perfect tension.
Remember, the right combination of yarn and hook sets the stage for a successful project. Take your time to experiment. It’s worth the effort to ensure your hat turns out just as you envisioned.
Essential Tools and Materials for Crafting a Crochet Bucket Hat
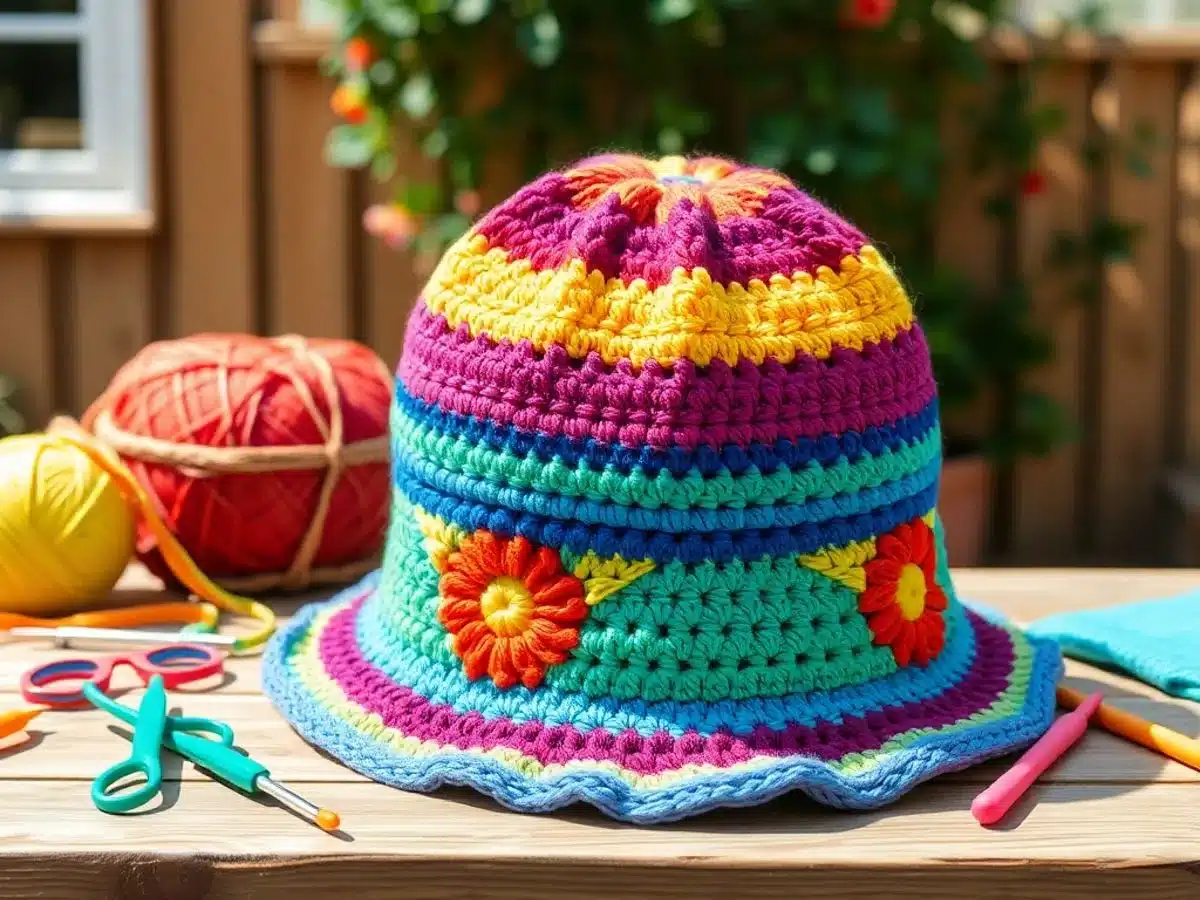
Gathering Your Crochet Supplies
Before you dive into the world of crochet bucket hats, you’ll need to gather some essential supplies. Here’s a quick checklist to get you started:
- Yarn: Opt for a sturdy and breathable yarn like cotton, which is ideal for sun hats. If you’re aiming for a thicker texture, consider doubling up on strands of worsted-weight yarn.
- Crochet Hook: The hook size can vary depending on your yarn choice, but a 5mm or 6mm hook is a good starting point for most bucket hats.
- Scissors: A sharp pair of scissors is crucial for cutting yarn cleanly.
- Yarn Needle: Useful for weaving in ends and adding any embellishments.
- Measuring Tape: Ensures your hat fits perfectly by checking the dimensions as you crochet.
Optional Accessories for Personalization
Personalizing your crochet bucket hat can make it truly unique. Consider these optional accessories:
- Buttons: Add a touch of flair with decorative buttons.
- Flowers: Crochet or attach fabric flowers for a feminine touch.
- Ribbons: Weave a colorful ribbon through the stitches for added style.
Preparing Your Workspace
A well-organized workspace can make your crocheting experience more enjoyable. Here’s how to set it up:
- Lighting: Ensure your workspace is well-lit to avoid straining your eyes.
- Comfortable Seating: Choose a chair that supports your back and allows you to crochet comfortably for extended periods.
- Organized Supplies: To maintain a smooth workflow, keep your yarn, hooks, and other tools within easy reach.
Remember, having the right tools and a cozy workspace can enhance your crochet experience, making it more relaxing and enjoyable.
Step-by-Step Guide to Crocheting Your Bucket Hat
Starting with the Foundation Chain
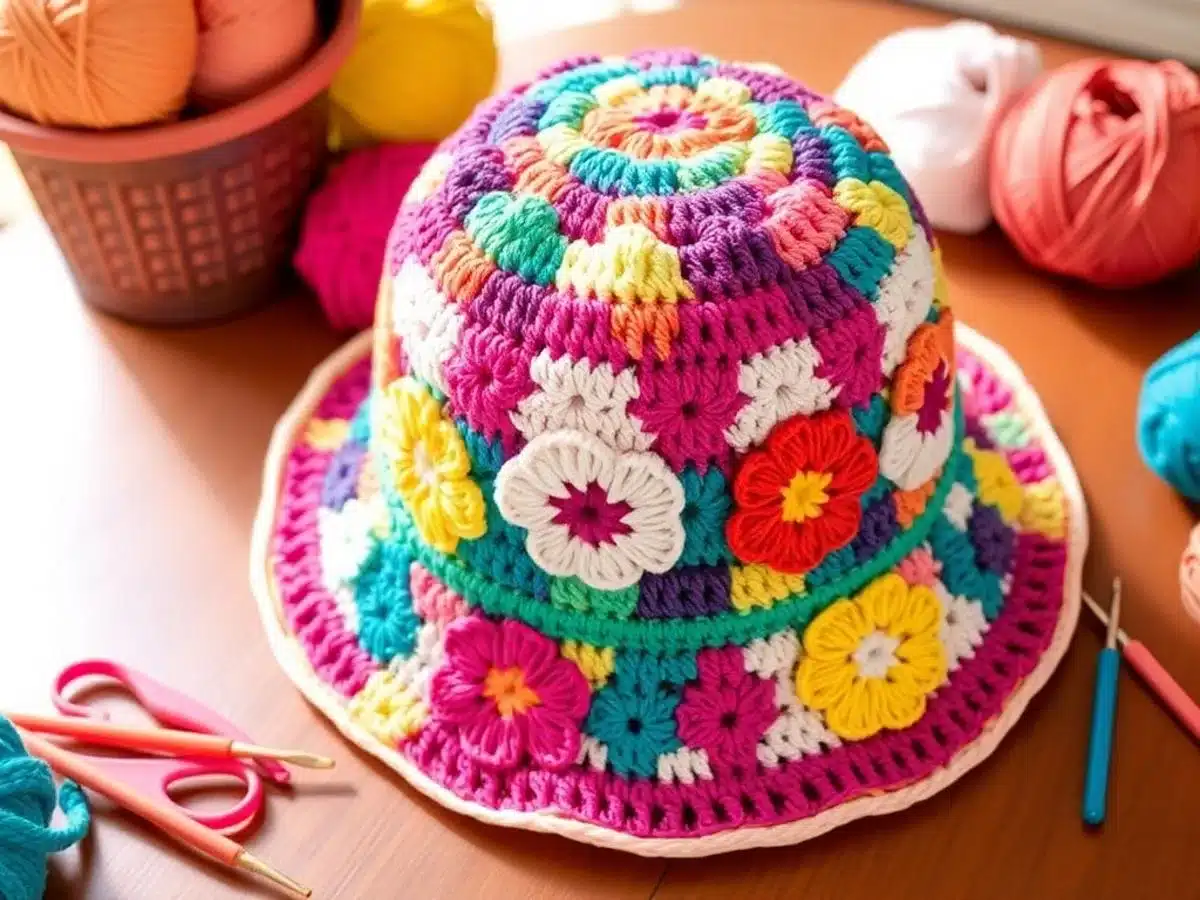
Creating your crochet bucket hat begins with the foundation chain. This is your starting point, and it sets the tone for the entire project. Grab your yarn and hook, and let’s get going! Start by making a slip knot on your hook. Then, chain the number of stitches specified in your pattern. This chain will be the base circumference of your hat, so make sure it’s not too tight or too loose. A good tip is to practice the chain stitch until you find a comfortable tension that works for you.
Working in Rounds for the Hat Body
Once your foundation chain is ready, it’s time to work in rounds to build the body of your hat. Join the ends of your chain with a slip stitch to form a loop. Now, you’ll start crocheting in the round. This means you’ll work continuously in a spiral, which differs from working in rows. Begin with a series of single crochet stitches around the loop. Remember to place a stitch marker at the beginning of your round to keep track of your progress. As you go, you’ll need to increase stitches evenly to shape the hat. This involves adding extra stitches at regular intervals, which helps the hat expand to fit your head comfortably.
Finishing Touches and Edging
When you’ve reached the desired height for your hat, it’s time to add the finishing touches. The edge of your hat can be simple or decorative, depending on your style. A common choice is a single crochet border, which gives a neat finish. Just crochet a round of single crochet stitches along the edge to do this. If you want to add a bit more flair, consider using a picot stitch or crab stitch for a unique look. Finally, weave in any loose ends using a yarn needle, and your stylish crochet bucket hat is ready to wear!
Crocheting a bucket hat is not only about following steps but also about enjoying the process. Take your time, and don’t hesitate to explore different stitches and patterns to make your hat uniquely yours. If you’re new to crochet, check out our beginner-friendly guides to help you along the way.
Mastering Techniques for a Perfect Fit
Checking Your Gauge for Accuracy
Alright, let’s talk about gauge. It’s basically the number of stitches and rows per inch, and getting it right can make or break your hat. If your gauge is off, your hat might end up too tight or way too loose. To check your gauge, crochet a small square using the same yarn and hook you plan to use for your hat. Measure it against the pattern’s specified gauge. If your stitches are too tight, try a bigger hook. Too loose? Go smaller.
Adjusting Size for Different Head Circumferences
Not all heads are the same size, right? So, you gotta be ready to tweak things a bit. Here’s a quick way to do it:
- Measure the Head: Use a flexible tape measure to get the circumference of the head you’re crocheting for.
- Compare with Pattern: Check the pattern’s size chart. If the head size falls between sizes, you might need to adjust.
- Modify the Pattern: Add or subtract stitches in your foundation chain to suit the head size. Just keep the stitch pattern in mind!
Troubleshooting Common Fit Issues
Sometimes, things just don’t work out as planned. Here’s what you can do:
- Too Tight: If your hat is too snug, try using a larger hook or adding more increased rounds.
- Too Loose: For a hat that’s too big, go down a hook size or reduce the number of stitches.
- Uneven Edges: Keep your tension consistent and count your stitches every now and then.
Remember, every crochet project is a learning experience. Don’t stress if it’s not perfect on the first try. Adjust, adapt, and soon you’ll have a hat that fits just right.
For more on crochet techniques, check out various crochet techniques that can help you with different projects.
Adding Personal Touches to Your Crochet Bucket Hat
Incorporating Color Patterns and Stripes
Choosing the right colors can transform a simple crochet bucket hat into a standout accessory. You can opt for a monochrome look for something classic or mix vibrant shades for a more playful vibe. Stripes are an easy way to add interest, and you can play around with different widths and color combinations. If you’re feeling adventurous, try techniques like tapestry crochet to create intricate patterns. This method allows you to carry multiple colors along your row, switching between them as needed to form detailed designs.
Embellishing with Buttons and Flowers
Adding embellishments like buttons or crocheted flowers can give your hat a unique flair. Buttons can be both functional and decorative, serving as closures or simply adding a pop of color. Crocheted flowers are another popular choice, and you can attach them permanently or with pins for easy removal. Think about the weight and texture of these additions to ensure they don’t overwhelm your hat. You can also explore other embellishments like beads or ribbons to further personalize your creation.
Exploring Unique Stitch Patterns
Trying out new stitch patterns can completely change the look and feel of your crochet bucket hat. Consider using textured stitches like the bobble or popcorn stitch for added dimension. These stitches create a raised effect that can make your hat more visually interesting. Another option is the shell stitch, which adds a delicate, lacy appearance. By experimenting with different stitches, you can create a hat that reflects your style and stands out from the crowd.
Personalizing your crochet bucket hat is all about expressing your individual style. Whether through color, embellishments, or stitch patterns, each choice you make adds a layer of uniqueness that makes your hat truly yours. As you explore these options, remember that the beauty of crochet lies in its versatility and the endless possibilities it offers for creativity.
Caring for and Maintaining Your Crochet Bucket Hat
Washing and Drying Tips
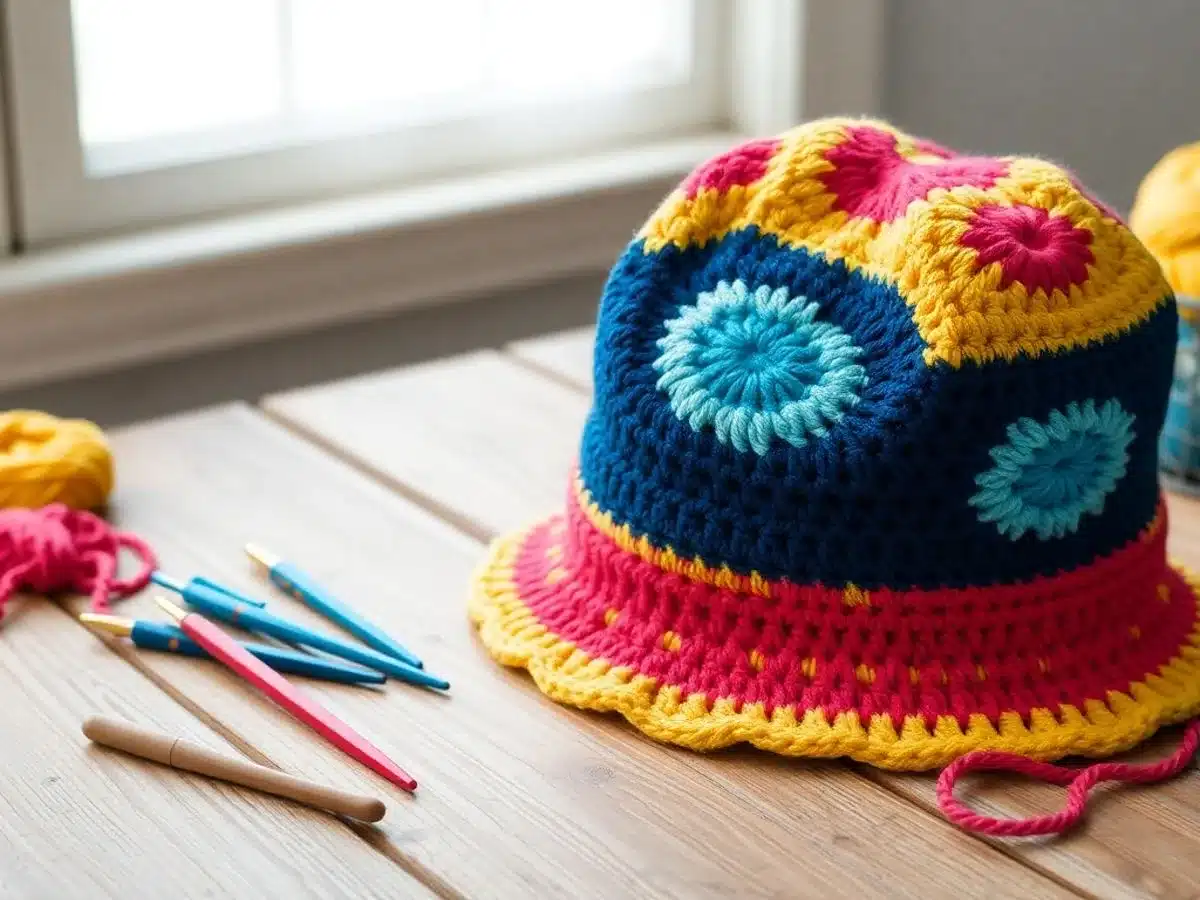
Taking care of your crochet bucket hat is essential to keep it looking fresh and stylish. Always check the yarn label for specific washing instructions, as different materials require different care. Generally, hand washing your hat in cool water with mild detergent is the safest option. Gently swish it around, avoiding any harsh scrubbing to keep the fibers intact. Rinse thoroughly and press out excess water with a towel—never wring it out as this can distort the shape.
When it comes to drying, lay your hat flat on a clean, dry towel. Reshape it gently, ensuring the brim is flat and the crown is rounded. Avoid hanging it to dry, as this can stretch the fabric. If you’re in a hurry, a quick tumble in the dryer on a low setting can work, but use this sparingly to avoid wear.
Storing Your Hat to Maintain Shape
Proper storage is key to maintaining your hat’s shape. Avoid folding it in a way that can crease the brim or crown. Instead, store it flat or over a rounded object, like a small ball, to help it keep its form. If you’re stacking hats, place tissue paper in between to prevent them from pressing into each other.
Repairing and Refreshing Your Hat
Over time, your hat might show signs of wear like loose stitches or frayed edges. For minor repairs, a simple needle and matching thread or yarn can work wonders. Secure any loose ends by weaving them back into the fabric. If your hat has lost its shape, lightly steam it to restore its form. Hold the hat over a steaming kettle or use a handheld steamer, gently reshaping it as you go.
Keeping your crochet bucket hat in top condition is all about regular care and attention. With the right techniques, your handmade accessory can last for years, looking just as good as when you first made it.
Looking to make your own stylish crochet bucket hat? Check out this beginner-friendly crochet bucket hat pattern that’s quick and easy to follow. Perfect for adding a personal touch to your wardrobe!
Wrapping Up Your Crochet Adventure
So there you have it, your very own crochet bucket hat! Whether you’re a newbie or a seasoned pro, making this hat is a fun way to flex those creative muscles. You’ve learned the ropes, from picking the right yarn to mastering those stitches. And hey, if you’ve made a few mistakes along the way, don’t sweat it. Each one is a step towards getting better. Now, you’ve got a stylish hat to show off, and maybe even a new hobby to dive into. Keep experimenting with colors and patterns, and who knows? You might just start a trend. Happy crocheting!
Frequently Asked Questions
What stitches do I need to know to crochet a bucket hat?
To crochet a bucket hat, you’ll need to know the chain stitch, single crochet, and half double crochet. These basic stitches help form the hat’s shape and structure.
How do I pick the right yarn and hook size for my hat?
Choose yarn that feels good to you and matches the look you want. A medium-weight yarn is often a good choice. Pair your yarn with a hook size that fits the yarn’s thickness.
How can I make sure my hat fits properly?
Measure your head by wrapping a tape measure around it, just above your ears and eyebrows. Use this measurement to adjust your hat size so it fits comfortably.
What is the top-down method in crocheting hats?
The top-down method starts at the crown of the hat and works downward. This technique makes it easy to adjust the size as you crochet.
How can I personalize my crochet bucket hat?
You can add buttons, flowers, or even ribbons to make your hat unique. Experiment with different colors and stitch patterns to create a one-of-a-kind look.
How should I care for my crochet bucket hat?
To keep your hat looking great, hand wash it gently and lay it flat to dry. This will help maintain its shape and texture over time.