DIYbrico | Discover, Create, Inspire

Mastering the Art: How to Crochet a Beanie for Beginners
Learn how to crochet a beanie with this beginner-friendly guide. Perfect your skills and create cozy hats easily.

Crocheting a beanie can be a fun and rewarding project, especially if you’re just starting out with crochet. It’s a simple way to learn basic stitches and create something warm and stylish for the colder months. In this guide, we’ll break down the steps to make your first beanie, from picking the right yarn and hook to customizing your design.
Key Takeaways
- Crocheting a beanie is a great beginner project that helps you learn basic stitches.
- Choosing the right yarn and hook is crucial for the outcome of your beanie.
- Starting with a magic ring is a common method for beanie construction.
- Checking your gauge can ensure a proper fit for your beanie.
- Adding personal touches like colours or embellishments can make your beanie unique.
Understanding the Basics of how to Crochet a Beanie
Essential Tools and Materials
Getting started with crocheting a beanie requires a few basic tools and materials. First off, you’ll need a crochet hook. Choosing the right size is key; for beginners, a size 8 mm or larger is often recommended, especially if you’re using bulky yarn. This makes the stitches larger and the beanie quicker to finish. Next, grab some yarn. Bulky yarn (weight category 5) is a popular choice for beanies as it works up fast and keeps you warm. Besides these, a pair of scissors and a yarn needle are handy for cutting and weaving in ends. Having a tape measure can also help you keep track of your progress and ensure the right fit.
Choosing the Right Yarn and Hook
When it comes to yarn, the options are endless but not all are suitable for beanies. Bulky yarns are perfect because they create a thick, warm fabric and speed up the crocheting process. Look for yarn that’s soft and comfortable against the skin. As for hooks, using a larger hook, like an 8 mm or 9 mm, can make the process smoother, especially for beginners. The larger hook size helps create looser stitches, making it easier to work with the yarn and giving your beanie a bit of stretch.
Basic Crochet Stitches for Beginners
Before diving into your beanie project, it’s good to familiarize yourself with a few basic stitches. The single crochet (SC) is a staple in many patterns. It’s simple and creates a tight, dense fabric. The half double crochet (HDC) and double crochet (DC) are also essential as they are taller stitches, allowing your project to grow faster. These stitches form the foundation of many beanie patterns, and once you get the hang of them, you’ll be ready to tackle more complex designs.
Starting with the basics might seem slow, but mastering these foundational skills is the first step towards creating beautiful crochet projects. With patience and practice, even a beginner can craft a cozy beanie that looks like a pro made it.
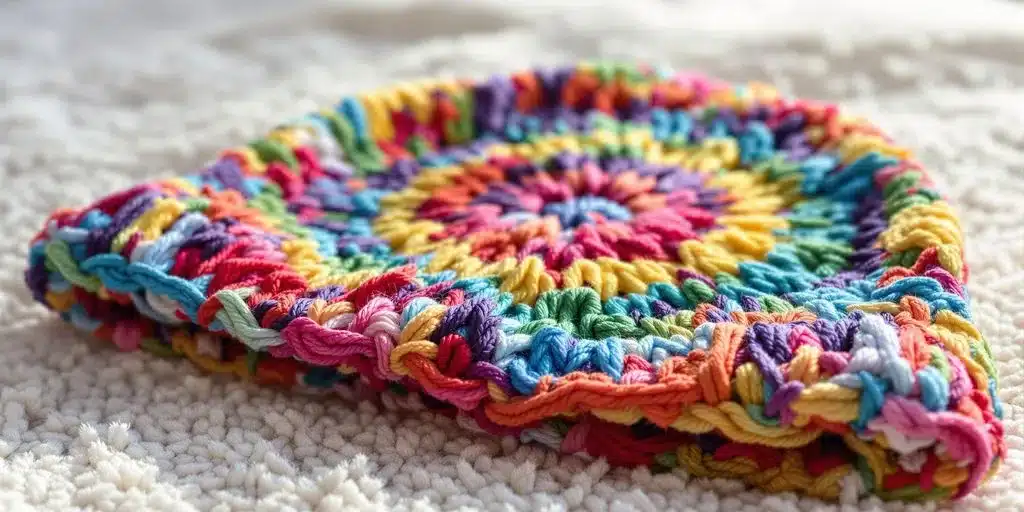
Step-by-Step Guide to Crocheting Your First Beanie
Starting with a Magic Ring
Kicking off your beanie adventure with a magic ring is a game-changer. This technique helps you create a tight, adjustable loop that forms the base of your beanie. To start, wrap the yarn around your fingers to form a loop, then insert your hook into this loop and pull up a loop. Chain one to secure it. This method is fantastic because it avoids that awkward hole at the top of your hat. Practice this a few times, and you’ll get the hang of it.
Working in the Round
Once you’ve mastered the magic ring, it’s time to work in the round. This means you’ll crochet in a spiral, continuously adding stitches to expand your beanie. Begin with a series of single crochets in your magic ring. Remember to place a stitch marker at the start of each round so you don’t lose track. As you progress, you’ll need to increase the number of stitches in each round to shape your beanie properly.
Shaping the Crown of the Beanie
Shaping the crown is all about increasing your stitches methodically. Typically, you’ll start with a few rounds of increases, where you add extra stitches evenly spaced around your circle. The key is to keep your increases consistent so the crown lays flat. After reaching the desired diameter, stop increasing and continue crocheting in rounds to build the beanie’s body. This is where your beanie starts to take shape, and you can see your hard work paying off.
Remember, patience is your best friend when crocheting your first beanie. Mistakes are part of the process, and each one teaches you something new.
Mastering Techniques for a Perfect Fit
Checking Your Gauge
Before cropping your beanie, it’s crucial to check your gauge. This means making sure your stitches are the right size. If your gauge is off, your beanie might be too big or too small. To check your gauge, crochet a small swatch using the yarn and hook you plan to use. Measure it against the pattern’s gauge requirements. If it doesn’t match, try using a different hook size.
Adjusting Size for Different Heads
Not everyone’s head is the same size, right? So, you might need to adjust the beanie to fit perfectly. Start by measuring the head circumference of the person who will wear the beanie. Then, adjust the number of stitches in your foundation chain to match that measurement. Remember, making a beanie bigger is easier than making it smaller, so err on the side of caution.
Incorporating Ribbing for Stretch
Adding ribbing to your beanie can give it that extra stretch and snug fit. Ribbing is usually done around the brim of the beanie. You can create ribbing by alternating between front and back post double crochet stitches. This technique adds elasticity and gives your beanie a stylish edge.
Tip: A well-fitted beanie not only looks good but also feels comfortable. Don’t rush through these steps; take your time to ensure a perfect fit.
For a stylish, well-fitting beanie, consider trying this easy crochet ribbed beanie pattern that provides a quick and simple way to create a beanie perfect for cold weather.
Adding Personal Touches to Your Beanie
Choosing Colors and Patterns
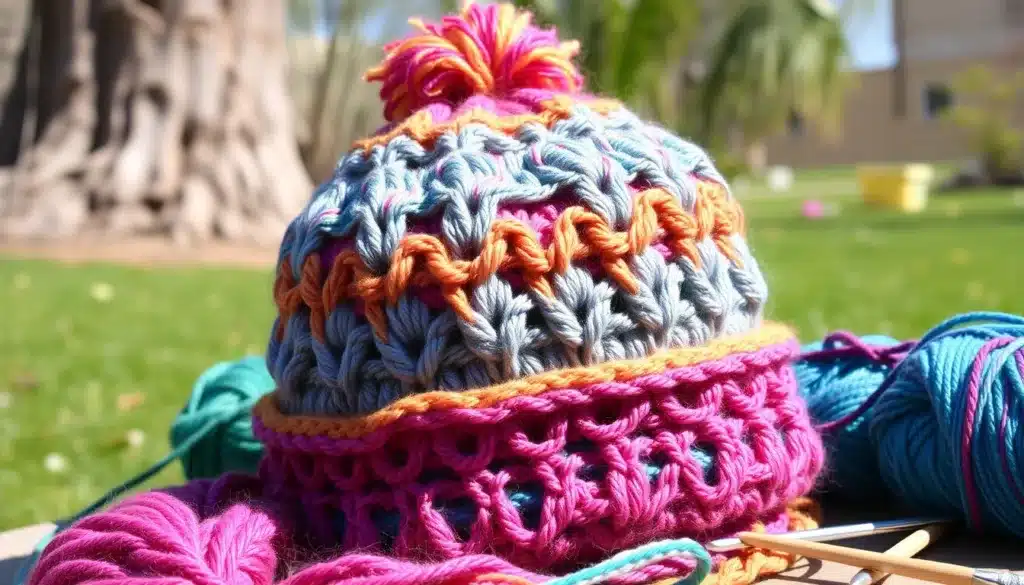
When it comes to personalizing your beanie, colour choice is key. Think about what reflects your style or the person you’re making it for. You can go for a single colour for a classic look or mix it with stripes or blocks of colour for something fun. If you’re feeling adventurous, try colourwork techniques like Fair Isle or tapestry crochet to create intricate patterns.
Adding a Pom-Pom or Other Embellishments
Adding a pom-pom can transform a simple beanie into something special. You can make one using leftover yarn or buy a faux fur pom-pom for a touch of luxury. To attach it, simply sew it to the top of your beanie. Besides pom-poms, consider adding buttons, patches, or even embroidery for a unique flair.
Customizing the Brim
The brim of your beanie is another area where you can express creativity. You might want to add ribbing, which not only looks good but also helps the beanie fit snugly. You can also fold the brim for a cuffed look or leave it straight for a more relaxed fit. Experiment with different stitch patterns like the moss stitch or even cables to make your brim stand out.
Crocheting a beanie allows you to showcase your creativity and make something truly unique. Whether it’s through colors, embellishments, or the brim design, each choice you make adds a personal touch that makes the beanie yours.
Troubleshooting Common Crochet Mistakes
Fixing Uneven Stitches
Ever look at your beanie and notice it’s all wobbly? Uneven stitches can mess up the whole look. To fix this, keep your tension consistent. If you’re pulling too tight, your stitches will be smaller and your fabric stiffer. It’s too loose, and everything just sags. Try practising with some scrap yarn first to get the feel right. Also, counting your stitches regularly helps to keep everything on track.
Correcting Tension Issues
Tension is like the Goldilocks of crochet—not too tight, not too loose, but just right. If your tension is off, your beanie might not fit as expected. Use a gauge swatch to test your tension before starting. If your stitches are too tight, try using a larger hook. If they’re too loose, go for a smaller one. Also, sometimes, just relaxing your grip can make a world of difference.
Dealing with Yarn Splitting
Yarn splitting is super annoying. It happens when your hook catches the yarn fibres instead of the whole strand. To avoid this, make sure you’re using the right hook for your yarn. A hook that’s too sharp or too small can cause splitting. Keep your hook at the right angle and try to work at a steady pace. If you find your yarn splitting often, consider switching to a smoother yarn type.
Crochet can be a bit tricky at times, but don’t let these common hiccups discourage you. With a bit of practice and patience, you’ll be crafting beautiful beanies in no time. And if you need some extra help, check out this collection of unconventional crochet hacks to tackle those pesky problems.
Exploring Advanced Beanie Designs
Experimenting with Textured Stitches
When you want to take your beanie game up a notch, textured stitches are the way to go. Textures add depth and interest, making your beanie stand out. Consider using stitches like the popcorn, bobble, or even the shell stitch. These stitches not only bring a new dimension to your work but also offer a cosy feel. Textured stitches can transform a simple beanie into a statement piece.
Incorporating Colorwork
Colourwork might seem daunting at first, but it’s a fantastic way to personalize your beanie. Start with simple stripes or try your hand at more intricate patterns like fair isle or tapestry crochet. Colourwork allows you to express your creativity and make each piece unique. Remember, practice makes perfect, so don’t shy away from experimenting with different colour combinations.
Trying Out Different Beanie Styles
The world of beanies is vast, and there are styles to suit every head and preference. From slouchy beanies that offer a relaxed fit to snug ribbed designs perfect for chilly days, the options are endless. You might even want to try a ribbed beanie for a snug fit, minimizing fabric bunching. This style is not only practical but also stylish, making it a great choice for fall and winter. Each style has its own charm, so explore and find what suits you best.
Advanced beanie designs are all about pushing the boundaries of your creativity. Whether it’s through texture, color, or style, these designs allow you to showcase your skills and create something truly special.
Wrapping Up Your Crochet Journey
So, there you have it! You’ve just crocheted your first beanie, and hopefully, it was a fun ride. Remember, every stitch you make is a step towards mastering this craft. Don’t stress if it’s not perfect; practice makes progress. With each hat you create, you’ll get better and faster. Plus, you’ll have a cosy collection of beanies to show for it. Keep experimenting with different yarns and patterns, and soon, you’ll be making hats that are uniquely yours. Happy crocheting, and may your hooks always be busy!
Frequently Asked Questions
What materials do I need to start crocheting a beanie?
To crochet a beanie, you’ll need yarn (bulky or super bulky for a quicker project), a crochet hook (size 8 mm or larger for chunky yarn), scissors, a tapestry needle, and a measuring tape.
How do I choose the right yarn and hook for my beanie?
Choose a yarn that’s soft and comfortable, like acrylic or wool. Match your crochet hook size to your yarn weight; for bulky yarn, an 8 mm hook works well.
What are the basic stitches I need to know for crocheting a beanie?
You’ll need to know basic stitches like chain, single crochet, half double crochet, and double crochet. These are the building blocks for most crochet projects.
How can I make sure my beanie fits well?
Check your gauge by making a small swatch before starting. Adjust your hook size if needed to match the pattern’s gauge, ensuring a good fit.
What should I do if my stitches look uneven?
If your stitches are uneven, practice maintaining consistent tension. Try to crochet with a relaxed grip and keep your yarn flow smooth.
How can I add a personal touch to my beanie?
Add personality to your beanie by choosing fun colours, incorporating patterns, or adding embellishments like pom-poms or decorative stitches.