DIYbrico | Discover, Create, Inspire

Mastering the Art of How to Crochet a Circle: Tips and Techniques for Perfect Results
Learn how to crochet a circle with expert tips and techniques for perfect results every time.

Table of Contents
So, you’re ready to dive into the world of crocheting circles. It’s not as easy as it looks, huh? Don’t worry, you’re not alone. Many folks find themselves struggling to get that perfect round shape. There’s a lot to learn, whether you’re making coasters, cute little amigurumi characters, or just trying to nail that circle for a new project. But with the right techniques and a bit of practice, you’ll be creating beautiful circles in no time. Let’s go through some key takeaways to help you master this art.
Key Takeaways
- Start with a magic circle for a neat and tight centre.
- Practice consistent tension to avoid wavy or puckered circles.
- Stagger your increases to prevent the hexagon effect.
- Choose the right yarn and hook size for your project.
- Use stitch markers to keep track of your rounds and increases.
Understanding the Basics of how to Crochet a Circle
The Magic Circle Technique
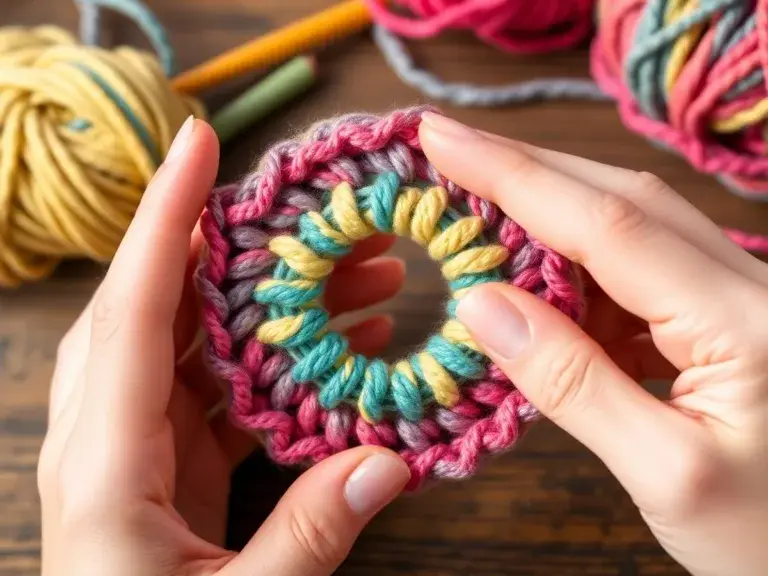
Starting your crochet circle with a magic circle, or magic loop, is a game-changer. This technique helps you avoid that pesky hole in the middle of your circle, giving your work a clean and professional look. The magic circle is all about creating a tight, adjustable loop that you can close up perfectly once your first round is complete. Mastering this technique is essential for creating smooth and even circles. Here’s a basic way to start:
- Make a loop with your yarn, ensuring the tail end is on top.
- Insert your hook into the loop, yarn over, and pull through.
- Chain one to secure the loop and start your first round of stitches.
Standard Increase Patterns
To keep your circle flat and evenly shaped, you must increase the number of stitches in each round. Typically, you start with six stitches in your magic circle. Here’s a simple formula for creating a flat crochet circle to follow:
- Round 1: 6 single crochets (SC) into the magic circle.
- Round 2: Increase in each stitch around (12 SC total).
- Round 3: Increase every second stitch (18 SC total).
- Round 4: Increase every third stitch (24 SC total).
Continue this pattern, increasing the interval between increases by one stitch for each subsequent round.
Common Mistakes to Avoid
Even seasoned crocheters can run into issues when making circles. Here are some common pitfalls:
- Hexagon Effect: If your circle resembles a hexagon, try staggering your increases. This means varying the starting point of each round so the increases aren’t stacked on top of each other.
- Wavy Edges: This can happen if you’re increasing too quickly. Ensure you follow the standard increase pattern and adjust your tension.
- Tight Center: If your centre is too tight, it might be hard to work into the stitches. Ensure your initial loop is not too tight, allowing for easy manoeuvring of your hook.
Remember, practice makes perfect. Don’t get discouraged if your first few attempts aren’t flawless. Keep experimenting with different techniques until you find what works best for you.
Advanced Techniques for Perfect Circles
Staggering Increases for Smoothness
Creating a smooth circle in crochet isn’t just about following a standard pattern. Staggering your increases can make a big difference. Instead of placing increases in the same spot each round, try shifting them slightly. This method helps avoid that unwanted hexagon shape and keeps your circle looking round and even. For example, if you’re increasing every third stitch in one round, start the next round a stitch or two before or after the previous round’s starting point. This subtle change can make your circles look much smoother.
Adjusting Tension for Evenness
Even tension is crucial in crocheting circles. If your tension is too tight, your circle might pucker, and if it’s too loose, it might look wavy. Practice makes perfect here. Try to maintain a consistent grip on your yarn and hook. It might help to practice with different yarns and hooks to see what feels most comfortable for you. Remember, if your circle isn’t lying flat, adjusting your tension might be the solution.
Exploring Different Stitch Patterns
Switching up stitch patterns can add texture and interest to your crocheted circles. You can experiment with single crochet, double crochet, or half-double crochet stitches to create different looks. Each stitch type will give your circle a unique texture and feel. Don’t be afraid to mix and match stitches within a single project to create something truly unique. As you explore these different patterns, you’ll find that each brings its own charm and character to your circles.
Mastering these advanced techniques takes time and patience, but the results are worth it. Keep experimenting and practicing, and soon you’ll be creating perfect circles that showcase your crochet skills beautifully.
For more on maintaining the magic ring and achieving invisible joins, check out this resource.
Tools and Materials for Crocheting Circles
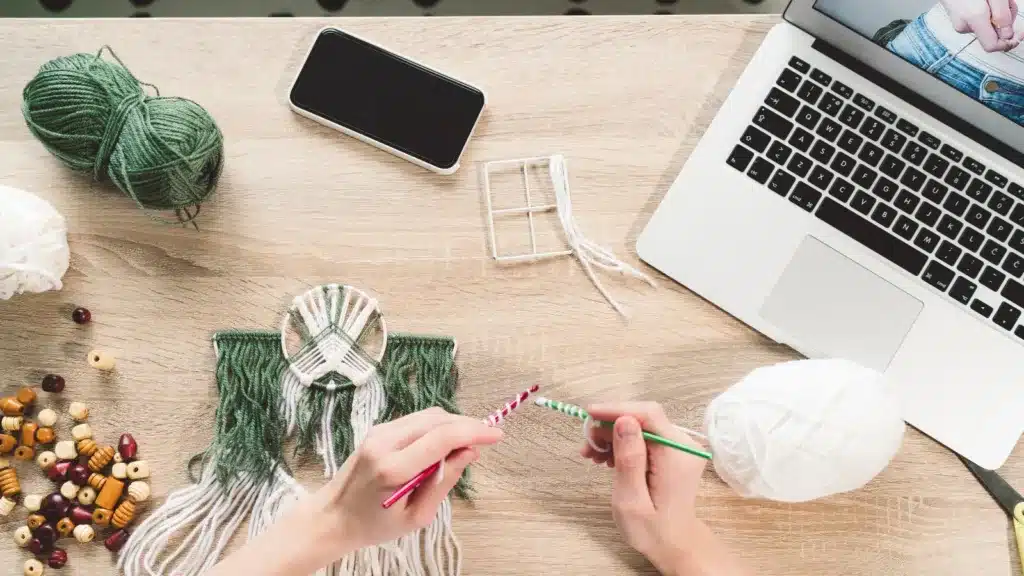
Having the right tools and materials can make all the difference when you’re getting into crocheting circles. Let’s break down what you need to get started and ensure your projects come out looking great.
Choosing the Right Yarn
Picking the right yarn is your first step. Yarn comes in a variety of weights and textures, and each one can give your project a different feel. For beginners, a medium-weight yarn is often recommended because it’s easier to handle and gives you a good balance between thickness and flexibility. Keep in mind that the type of yarn you choose can affect the final look of your circle, so it’s worth experimenting with a few to see what you like best.
Selecting the Best Hook Size
The crochet hook is your main tool, and choosing the right size is crucial. Hooks come in different sizes, typically ranging from 2mm to 15mm. A 5mm hook is a good starting point, especially when paired with medium-weight yarn. However, the best hook size depends on the yarn you’re using and the tightness of your stitches. If your stitches are too tight, try a larger hook. If they’re too loose, go smaller. Finding the perfect hook size can really help your circles look more even and professional.
Essential Accessories for Success
Beyond yarn and hooks, there are a few other accessories that can make your crocheting experience smoother:
- Tapestry Needles: These are great for weaving in the ends of your yarn, giving your project a clean finish.
- Scissors: A sharp pair of scissors is essential for cutting your yarn cleanly.
- Tape Measure: Useful for making sure your pieces are the right size, especially if you’re following a pattern.
Having the right tools not only makes the process easier but also more enjoyable. With the right setup, you’ll find yourself looking forward to each crocheting session.
With these tools and materials in hand, you’re well on your way to mastering the art of crocheting circles. Remember, practice makes perfect, so don’t be afraid to try different combinations to see what works best for you.
Troubleshooting Common Circle Problems
Fixing the Hexagon Effect
Ever notice your circle looking more like a hexagon? It’s a pretty common snag. This happens when your increases stack up in the same spots each round. To get back to that smooth, round shape, try staggering your increases. Instead of placing them directly above the previous round’s increases, shift them around a bit. This helps spread out those increased points, giving your circle a more even look.
Dealing with Uneven Edges
Uneven edges can make your circle look wobbly. It’s usually a sign of inconsistent tension or missed stitches. Make sure you’re keeping your tension even throughout, and double-check your stitch count at the end of each round. Counting is crucial—missing a stitch here or there can really throw things off. A stitch marker can be a lifesaver in keeping track of where you are.
Correcting Loose Centers
A loose centre can make your whole project look sloppy. If you’re starting with a magic circle, make sure it’s pulled tight. This technique is great for avoiding those pesky holes in the middle. If you’re not familiar with it, learn how to crochet a magic ring to get a neat, secure start. Always double-check that your initial ring is snug before moving on to the next round.
Tip: Consistency is key. Whether it’s your tension, your increases, or your starting technique, keeping things consistent will help you achieve that perfect circle every time.
Creative Applications of Crocheted Circles
Crafting Amigurumi with Circles
Amigurumi is a fun and creative way to use crocheted circles. These small, stuffed yarn creatures often begin with a circle, making it a perfect project for practicing your circular crochet skills. Starting with a tight circle ensures that no stuffing peeks through, giving your creations a polished look. Whether you’re making a cute animal or a whimsical character, mastering the circle is key to success in amigurumi.
Designing Home Decor Items
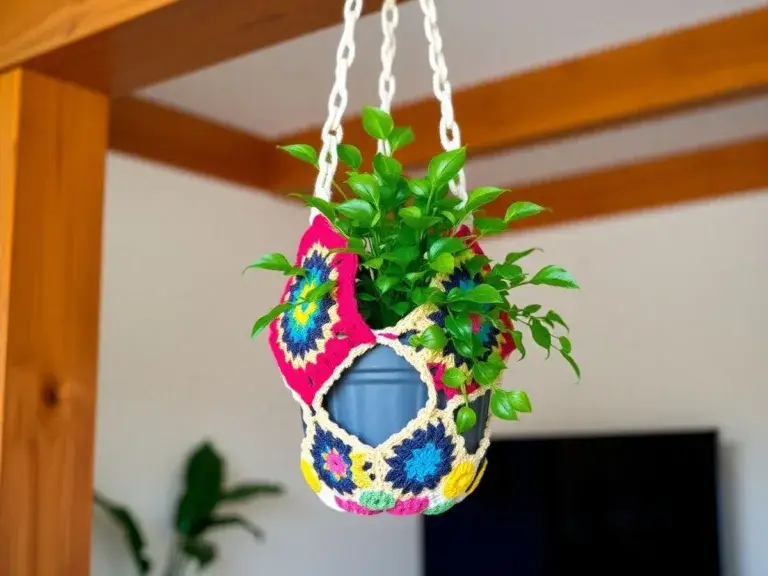
Crocheted circles can add a charming touch to home decor. From coasters to cushions, these circles offer a neat, professional finish. You can experiment with various yarns and colours to match your home’s aesthetic. The circle’s tight centre provides durability, ensuring your decor items last. Consider using a magic circle technique to start your projects, as it creates a snug and seamless look.
Making Fashion Accessories
Incorporating crocheted circles into fashion accessories can elevate your style. Think earrings, necklaces, or even bag embellishments. These circles can be as simple or intricate as you like, allowing for endless creativity. Play with textures and colours to make each accessory unique. Crocheted circles are not just functional; they’re a statement in fashion design.
Tips for Consistent and Even Circles
Counting Stitches Accurately
Keeping track of your stitches is like having a map for your crochet journey. It’s super important to count your stitches at the end of each round to make sure everything’s on track. Missing a stitch here or there can really mess up the shape, making it look more like a wonky blob than a nice circle. A stitch counter can be your best friend, especially when you’re working on bigger projects.
Maintaining Consistent Tension
Getting the tension just right is a bit like finding the perfect balance. Too tight, and your circle might start to curl up like a bowl. Too loose, and it’ll look all wavy and uneven. Practising your tension is key, and while it might take a little time to get the hang of it, the end result is totally worth it. Try to keep your hands relaxed and your stitches uniform to achieve that nice, flat circle.
Using Stitch Markers Effectively
Stitch markers are small, but they pack a punch when it comes to keeping your crochet organized. They help you know exactly where each round begins and ends, which is super handy when you’re working on circles. It’s easy to lose track, especially if you’re watching TV or chatting while you crochet. Pop a marker at the start of each round, and you’ll save yourself a lot of hassle later on.
Consistency in crocheting circles isn’t just about following patterns—it’s about developing a rhythm. Once you find your flow, creating even, beautiful circles becomes second nature. Keep practicing, and don’t be afraid to experiment a bit to find what works best for you.
Exploring Variations in Circle Designs
Incorporating Color Changes
Switching up colours can bring a whole new vibe to your crochet circles. You can change colours at the start of a new round or even mid-round for a more intricate pattern. Colour changes can transform a simple circle into a vibrant masterpiece. To keep things neat, make sure to weave in your ends as you go. Some folks like to use a magic knot to secure the yarn changes, which helps keep everything tidy.
Experimenting with Textures
Adding texture to your circles can make them more interesting. You can try different stitches like bobbles, popcorn, or even cables. These stitches add a unique touch and can make your project stand out. When experimenting, it’s helpful to keep a sample swatch to see how the texture affects the overall shape and tension of your circle.
Creating Layered Circle Patterns
Layering circles can add depth to your designs. By varying the sizes and colours of each layer, you can create a striking visual effect. Start with a small circle and gradually work your way out, adding layers as you go. This technique is great for projects like mandalas or decorative pieces where you want to learn to crochet a flat circle with a step-by-step pattern and video tutorial.
Conclusion
So there you have it, folks! Crocheting a perfect circle might seem like a bit of a challenge at first, but with some practice and patience, you’ll get the hang of it. Remember, it’s all about those increases and keeping your tension just right. Don’t worry if your first few tries aren’t perfect—everyone starts somewhere. Keep experimenting with different techniques, and soon enough, you’ll be crafting circles like a pro. Happy crocheting, and may your circles always be round!
Frequently Asked Questions
What is the magic circle technique in crochet?
The magic circle is a way to start crocheting in the round without leaving a hole in the centre. It involves making a loop with the yarn and crocheting into it, then pulling the end to tighten the loop.
How can I stop my crochet circle from looking like a hexagon?
To keep your circle from becoming a hexagon, try staggering your increases. This means changing where you add extra stitches each round instead of stacking them in the same spot.
Why does my crochet circle have uneven edges?
Uneven edges can happen if your tension isn’t consistent. Try to keep your stitches the same tightness throughout your project to maintain even edges.
What’s the best way to count stitches in a crochet circle?
Using stitch markers can help you keep track of where each round begins and ends, making it easier to count your stitches accurately.
How do I fix a loose centre in my crochet circle?
If the centre of your circle is loose, you can pull the starting yarn tail tighter to close up the hole. Using a magic circle can also help prevent this issue.
What materials do I need for crocheting circles?
You’ll need yarn, a crochet hook, and stitch markers. Choosing the right yarn and hook size is important for the best results.