DIYbrico | Discover, Create, Inspire

10 Adorable Cute Paper Crafts You Can Make Today
Discover 10 cute paper crafts to make today, including heart bunting and paper roses. Perfect for DIY lovers!

Table of Contents
Crafting with paper is a fun and easy way to make something cute and special. Whether you want to decorate your home or make a unique gift, paper crafts offer endless possibilities. From simple designs to more complex creations, there’s something for everyone to try. Let’s dive into some adorable paper crafts you can start making today!
Key Takeaways
- Paper crafts are budget-friendly and require minimal supplies.
- You can create personalized gifts and decorations with simple techniques.
- Perfect for all ages, making it a great family activity.
- Paper crafting can be a relaxing and rewarding hobby.
- Experimenting with different paper types can lead to unique results.
1. Paper Heart Bunting

Creating a paper heart bunting is an easy and fun way to add a touch of charm to any room or event. Whether you’re decorating for Valentine’s Day or want to spread love, this craft is perfect.
Materials Needed:
- Colored paper (preferably red, pink, or any color you love)
- Scissors
- String or ribbon
- Glue or tape
- Pencil
Steps to Create:
- Cut Out Hearts: Start by folding your colored paper in half. Draw half a heart shape along the fold and cut it out. When you unfold the paper, you’ll have a perfect heart shape. Repeat this process until you have as many hearts as you need.
- Prepare the String: Measure the length of your string or ribbon according to where you plan to hang the bunting. Leave a little extra on each end for hanging.
- Attach the Hearts: Lay out your hearts in the order you want them to appear. Use glue or tape to attach the top of each heart to the string, spacing them evenly apart.
“A paper heart bunting is a simple yet charming way to express creativity and warmth in your space.”
Tips for Personalization:
- Use patterned paper for a unique look.
- Add glitter or stickers to each heart for extra flair.
- Experiment with different sizes of hearts to create visual interest.
Creating a paper heart bunting is not just a craft project; it’s a way to infuse a little love into your everyday surroundings. It’s easy, customizable, and a great activity for crafters of all ages.
2. Paper Flowers
Introduction to Paper Flowers
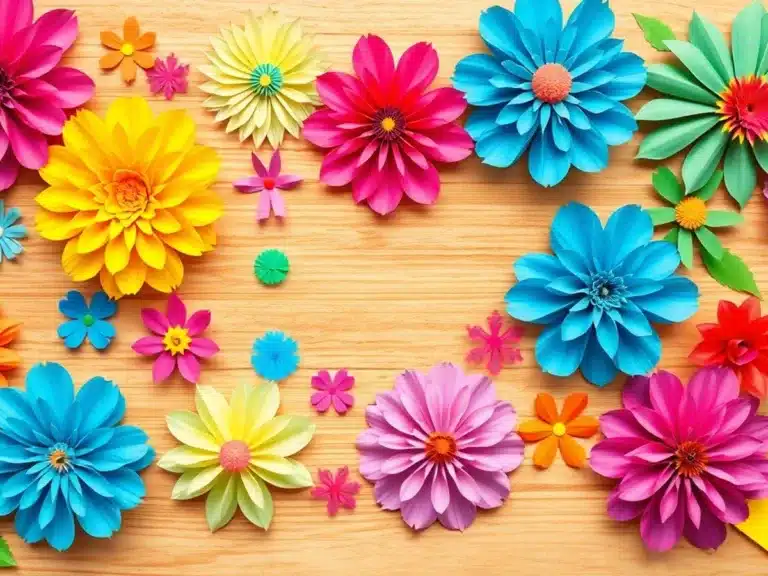
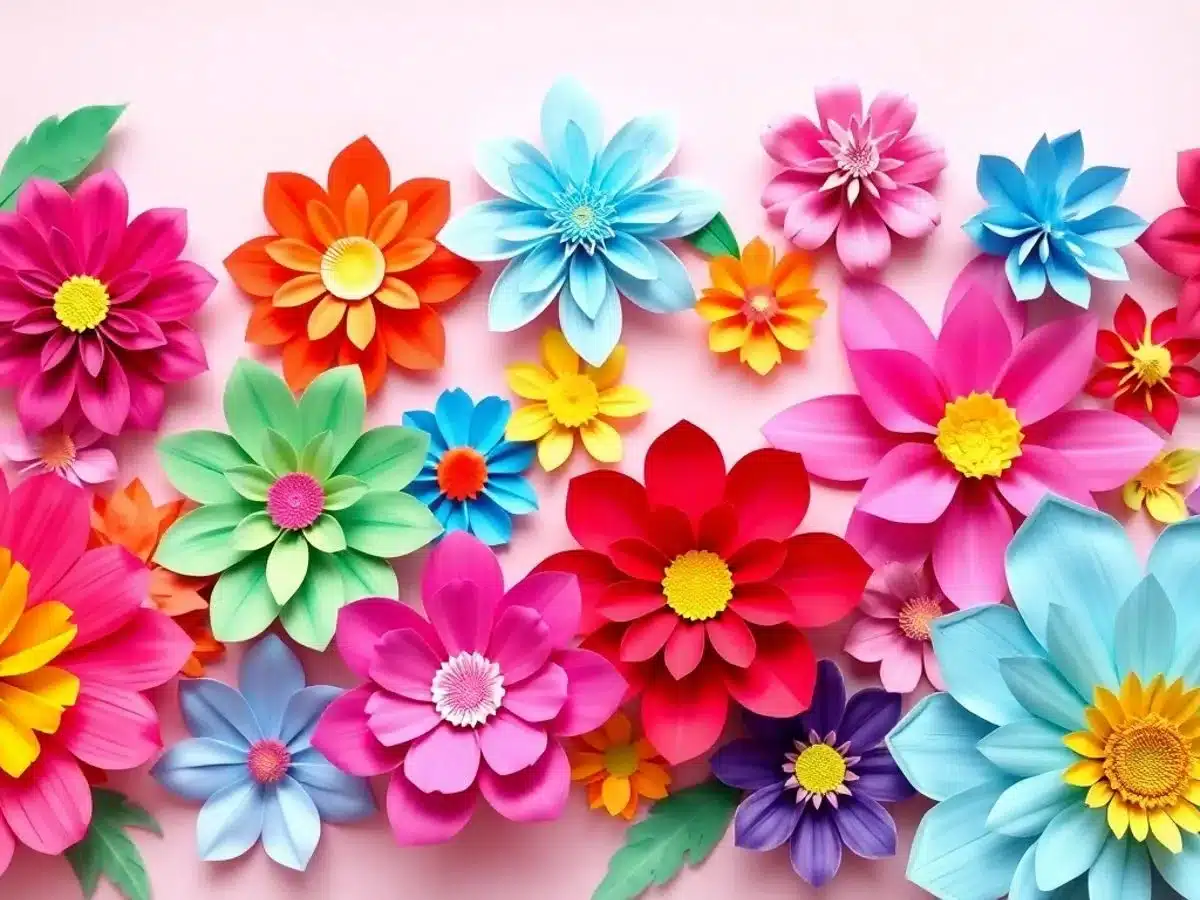
Creating paper flowers is an enjoyable and artistic way to bring life into any space without needing a green thumb. These crafts are visually appealing and offer a satisfying hands-on experience.
Materials Needed
To get started, gather the following materials:
- Scissors
- Craft Glue
- Pencil
- Flower Template
- Dowel (optional)
- Wonder Clips (optional)
Step-by-Step Guide
- Print and Cut: Begin by downloading and printing a flower template. Carefully cut out each piece you’ll need.
- Assemble Petals: Overlap the petals, securing them with glue. You might find wonder clips handy to hold the petals in place while the glue dries.
- Layering: Continue layering the petals, adding a small weight like a bowl to ensure they dry in place. Keep adding layers until your flower looks full.
- Finishing Touch: Add a yellow circle at the center to mimic the flower’s pistil. Admire your beautiful creation!
Tips and Tricks
- Experiment with different colors and sizes to create a diverse bouquet.
- Use a dowel to give your flowers a stem, making them easier to display.
A little creativity goes a long way. With just paper and glue, you can create a vibrant display that lasts all year round.
Paper flowers are a fantastic way to add a splash of color and a touch of elegance to your home decor. Whether you’re crafting for a special occasion or just to brighten up your day, these vibrant paper flowers will surely impress. Enjoy the process and let your creativity blossom!
3. Paper Wreath
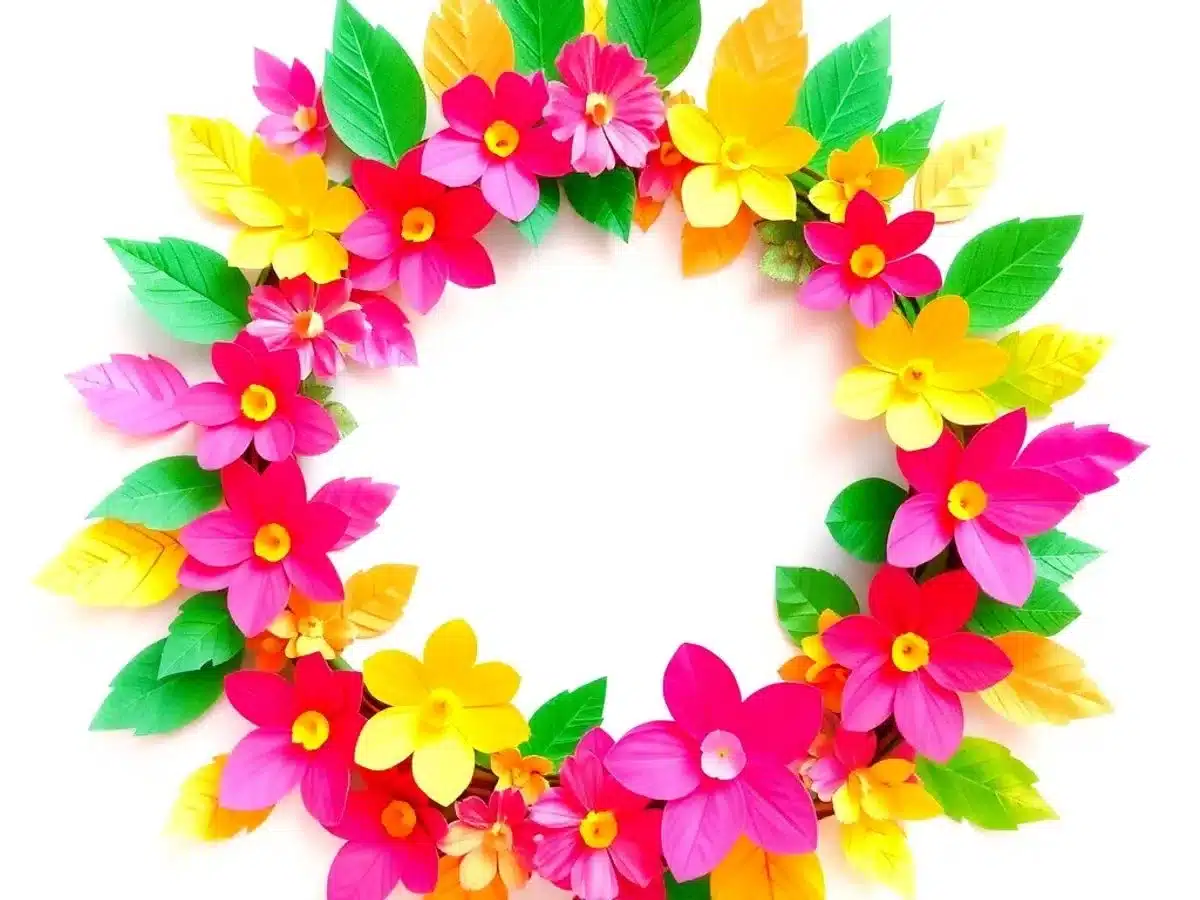
Creating a paper wreath is a delightful way to add a personal touch to your home decor. It’s not just for the holidays; you can hang it anytime to brighten your space. Here’s a simple guide to making your own paper wreath, perfect for beginners and seasoned crafters alike.
Materials Needed
- Styrofoam wreath
- Scissors
- Adhesive
- 3-4 sheets of patterned paper
- Paper trimmer
- Xyron Creative Station with permanent refill
Instructions
- Cutting the Strips: Start by cutting your patterned paper into strips. The width of the strips can vary depending on how you want your wreath to look.
- Applying Adhesive: Run several strips of your patterned paper through the Xyron Creative Station. Make sure the side you want visible is facing up.
- Forming the Wreath: Take each strip and remove it from the backing. Loosely loop it around the styrofoam wreath, pressing the ends together before securing the rest of the strip. Repeat until the entire wreath is covered.
- Final Touches: Cut a “V” shape at the end of each strip to give it a ribbon-like appearance. Feel free to add embellishments like small photos or decorative items to make it uniquely yours.
Crafting a paper wreath is a great way to use up leftover paper scraps while creating something beautiful and unique for your home. It’s a relaxing project that lets you express your creativity.
For more imaginative paper crafts, try exploring other projects like origami animals or DIY greeting cards. These crafts require minimal materials and offer a relaxing way to unleash your creativity.
4. Paper Ice Cream Banner
Creating a paper ice cream banner is a delightful way to bring a touch of summer into your home or party decor. This craft is not only fun but also a great way to get creative with kids.
Materials Needed:
- Multicolored patterned cardstock (preferably pastel colors)
- Foam tape
- Hot glue
- Hole punch
- Scoring board
- Pink yarn
- Scissors
- Tan or brown paper for cones and cherry stems
- Printable ice cream cone template
Steps to Create Your Banner:
- Print and Cut: Start by printing the ice cream cone template. Use tan or brown paper to cut out the cone shapes.
- Make the Rosettes: For the ice cream scoops, create paper rosettes. Cut strips of patterned cardstock to 1.5 x 11 inches. Score these strips every ¼ inch with your scoring board. Accordion fold each strip and glue the ends together to form a loop.
- Secure the Center: Cut a small square of paper and use hot glue to secure it at the center of the loop. Press down to ensure it sticks properly. Add a matching circle of patterned paper on top of each rosette to finish the scoop look.
- Assemble the Ice Cream: Attach the rosettes to the cones using hot glue. Add a small circle of red paper or a faux cherry on top of each scoop to mimic a cherry.
- Create the Banner: Punch two holes in each cone. Use foam tape to attach the cones to a larger circle of cardstock if desired. Thread pink yarn through the holes to string the cones together.
Crafting this paper ice cream banner can be a fantastic project for a summer-themed birthday party or simply to enjoy a creative afternoon with your little ones. The end result is a charming decoration that brings a smile to anyone who sees it.
For an extra fun twist, try making a handprint card that complements your banner. It’s a perfect way to keep the kids engaged and add a personal touch to your decor.
5. Paper Fortune Cookies
Making paper fortune cookies is a fun and creative way to send messages or small notes. These delightful little crafts are perfect for parties, special occasions, or just to brighten someone’s day. The best part? They’re super easy to make!
Materials Needed:
- Colorful paper or cardstock
- Scissors
- Glue or double-sided tape
- Small strips of paper for fortunes
Steps to Create Paper Fortune Cookies:
- Cut Circles: Start by cutting circles out of your chosen paper. A diameter of about 4 inches works well.
- Fold and Shape: Lightly fold the circle in half, but don’t crease it. Hold the ends of the fold and gently push towards the center to form the fortune cookie shape.
- Secure the Shape: Apply a small amount of glue or use double-sided tape to secure the fold.
- Insert a Fortune: Before sealing the cookie completely, slip a small strip of paper with your message inside.
Crafting these paper fortune cookies can be a delightful activity for both kids and adults. You can personalize each one with unique messages, making them a thoughtful gift or party favor.
If you’re looking for more creative paper crafts, check out our paper plate crafts for kids that are perfect for rainy days and enhancing creativity.
6. Paper Box Strawberry
Introduction
Creating a paper box strawberry is not just a fun craft project; it’s also a delightful way to present a small gift. This adorable craft is sure to bring a smile to anyone’s face. Whether you’re making one for a friend or just for fun, this project is simple and rewarding.
Materials Needed
- Red cardstock or construction paper
- Green cardstock for the leaves
- Scissors
- Craft glue
- Black marker or black paper for seeds
- Template for the strawberry box (optional)
Step-by-Step Instructions
- Cut the Red Paper: Start by cutting out a strawberry shape from your red cardstock. If you have a template, use it to trace and cut the shape.
- Create the Box Shape: Fold the cut-out into a box shape. You might need to make some cuts along the edges to help fold it into a 3D shape.
- Add Details: Use a black marker to draw small seeds on the strawberry. You can also cut tiny seed shapes from black paper and glue them on.
- Make the Leaves: Cut leaf shapes from the green cardstock and attach them to the top of your strawberry box.
- Assemble the Box: Glue the edges together to secure the box shape. Make sure the leaves are attached firmly.
Tips and Tricks
- Use bubble wrap painted red to add a textured effect to your strawberry. This can be done by painting the bubble wrap and pressing it onto the red cardstock before cutting.
- For a more realistic look, vary the size of the seeds slightly.
Crafting is a wonderful way to relax and express creativity. This paper box strawberry is not only easy to make but also a charming addition to any gift-giving occasion.
Conclusion
There you have it! A simple yet charming paper box strawberry that’s perfect for any occasion. Whether you’re gifting it or keeping it for yourself, it’s a sweet little project that anyone can enjoy. For more creative ideas, consider exploring other paper crafts that can add a personal touch to your gifts.
7. Paper Ball Garland
Creating a paper ball garland is a fun and simple way to add a splash of color to any room or event. This craft is perfect for birthdays, holidays, or just because you want to brighten up a space. You’ll need some basic supplies, most of which you probably already have at home.
Materials Needed
- Scissors
- Glue
- Multicolored paper
- Yarn or string
Instructions
- Cut the Paper: Start by cutting your paper into strips. The size of the strips will determine the size of your balls, so keep that in mind. For a standard size, aim for strips that are about 1 inch wide and 6 inches long.
- Shape the Strips: Fold each strip in half to create a crease, then unfold. This helps when forming the ball shape.
- Form the Ball: Take two strips and glue them together in a cross shape. Add two more strips diagonally to form an “X” over the cross. Secure with a dab of glue at the centre.
- Assemble the Ball: Bring the ends of each strip towards the centre, securing them with glue to form a spherical shape. Repeat this process until you have enough balls for your garland.
- String the Garland: Thread a piece of yarn or string through the balls. You can space them out evenly or cluster them together, depending on your style.
Making a paper ball garland is not only a creative outlet but also a great way to engage kids in crafting. It’s simple enough for children to help with, and it teaches them about shapes and colors. Plus, it’s a great way to recycle old paper! Engaging children in creative construction paper crafts can spark their imagination and enhance fine motor skills, making this project both fun and educational.
And there you have it—a colorful, festive paper ball garland ready to hang anywhere you need a bit of cheer.
8. Paper Butterflies
Nothing says “spring” like the sight of butterflies fluttering about, and with this simple craft, you can bring that charm indoors. Making paper butterflies is not only fun but also an excellent way to add a splash of color to any room.
Materials Needed
- Pink cardstock (two shades)
- Purple cardstock (two shades)
- Pink glitter paper
- Purple glitter paper
- Large white cardstock
- Printable butterfly templates (available in three sizes)
Step-by-Step Guide
- Print and Cut: Start by printing out the butterfly templates. You’ll want to use various sizes to create a dynamic display. Cut out the shapes using the different colors of paper.
- Scoring: Score two lines down the middle of each butterfly, forming a rectangle in the center. This will be the area where you attach your butterflies to the cardstock. If you plan to stick them on a wall, consider using adhesive putty instead.
- Assemble: Glue the butterflies onto the white cardstock, arranging them from largest to smallest. Mix in some glitter butterflies to add sparkle.
Creating paper butterflies is a delightful project that transforms simple materials into beautiful decor. It’s a perfect way to spend an afternoon and a great way to create your own origami paper butterflies with ease.
This craft is perfect for a rainy day or a weekend project with kids. The end result is a stunning array of butterflies that brings a touch of nature inside your home.
9. Paper Geode Garland
Creating a paper geode garland is like bringing a bit of the natural world inside but with your own twist. These vibrant paper creations can add a splash of color to any room, making them perfect for parties or just to brighten up your space. The best part? You can customize them with any color palette you choose.
Materials Needed
- Colored paper (your choice of colors)
- Scissors
- Hot glue gun
- String or yarn
Steps to Create Your Garland
- Cut Your Paper: Start by cutting your colored paper into various geometric shapes. Triangles, diamonds, and hexagons work well.
- Fold and Glue: Fold the shapes along the edges to create a 3D effect. Use a hot glue gun to secure the folds.
- Assemble Your Geodes: Once you have several folded shapes, start glueing them together, edge to edge, to form a geode-like structure.
- String Them Up: Attach each completed geode to a piece of string or yarn. Space them evenly for a balanced look.
- Hang Your Garland: Find the perfect spot to hang your garland, whether it’s across a wall, above a window, or along a mantel.
Paper geode garlands are a fun and creative way to express your style. They can be as simple or as intricate as you want, making them a great project for both beginners and seasoned crafters.
Consider using recycled paper or even transforming empty toilet paper rolls into your geodes for a more eco-friendly approach. This not only adds a unique texture but also promotes recycling and sustainability in crafting.
10. Paper Rose
Creating a paper rose is a delightful craft that can bring a touch of elegance to any setting. It’s a wonderful alternative to real flowers, especially when you’re looking to save some money or want a long-lasting display. Here’s a simple guide to crafting your own paper rose.
Materials Needed:
- Colored paper (red is traditional, but any color works)
- Scissors
- Glue or double-sided tape
- A pencil or wooden skewer
- Florist tape (optional)
Steps to Make a Paper Rose:
- Cut the Petals: Start by cutting your colored paper into petal shapes. You’ll need about 10-12 petals for a full rose.
- Shape the Petals: Use a pencil or skewer to curl the edges of each petal. This gives them a more natural look.
- Create the Center: Roll one petal tightly to form the center of the rose. Secure it with a bit of glue or tape.
- Build the Flower: Gradually add more petals around the center, overlapping them slightly and securing each with glue.
- Finish with a Stem: If you want a stem, attach the rose to a skewer and wrap it with florist tape for a polished look.
Crafting a paper rose is not just about the end product, but also about enjoying the process of creating something beautiful with your own hands.
For a more detailed guide, you might find the origami rose tutorial helpful, which includes both written instructions and a video demonstration. This can be a fun and quick project to tackle in just five minutes!
Wrapping Up Your Paper Craft Adventure
So there you have it, ten cute paper crafts you can dive into right now. Whether you’re looking to spruce up your home decor or just want a fun project to tackle on a lazy afternoon, these crafts have got you covered. Paper is such a versatile material, and with just a few supplies, you can create something truly special. Remember, crafting is all about having fun and letting your creativity shine. So grab your scissors, some colorful paper, and start crafting! Who knows, you might just discover a new favorite hobby. Happy crafting!
Frequently Asked Questions
What materials do I need for paper crafts?
You’ll need basic supplies like paper, scissors, glue, and sometimes markers or crayons. For some crafts, you might also need string, tape, or decorative items like stickers.
Are these paper crafts suitable for kids?
Yes, most of these crafts are kid-friendly. Just make sure an adult is around to help with cutting or using glue.
How long does it take to make a paper flower?
Making a simple paper flower can take about 15 to 30 minutes, depending on the complexity and your experience.
Can I use recycled paper for these projects?
Absolutely! Recycled paper can add a unique texture and is great for the environment.
Do I need any special tools for these crafts?
For most crafts, basic tools like scissors and glue are enough. Some projects might need a hole puncher or a craft knife.
Where can I find templates for these crafts?
You can find templates online on crafting websites or create your own using simple shapes.