DIYbrico | Discover, Create, Inspire

Unlock Your Creativity: 10 Mind-Blowing DIY Projects You Can Try Today!
Discover 10 mind-blowing DIY projects to spark creativity, from tin cans to skateboards. Start crafting today!

Ever feel like you need something fun and creative to do? Whether you’re stuck inside on a rainy day or just looking for a new hobby, DIY projects can be a great way to pass the time. Plus, there’s no better feeling than making something with two hands. Check out these 10 mind-blowing DIY projects perfect for beginners and seasoned crafters. Trust me, you’ll want to try at least one of these today.
Key Takeaways
- Watercolor brush pens are perfect for creating detailed and vibrant artwork.
- Liquid chalk markers can customize gadgets and other non-porous surfaces.
- Upcycling tin cans into decorative storage is an easy and fun project.
- Painting on dinnerware is a creative way to add flair to your celebrations.
- Transform dried leaves into unique art pieces with acrylic paint pens.
1. Mind-Blowing DIY Projects – Watercolor Brush Pens
Watercolor brush pens are a game-changer for both beginners and seasoned artists. These handy tools combine the precision of a marker with the fluid beauty of watercolor paints, making them versatile and easy to use. Whether you’re sketching on the go or creating detailed pieces at home, these pens can do it all.
Why Use Watercolor Brush Pens?
- Control and Convenience: Unlike traditional watercolors, these pens let you adjust the opacity and flow with ease. Their built-in reservoirs ensure just the right amount of water is used, preventing paper from wrinkling.
- Portable: No need for a water jar or separate brushes. Just cap the pen and take it anywhere.
- Versatility: Use them for lettering, shading, or even creating layered effects.
Fun Ideas to Try
- Paint on Old Book Pages: Breathe new life into loose book pages by painting directly on them. The semi-transparent ink won’t completely cover the text, creating a unique layered look.
- Tie-Dye Effect: Experiment with random strokes and colors to mimic the vibrant patterns of tie-dye.
- Fruit Sketches: Practice your skills by painting fruits. Their varying shapes and gradients make them perfect subjects.
“Watercolor brush pens are more than just tools—they’re an invitation to explore your creativity. From quick sketches to intricate designs, there’s no limit to what you can create.”
Quick Tips for Best Results
| Tip | Explanation |
|---|---|
| Use Water Sparingly | Too much water can oversaturate the paper. Start light and build up layers. |
| Blend Colors | Mix two colors directly on the paper for smooth transitions. |
| Choose the Right Paper | Opt for thicker paper to avoid warping and ensure vibrant results. |
Ready to get started? Try creating flower designs with these pens. For inspiration, check out this flower painting tutorial that walks you through blending techniques for a stunning effect.
2. Liquid Chalk Markers
Liquid chalk markers are one of those tools you never knew you needed until you actually try them. They’re vibrant, easy to use, and can turn almost any surface into a canvas for your creativity. Whether you’re doodling on windows or jazzing up a chalkboard, these markers are a game-changer.
Here are a few fun ways to get started with liquid chalk markers:
- Window Art: Create seasonal decorations or daily doodles on your windows. The best part? They’re erasable, so you can wipe them clean and start fresh whenever inspiration strikes.
- Egg Painting: Perfect for Easter or just for fun, use these markers to draw patterns, funny faces, or even tiny masterpieces on eggs. Just be careful not to crack them!
- Recreate Famous Art: Try mimicking iconic paintings like “The Starry Night” on a chalkboard or other non-porous surface. If you mess up, no worries—just wipe it clean and go again.
Liquid chalk markers are great for experimenting because they’re mess-free and completely erasable on non-porous surfaces. You can make mistakes without the stress, which means more room to have fun and get creative.
For anyone excited about DIY projects using chalk markers, these tools are a must-have. Their versatility makes them perfect for kids and adults alike, whether you’re crafting for fun or sprucing up your home.
3. Tin Can
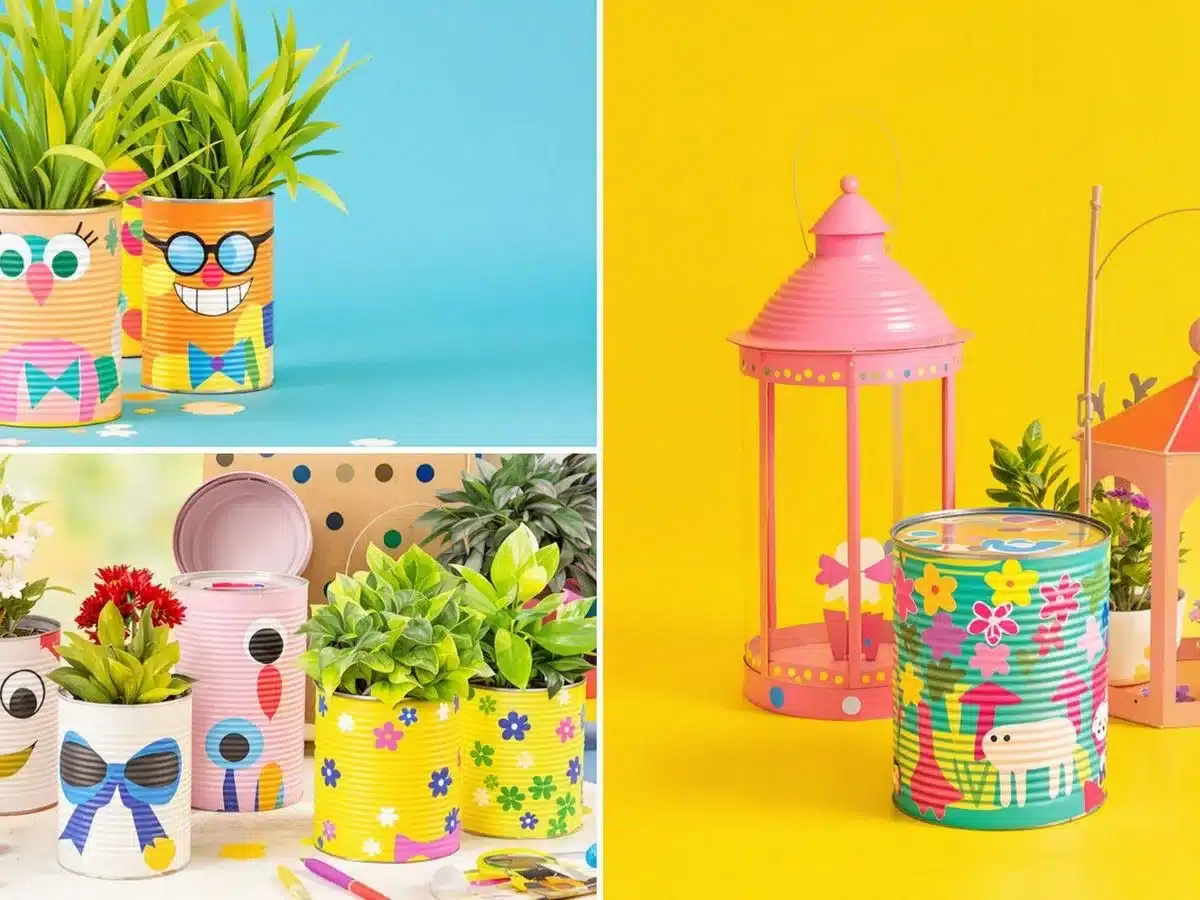
Transform Old Tin Cans into Treasures
Do you have a few tin cans lying around? Don’t toss them just yet. These cans can become stunning pieces of art or functional decor with a little creativity. Here’s how to breathe new life into them:
- Clean and Prep: Wash the tin cans thoroughly and let them dry completely. If there are any sharp edges, smooth them out with sandpaper.
- Base Coat: Apply a basecoat of paint, like Titanium White acrylic, to give the surface a fresh start. This step helps the colors pop later.
- Design Time: Use acrylic paint markers or brushes to create your design. Whether it’s floral patterns, geometric shapes, or whimsical doodles, let your imagination run wild.
- Seal the Deal: Once the paint is dry, apply a clear sealant to protect your artwork from chipping or fading.
A beautifully painted tin can doesn’t just look great—it’s also a fantastic way to store trinkets, jewelry, or even small plants.
For a fun seasonal twist, try making charming snowmen using recycled tin cans. Start by painting them white, then add details like scarves, buttons, and carrot noses. It’s a great project for kids and adults alike!
4. Dinnerware
Transform your plain dinnerware into a canvas for your creativity. This DIY project is not only fun but also practical. Whether you’re hosting a themed dinner party or just want to add a personal touch to your everyday meals, painting your dinnerware is a fantastic way to make mealtimes special.
Steps to Personalize Your Dinnerware
- Choose Your Materials: Select non-toxic, washable markers or ceramic paints. These are safe to use and can be easily washed off if you want to change the design later.
- Prep the Surface: Clean your plates, bowls, or mugs thoroughly with soap and water. Dry them completely to ensure the paint adheres properly.
- Sketch Your Design: Use a pencil to lightly outline your design. This helps avoid mistakes when you start painting.
- Paint Away: Add color to your design using your chosen materials. For a festive touch, consider using shimmer markers or metallic paints.
- Set the Paint: If using ceramic paint, follow the manufacturer’s instructions to set the design, often by baking the dinnerware in the oven.
Ideas to Get You Started
- Holiday Themes: Paint snowflakes, pumpkins, or Easter eggs to match the season.
- Nature-Inspired Designs: Add flowers, leaves, or even a starry night sky for a calming aesthetic.
- Personalized Messages: Write names, quotes, or special dates to make each piece unique.
Tip: If you’re crafting with kids, this is a great opportunity to let them explore their artistic side. Just make sure to supervise them when handling paints or markers.
For more creative activities, consider trying out paper plate crafts to keep the fun going with your family!
5. Leather Pouch
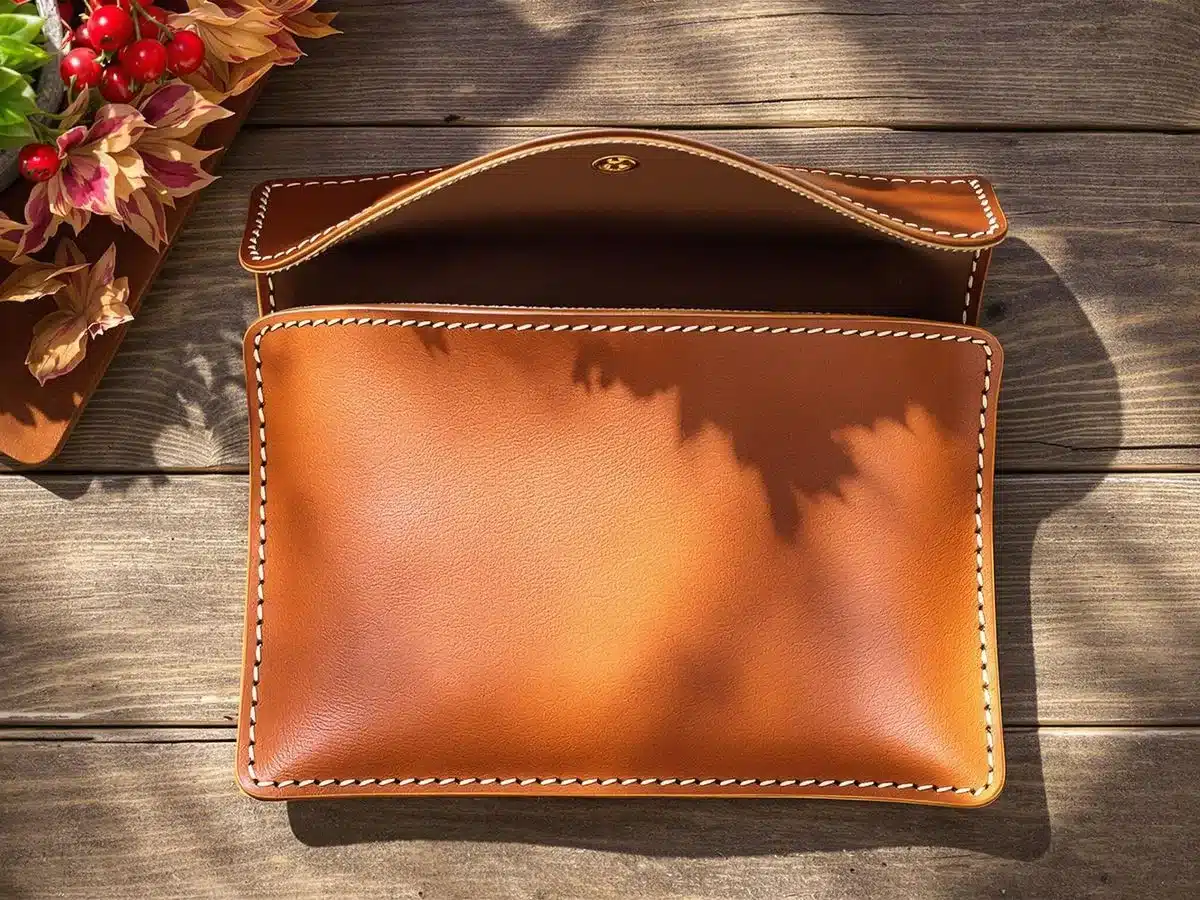
Transforming a leather pouch into a personalized masterpiece is a DIY project that’s both fun and functional. You don’t need to be an expert artist to make something truly unique—just a bit of creativity and a few supplies.
Materials You’ll Need:
- A leather pouch (old or new)
- Acrylic paint or leather-specific paint
- Paintbrushes (fine-tip and medium-tip)
- Painter’s tape (optional for clean lines)
- Pencil for sketching
Steps to Create Your Design:
- Clean the Surface: Wipe the pouch with a damp cloth to remove any dust or oil. This helps the paint stick better.
- Sketch Your Idea: Lightly draw your design on the leather with a pencil. This gives you a guide to follow.
- Tape for Precision: Use painter’s tape if you want sharp, clean edges in your design.
- Start Painting: Apply thin layers of paint, letting each coat dry before adding another. This prevents cracking and ensures vibrant colors.
- Seal Your Artwork: Once your design is complete and dry, apply a leather sealant to protect it from wear and tear.
Pro Tip: Don’t limit yourself to just patterns or shapes. Add a personal touch with initials, quotes, or even tiny illustrations.
This project is a fantastic way to breathe new life into an old accessory. Plus, it’s a great opportunity to experiment with beginner-friendly woodworking crafts if you want to build a custom display for your finished pouch. Whether you’re gifting it or keeping it for yourself, a hand-painted leather pouch is always a hit!
6. Cookie Wrappers
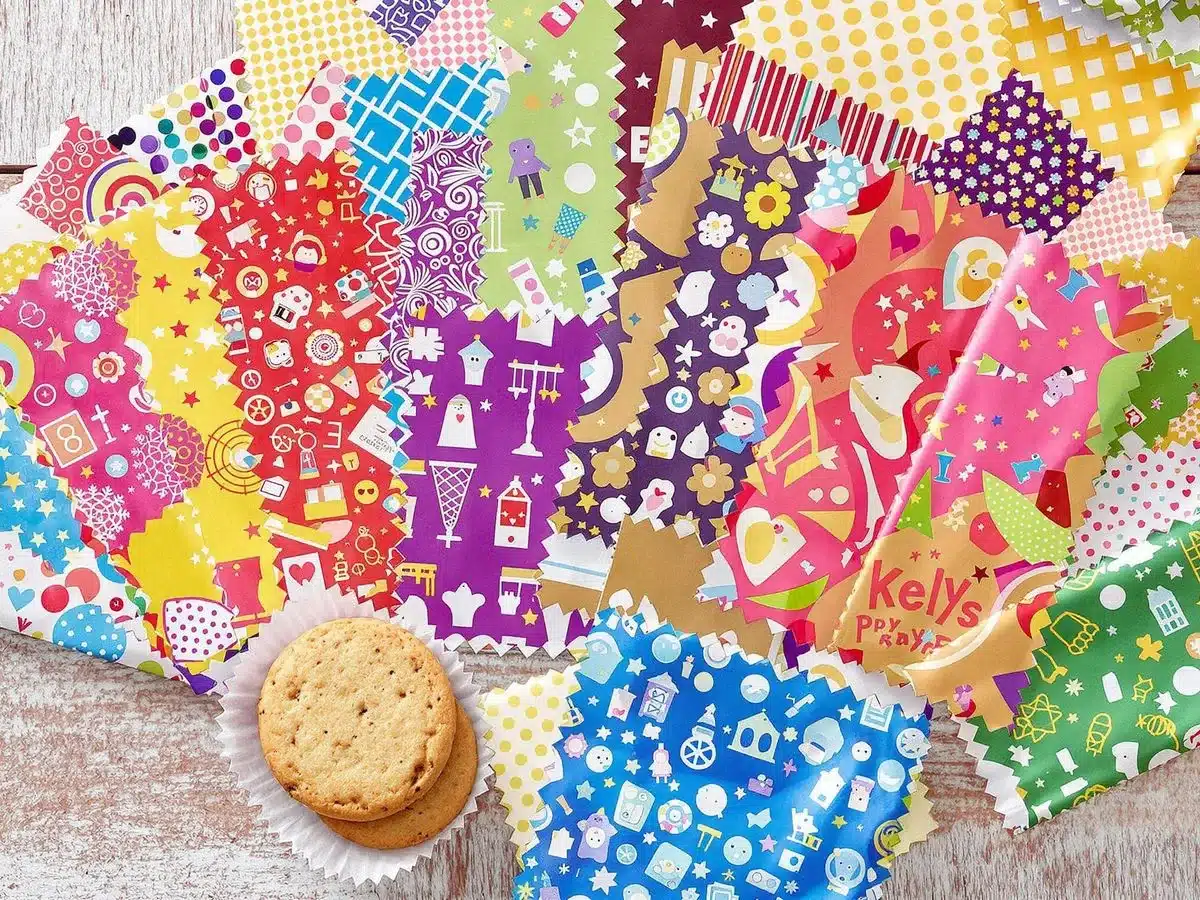
Add a Personal Touch to Your Cookie Packaging
Why settle for plain store-bought packaging when you can make your cookie gifts truly stand out? Customizing your cookie wrappers adds a thoughtful and creative touch that recipients will adore. Here’s how to do it:
- Choose Your Materials: Start with plain parchment paper, kraft paper, or even fabric scraps. These provide a blank canvas for your designs.
- Decorate with Washable Markers: Use non-toxic, washable markers to create colorful patterns, doodles, or even write personalized messages. It’s an easy way to make each wrapper unique.
- Seal with Style: Finish off your packaging with twine, ribbons, or washi tape. These small details can make a big impact.
Why Go the Extra Mile?
Taking the time to design your own cookie wrappers not only makes your gift more meaningful but also shows your creativity and effort. It’s a simple way to turn a small gesture into something memorable.
For more ideas on enhancing your cookie gifts, consider adding charming packaging ideas like ribbons and custom labels to make them even more special.
7. Laptop Cover
Tired of generic laptop covers? Why not create your own masterpiece? With a little creativity, you can transform your laptop into a one-of-a-kind piece of art. This project is all about personalization and making your device truly yours.
Materials You’ll Need:
- Acrylic paint (choose vibrant colors that work on hard surfaces)
- A plain laptop cover (preferably one with a smooth finish)
- Paintbrushes (variety of sizes for detailing)
- Painter’s tape (for clean edges)
- Clear sealant spray (to protect your design)
Steps to Create Your Custom Design:
- Prepare Your Cover: Wipe down the laptop cover to remove any dust or oils. Make sure it’s completely dry before starting.
- Plan Your Design: Sketch out your idea on paper first. This helps you visualize the final look.
- Tape It Up: Use painter’s tape to mark off areas you want to keep clean or create sharp lines.
- Start Painting: Apply acrylic paint in thin layers. Let each layer dry before adding more to avoid smudging.
- Add Details: Use smaller brushes for intricate designs or patterns.
- Seal the Design: Once the paint is dry, spray a clear sealant evenly over the surface to protect your artwork from scratches and wear.
A custom laptop cover isn’t just a creative project—it’s a way to showcase your personality every time you open your device.
For those who prefer a quicker option, consider designing your own personalized laptop skin using over 530 templates available online. You can preview your design before finalizing it, making the process even more exciting!
8. Cardboard Masks
Why toss out those old cardboard boxes when you can turn them into something fun and creative? Making cardboard masks is a fantastic way to reuse materials while letting your imagination run wild. This project is perfect for kids and adults alike, whether for a themed party or just a rainy-day activity.
Steps to Make Your Own Cardboard Masks:
- Gather Your Materials: Grab some cardboard, scissors, markers, paint, and elastic bands.
- Sketch Your Design: Decide on the type of mask you want—animal faces, superheroes, or even abstract patterns. Draw the outline on the cardboard.
- Cut It Out: Carefully cut out your mask shape. Don’t forget to make holes for the eyes and a small slit for the elastic band.
- Decorate: Use paints, markers, or even stickers to bring your mask to life. Liquid chalk markers work great for bold, vibrant designs.
- Assemble: Attach the elastic band to the sides of the mask so it fits snugly on your face.
Pro Tip: Layering pieces of cardboard can add a 3D effect to your mask, making it even more unique.
Looking for more DIY paper craft projects? You’ll find plenty of inspiration to keep the creativity flowing!
9. Dried Leaves
Who knew fallen leaves could become your next artistic masterpiece? This DIY project is perfect for anyone who loves blending nature with creativity. All you need are some dried leaves, acrylic paint pens, and a little imagination to turn these natural canvases into something extraordinary.
Steps to Create Art on Dried Leaves
- Collect and Prepare Leaves: Pick up some fallen leaves during your next walk. Look for ones that are flat and fully dried. If they’re not dry yet, press them between heavy books for a few days.
- Choose Your Paint: Acrylic paint pens work best for this project because they show up vividly on the uneven surface of the leaves.
- Design and Paint: Start with simple patterns like dots, lines, or swirls, and gradually move to intricate designs like mandalas or floral motifs.
- Seal Your Artwork: Once the paint dries, use a clear spray sealant to protect your design and make it last longer.
Why This Project Rocks
- Eco-Friendly: You’re repurposing something that would otherwise go to waste.
- Budget-Friendly: You only need a few inexpensive materials.
- Unique Decor: Your painted leaves can be framed, used as bookmarks, or even strung together to make garlands.
Painting on dried leaves is not just a craft—it’s a way to connect with nature while expressing yourself creatively. Plus, it’s super satisfying to see how vibrant colors transform a simple leaf into a tiny piece of art.
For more inspiration, check out these engaging woodworking projects that pair perfectly with your handmade leaf art for a complete DIY experience.
10. Skateboard
Want to hit the streets in style? Customizing your skateboard is not just a fun project—it’s a way to show off your personality while cruising around. Acrylic paints work wonders for creating bold, eye-catching designs that will turn heads. Here’s how you can give your board a fresh, unique look:
Steps to Paint Your Skateboard
- Prepare the Surface: Start by cleaning your skateboard thoroughly. If it has an old design, lightly sand the surface to ensure the paint adheres properly.
- Sketch Your Design: Use a pencil to outline your idea. Whether it’s geometric patterns, graffiti-style art, or something abstract, planning ahead makes painting easier.
- Apply Acrylic Paint: Choose vibrant acrylic paints for a durable finish. Layer the colors as needed, letting each coat dry before adding another.
- Seal It: Once your masterpiece is complete, apply a clear sealant to protect it from wear and tear.
Tip: Don’t forget to let the paint fully cure before taking your board out for a spin. This ensures the design stays intact even after heavy use.
Why Customize Your Skateboard?
- It’s a creative outlet that reflects your style.
- A custom board makes for a great conversation starter.
- You’ll never have trouble spotting your skateboard in a crowd!
If you’re into woodworking or other creative crafts, check out this collection of colorful woodworking projects for more inspiration.
Wrapping It Up
So there you have it—10 DIY projects to get your creative juices flowing. Whether you’re painting on tin cans or customizing your gadgets, there’s something here for everyone. The best part? You don’t need to be an expert to try any of these. Just grab your supplies, set aside some time, and let your imagination take over. Who knows, you might even discover a new hobby along the way. Happy creating!
Frequently Asked Questions
What are watercolor brush pens used for?
Watercolor brush pens are great for creating detailed and vibrant artwork. They are ideal for painting intricate designs like wreaths or blending colors smoothly.
Can liquid chalk markers be used on any surface?
Liquid chalk markers work best on smooth, non-porous surfaces like glass, plastic, or metal. They can be wiped off easily unless sealed with a protective layer.
How can I reuse tin cans creatively?
You can paint tin cans with acrylic paint to create decorative storage containers for trinkets or jewelry. Just ensure the surface is clean and dry before painting.
What materials are safe for painting dinnerware?
Non-toxic washable markers or paints are best for decorating dinnerware, especially if they’ll come into contact with food. These can be easily washed off after use.
What is the best way to paint on dried leaves?
Acrylic paint pens are perfect for painting on dried leaves. Their vibrant colors adhere well to the surface, making it easy to create intricate designs.
Can I customize a skateboard with paint?
Yes, you can use acrylic paint to design your skateboard. Make sure the surface is clean and smooth before painting for the best results.