DIYbrico | Discover, Create, Inspire

10 Creative Paper Crafts to Spark Your Imagination
Explore 10 creative paper crafts to ignite your imagination. Perfect for all ages and skill levels. Get crafting!

Table of Contents
Paper crafts are a fantastic way to get your creative juices flowing. Whether you’re a seasoned crafter or just looking for a fun way to spend an afternoon, there’s something magical about turning a simple piece of paper into something extraordinary. From origami animals to colorful paper flowers, the possibilities are endless. So grab your scissors and some glue, and let’s dive into the world of paper crafts!
Key Takeaways
- Paper crafts are accessible and fun for all ages.
- They require minimal materials, just paper, scissors, and glue.
- You can create beautiful art pieces like origami and paper flowers.
- These crafts are perfect for personalizing gifts and home decor.
- Paper crafting is a great way to relax and express creativity.
1. Origami Animals
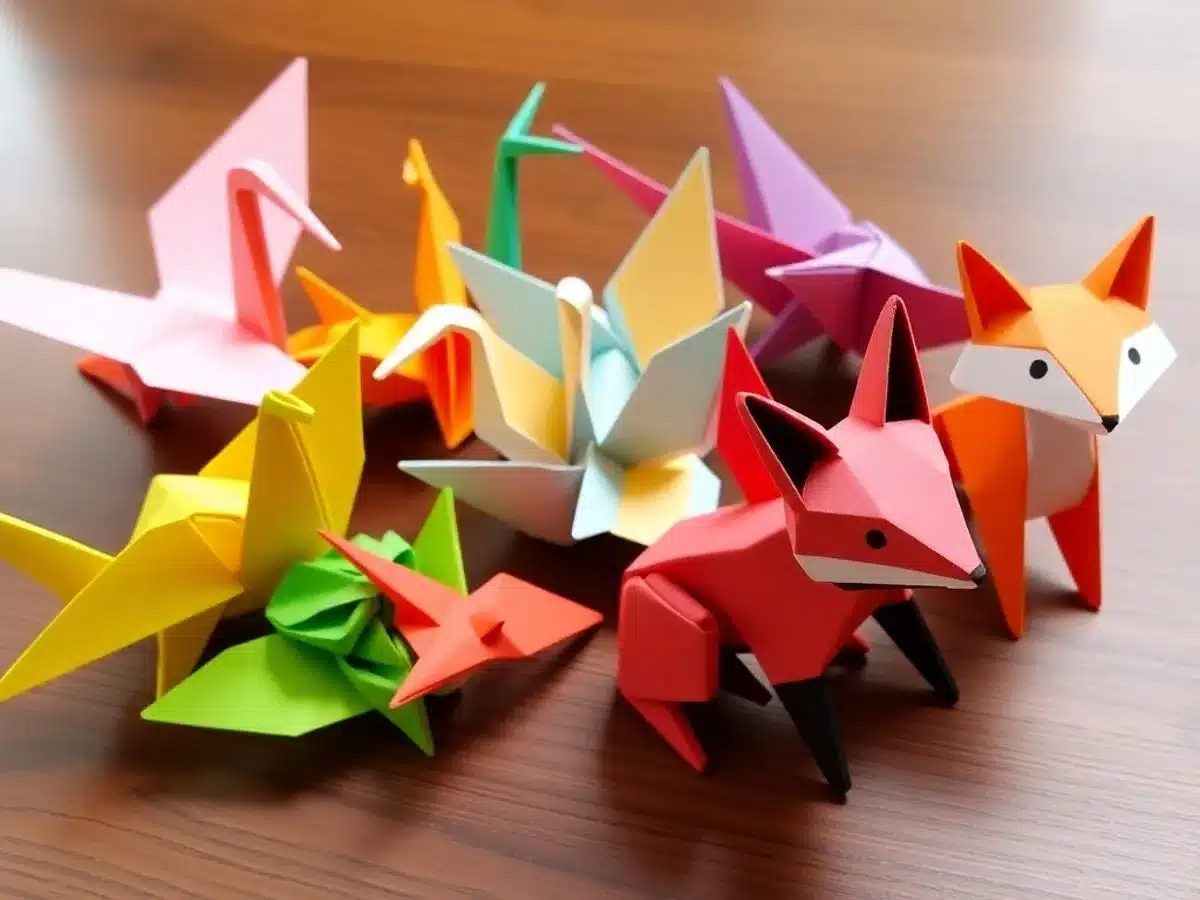
Origami is a magical art form that transforms a simple piece of paper into a three-dimensional masterpiece. You can create a whole zoo of paper animals with just a few folds. The beauty of origami lies in its simplicity and the endless possibilities it offers.
Getting Started
Before you dive into folding, here are a few tips to set you on the right path:
- Choose the Right Paper: Start with colorful origami paper. It’s thin, easy to fold, and comes in various sizes and patterns.
- Follow a Guide: There are countless tutorials online. Pick one that matches your skill level and interests.
- Practice Makes Perfect: As with any craft, the more you practice, the better you’ll get. Don’t be afraid to make mistakes!
Popular Origami Animals
Here are some classic origami animals to try your hand at:
- Origami Crane: A symbol of peace and hope, the crane is a must-try for any origami enthusiast.
- Paper Frog: A fun and interactive project that can actually “jump” when you press its back.
- Origami Butterfly: Delicate and beautiful, these butterflies can be used as decorations or gifts.
Crafting origami animals is not just about creating art; it’s about enjoying the process and finding joy in each fold.
Advanced Techniques
Once you’re comfortable with basic folds, you can explore more intricate designs:
- Modular Origami: Combine multiple sheets to create complex structures.
- Wet-Folding: A technique that dampens the paper for more sculptural designs.
Origami is a wonderful way to relax and express creativity. Whether you’re making a simple origami crane or an elaborate dragon, each project is a journey of exploration and discovery. Grab your paper and start folding today!
2. Colorful Paper Flowers
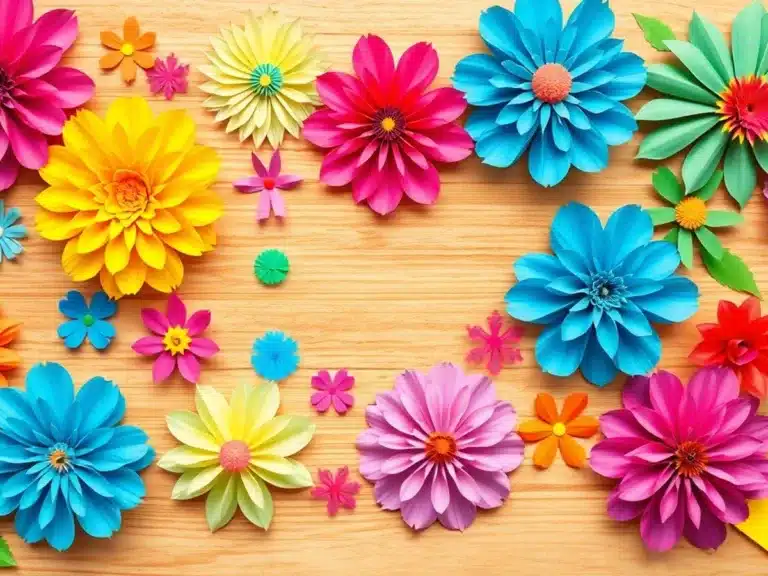
Crafting colorful paper flowers is a delightful way to bring a burst of color into any room without worrying about watering. These vibrant creations are great not only for home decor but also for making thoughtful gifts. Here’s how you can create your own paper blossoms:
- Gather Your Materials: You’ll need colored paper, scissors, glue, and perhaps some floral wire if you want to add stems.
- Cut Out Petals: Start by cutting petal shapes from your chosen paper. You can experiment with different sizes and shapes to mimic various flowers.
- Shape and Assemble: Add dimension to your petals by gently curling or crumpling them. Layer the petals together, securing each layer with glue.
- Add Details: Consider adding a center to your flower using a different color paper or even small beads.
Creating paper flowers is a wonderful way to explore your creativity. Each petal you cut and shape is a step towards a unique masterpiece that reflects your personal style.
For those looking to expand their crafting horizons, exploring colorful floral crochet patterns can also be a rewarding venture. These projects beautify your space and offer a relaxing crafting experience.
3. DIY Greeting Cards
Crafting Your Own Greeting Cards
Why spend money on store-bought cards when you can make your own? Creating DIY greeting cards is a fun and personal to show someone you care. Plus, it’s easy and can be done with materials you probably already have at home.
Materials Needed:
- Cardstock or thick paper
- Scissors
- Glue or double-sided tape
- Decorative elements (stickers, washi tape, stamps)
- Markers or colored pens
Steps to Create a Card:
- Choose Your Design: Consider the occasion and the recipient’s liking. A birthday card might be bright and cheerful, while a thank you card could be more subdued.
- Cut and Fold: Cut your cardstock to the desired size and fold it in half to create the card base.
- Decorate: Use your decorative elements to embellish the front of the card. This is where you can get creative— layering stickers or using stamps to add patterns.
- Add a Personal Message: Inside the card, write a heartfelt message. This is what makes a DIY card so special.
Making your own greeting cards is not just about saving money; it’s about creating something unique that can bring a smile to someone’s face. Each card you make is a little piece of art.
For those who want to try something a bit different, consider making snowflake cards using Tombow and Whimsy Stamps supplies. These can add a touch of winter magic to your greetings.
With these simple steps, you can create beautiful cards for any occasion, making your loved ones feel truly special.
4. Paper Collages
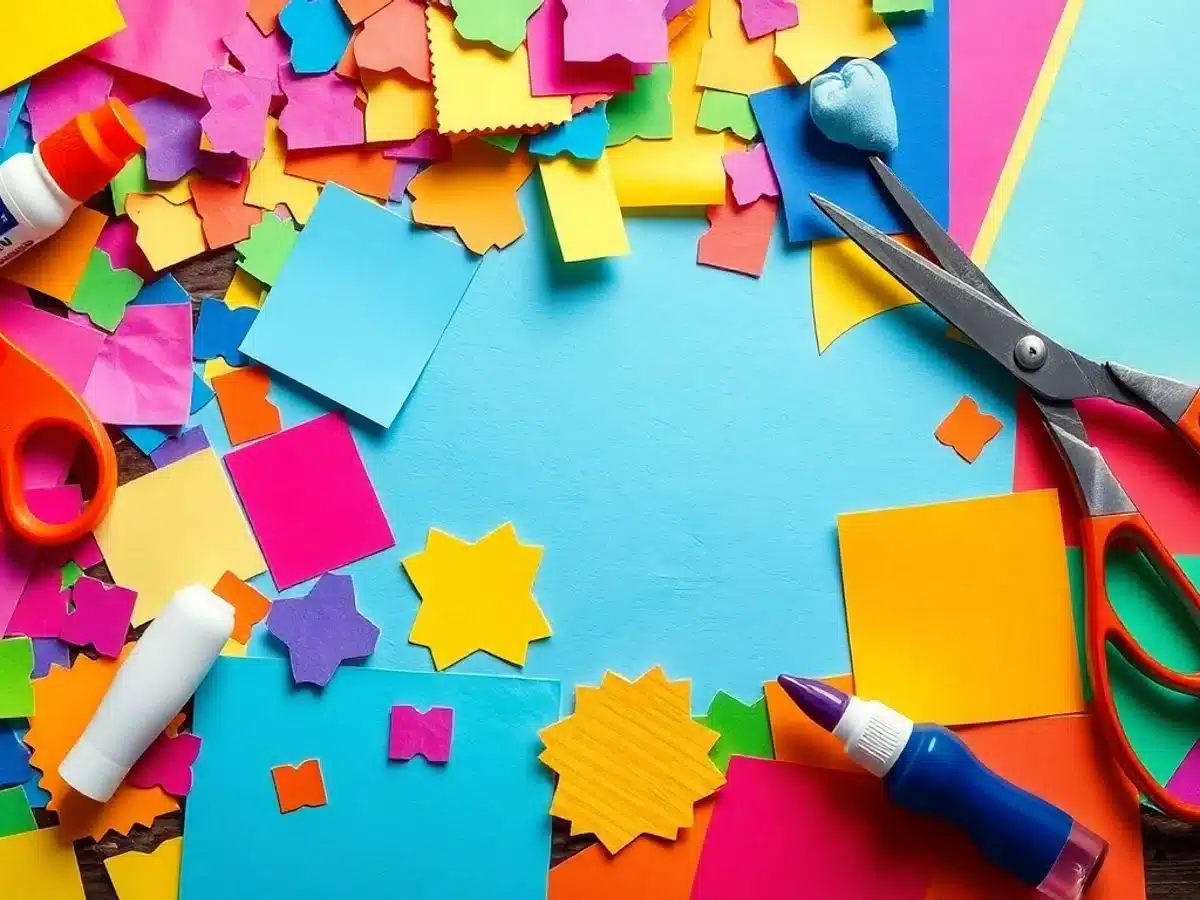
Creating paper collages is a fantastic way to let your creativity shine. It’s about mixing and matching different textures and colors to make something unique. The best part? There’s no right or wrong way to do it.
- Gather Your Supplies: You’ll need a variety of paper materials. Think old magazines, newspapers, or even colorful craft paper. Scissors and glue are your best friends here.
- Create Your Layout: Start by arranging your paper pieces on a blank canvas or a sturdy piece of cardboard. Move them around until you like what you see. Don’t be afraid to layer them for added depth.
- Stick It Down: Once you’re happy with the arrangement, glue everything in place. Make sure to press firmly so everything sticks well.
“Paper collages are like storytelling with images—each piece you add is like a sentence in your story.”
For those looking to explore more creative avenues, DIYbrico offers a wealth of resources and ideas to fuel your paper crafting journey. Whether you’re a beginner or a seasoned crafter, there’s something for everyone to enjoy.
5. Scrapbook Fun
Preserving memories can be a creative adventure with scrapbooking. It’s not just about sticking photos in an album; it’s about crafting a story and reliving those moments every time you flip through the pages. Scrapbooking allows you to add a personal touch to your memories, making them more vivid and meaningful. Here’s how you can dive into this fun craft:
- Gather Your Supplies: Start with the basics – a quality scrapbook, adhesive, scissors, and decorative paper. You can also include stickers, washi tape, and embellishments to add flair.
- Choose Your Theme: Is it a travel adventure, a family gathering, or maybe a special event? Deciding on a theme helps in selecting the right photos and decorations.
- Layout Your Pages: Before pasting anything, arrange your photos and memorabilia on the pages to see what works best. Play around with different layouts until you find what pleases your eye.
- Add Memorabilia: Ticket stubs, postcards, and other small items can make your scrapbook unique. They add texture and dimension, creating a richer story.
- Journal Your Thoughts: Adding little notes or stories next to your photos can make your scrapbook more personal and engaging. It’s like leaving a little piece of your heart on each page.
Scrapbooking is more than just a hobby; it’s a way to cherish and share your life’s journey, one page at a time.
For those who enjoy crafting, consider exploring the Woobles Crochet Kit to expand your creative projects. This kit is perfect for making personalized gifts and adding a handmade touch to your home.
6. Decorative Paper Garlands
Decorative paper garlands are a fantastic way to add a splash of color and charm to any event or space. Whether you’re planning a birthday party or a wedding or just want to brighten up your living room, these garlands are the perfect touch. They’re easy to make and incredibly versatile, allowing you to customize them to fit any theme or occasion.
How to Make Your Own Paper Garlands
- Gather Your Supplies: You’ll need some colorful paper, scissors, a hole punch, and string or twine. Feel free to mix and match colors and patterns for a unique look.
- Cut-Out Shapes: Decide on a shape for your garland. Circles, triangles, and hearts are popular choices. Cut out multiple copies of your chosen shape.
- Punch Holes: Use a hole punch to make holes at the top of each shape. This is where you’ll thread your string through.
- Thread and Assemble: Thread your shapes onto the string, spacing them out evenly. You can adjust the spacing to suit your preference.
- Hang Your Garland: Find the perfect spot to display your creation. Drape it along a wall, across a window, or above a doorway.
“Crafting paper garlands can be a fun, stress-relieving activity that brings a personal touch to your decor.”
For those who enjoy crochet, consider blending festive crochet garlands with your paper creations for a mixed-media masterpiece. These crochet additions can add texture and depth, making your garland truly stand out.
Remember, there’s no right or wrong way to make a garland. Let your creativity flow, and enjoy the process of creating something beautiful. Happy crafting!
7. Paper Mache Creations
Get ready to roll up your sleeves and dive into the world of paper mache! This classic craft is all about getting a little messy and having a whole lot of fun. Whether you’re making a decorative bowl or an imaginative animal sculpture, paper mache offers endless possibilities.
Mix Your Paste
The first step in any paper mache project is mixing your paste. A simple blend of flour and water is all you need. Aim for a 1:2 ratio, adjusting the consistency until it’s just right for your project. Create beautiful paper mache lanterns using this mixture to light up your space.
Tear and Layer
Once your paste is ready, tear the newspaper into strips. The tearing part is oddly satisfying, trust me. Dip each strip into the paste, letting the excess drip off. Layer these strips over your mould or balloon, smoothing them out as you go. Remember, the more layers, the stronger your creation will be.
Dry and Decorate
After layering, let your project dry completely. This might take a day or two, so patience is key. Once dry, the real fun begins—decorating! Paint your paper mache creation in vibrant colors, or add embellishments like sequins or glitter for some extra flair.
Paper mache is a fantastic way to unleash your creativity and make something truly unique. Plus, it’s a great stress-reliever. Who knew tearing paper and getting your hands sticky could be so therapeutic?
Tips for Success
- Use thin layers: Thinner layers dry faster and reduce the risk of mould.
- Seal your project: Once painted, a clear sealant can help protect your masterpiece.
- Experiment: Don’t be afraid to try different shapes and sizes—let your imagination guide you.
8. Printable Coloring Pages
Printable coloring pages are a fantastic way to dive into creativity without needing many supplies. All you need is a printer and some paper; you’re ready to go! Whether you’re looking to keep the kids entertained on a rainy day or want to unwind with some adult coloring, these pages are a great choice.
Why Choose Printable Coloring Pages?
- Convenience: You can print them at home anytime you want.
- Variety: With a vast collection of 10,000 free coloring pages, there’s something for everyone, from cute animals to intricate mandalas.
- Cost-Effective: No need to buy expensive coloring books.
Tips for Making the Most Out of Your Coloring Experience
- Choose the Right Paper: Use thicker paper if you plan to use markers or watercolours to prevent bleeding.
- Organize Your Pages: Keep your printed pages in a folder or binder to stay organized.
- Experiment with Colors: Don’t be afraid to try new color combinations and techniques.
Coloring is more than just a fun activity; it’s a chance to relax and express yourself. Let your imagination run wild without worrying about staying inside the lines.
Getting Started
- Select Your Pages: Pick from various themes and difficulty levels.
- Gather Your Supplies: Grab your favorite coloring tools—colored pencils, markers, or even crayons.
- Create a Relaxing Environment: Put on some calming music and find a cozy spot to color.
Printable coloring pages are not just for kids. They’re a delightful way to explore your artistic side and take a break from the hustle and bustle of everyday life. So, why not try it and see where your creativity takes you?
9. Thoughtful Gift Boxes
Customize Your Gift Boxes
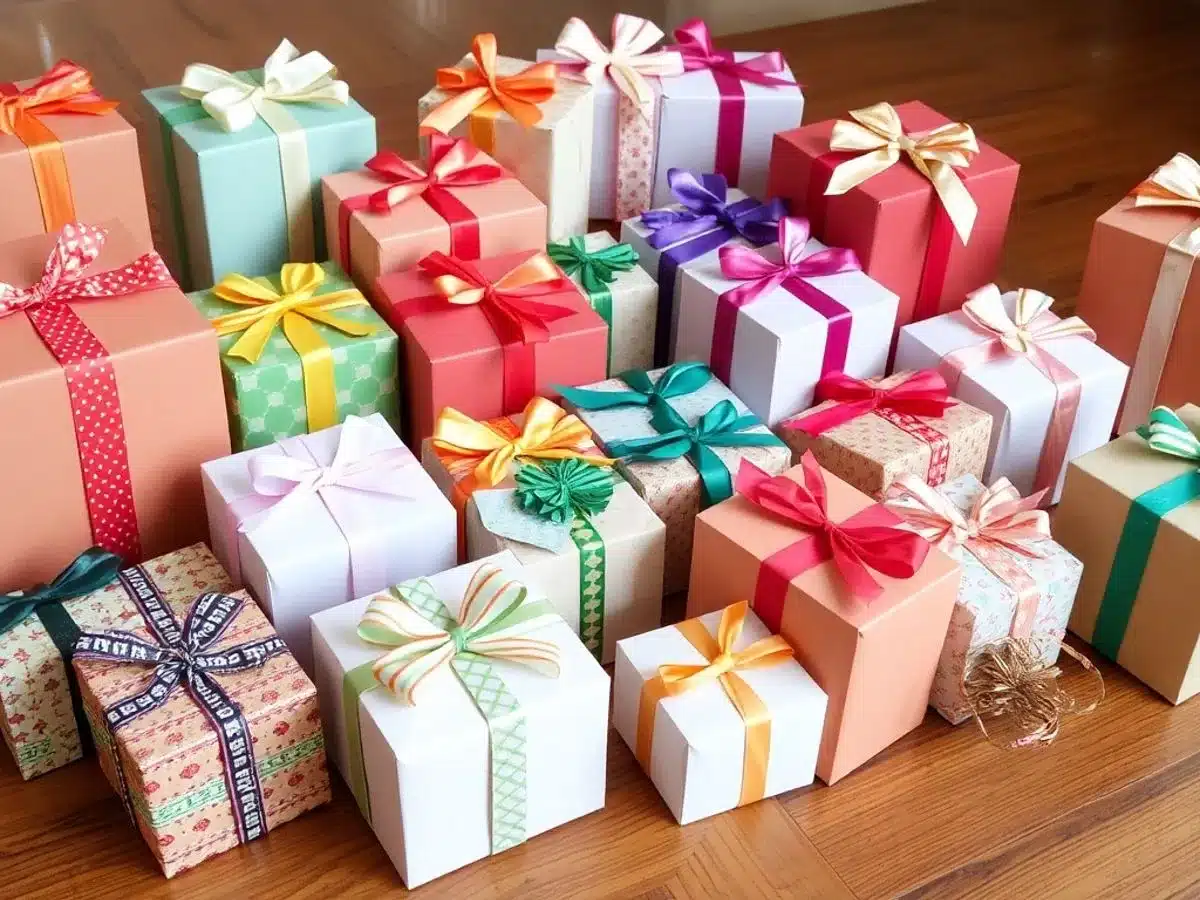
Gift-giving is an art, and the packaging can make all the difference. Creating your own gift boxes allows you to add a personal touch to any present. Start by choosing a sturdy type of paper or even cardboard for durability. Cut and fold the paper into your desired box shape, securing the edges with glue or double-sided tape.
Decorating Ideas
Once your box is assembled, it’s time to get creative with decorations. Use washi tape, stickers, or stamps to add flair. Consider wrapping the box with a ribbon or adding a handmade tag for a more elegant touch. This is where your creativity can really shine.
Eco-Friendly Options
Crafting gift boxes from recycled materials is a great option if you’re environmentally conscious. Old newspapers, magazines, or leftover wrapping paper can be repurposed into beautiful boxes. Not only is this a sustainable choice, but it also gives your gift a unique look.
Crafting your own gift boxes is not just about the aesthetics; it’s about showing the recipient that you care enough to add that extra touch. It’s a simple yet meaningful way to enhance your gift-giving experience.
Looking for more creative Valentine’s Day paper crafts? Check out ideas like paper heart bunting and origami hearts to make your celebration extra special.
10. Fun Mini Notebooks
Creating mini notebooks is a delightful way to use up paper scraps while crafting something practical and unique. These little notebooks are perfect for jotting down quick notes, sketching, or even making grocery lists. Plus, they make thoughtful handmade gifts for friends and family.
Materials Needed
- Paper scraps or patterned paper
- Cardstock for covers
- Stapler or needle and thread
- Scissors
- Decorative elements (stickers, stamps, etc.)
Step-by-Step Guide
- Choose Your Paper: Gather various paper scraps. You can mix plain and patterned paper for a fun look.
- Cut to Size: Decide on the size of your mini notebook and cut all your paper to match. Don’t forget to cut a piece of cardstock for the cover.
- Assemble the Pages: Stack your papers neatly and place the cover on top.
- Bind the Notebook: Use a stapler to bind the pages together along the spine. Alternatively, sew them using a simple stitch.
- Decorate: Personalize your mini notebook with stickers, stamps, or doodles to give it a personal touch.
Mini notebooks are a fantastic way to express your creativity and make use of leftover materials. Each notebook can be as unique as you are, reflecting your personal style and flair.
For more creative craft ideas, explore crochet leaf patterns that can add a touch of nature to your projects.
Conclusion
So there you have it, ten paper crafts to get your creative juices flowing. Whether you’re folding origami animals or crafting colorful paper flowers, there’s something for everyone. These projects are not just fun, but they also give you a chance to express yourself and maybe even relax a bit. So grab some paper, scissors, and glue, and let your imagination run wild. Remember, there’s no right or wrong way to craft, just your way. Happy crafting!
Frequently Asked Questions
What materials do I need for paper crafts?
You’ll need paper, scissors, glue, and sometimes markers or paint. For specific projects, you might need additional items like string or beads.
Can kids do these paper crafts?
Yes, most of these crafts are kid-friendly! Just make sure an adult is around to help with cutting or using glue.
How long do these crafts take to make?
The time varies. Some simple crafts, like paper flowers, can take 10-15 minutes, while more detailed ones, like paper mache, might take a few hours.
Do I need special paper for origami?
While special origami paper is nice, you can use any square paper to start. Just make sure it’s not too thick.
Can I use recycled materials for these crafts?
Absolutely! Using old magazines or scrap paper is a great way to recycle and make unique crafts.
Where can I find more craft ideas?
You can check online crafting blogs or websites like DIYbrico for more inspiration and tutorials.