DIYbrico | Discover, Create, Inspire

Creative and Fun Paper Mothers Day Crafts to Celebrate Mom
Explore creative paper Mother's Day crafts to make heartfelt gifts for Mom. Perfect for all skill levels!

Table of Contents
Mother’s Day is just around the corner, and what better way to show your love than with a homemade craft? Paper Mothers Day Crafts are fun to make and allow you to create something truly special for mom. There’s a project for everyone, from paper flower bouquets to personalized greeting cards. Let’s dive into some creative and fun paper Mother’s Day crafts that will surely make Mom smile.
Key Takeaways
- Paper crafts are a heartfelt way to celebrate Mother’s Day.
- Projects range from simple to more complex, catering to all skill levels.
- Using everyday materials can create unique and memorable gifts.
- Crafting as a family can make the experience even more special.
- These crafts offer a personal touch that store-bought gifts can’t match.
Handmade Paper Flower Bouquets
Creating Realistic Paper Roses
Crafting paper roses is an art that combines patience and creativity. Start by selecting quality crepe paper in shades of red, pink, or your mom’s favorite color. Cut the paper into petal shapes, varying the sizes for a natural look. Gently stretch the edges of each petal to give them a curved, lifelike appearance. Assemble the petals around a floral wire, securing them with floral tape as you go. This method creates a stunning rose that looks almost real.
Using Tissue Paper for Vibrant Blooms
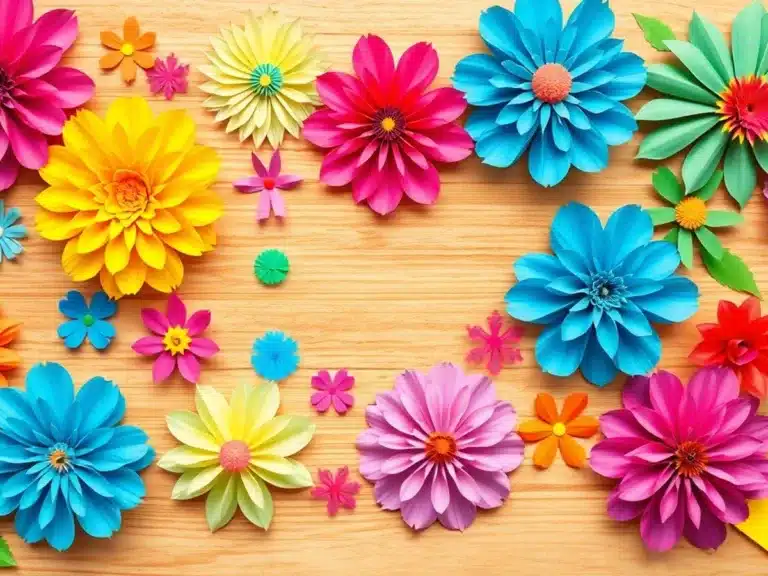
Tissue paper is perfect for creating bright, lively flowers. Begin by layering several sheets of tissue paper in different colors. Cut them into circles or petal shapes, depending on the type of flower you want to create. Stack the cutouts and secure the center with a pipe cleaner or thin wire. Fluff and separate each layer to form a full, blooming flower. These paper flower bouquet cards can be a joyful addition to any Mother’s Day celebration.
Crafting a Unique Floral Arrangement
Creating a unique floral arrangement involves mixing different types of paper flowers. Combine roses, daisies, and lilies crafted from various paper types like crepe, tissue, and cardstock. Use a hot glue gun to attach the flowers to a sturdy base, like a foam block or a decorative vase. Arrange the flowers at different heights and angles for a dynamic look. Add green paper leaves or vines to fill in gaps and give your bouquet a lush, complete appearance.
Handmade paper flowers last longer than real ones and can be cherished as keepsakes. They’re not just beautiful; they’re a heartfelt expression of love and creativity.
Personalized Paper Greeting Cards
Designing with Watercolors and Stamps
Creating a personalized card for Mother’s Day can be a lot of fun, especially when you bring in watercolours and stamps. Start with a blank card and let your imagination run wild. Use a mix of soft pastels and bold hues to create a unique background. Stamps can add a charming touch, whether you choose floral patterns or something more abstract. If you have extra blank petals, print them out, cut them, and paste them onto the card for a 3D effect. This adds a personal touch that makes the card even more special.
Adding Pop-Up Elements for Surprise
Pop-up elements can take your card from ordinary to extraordinary. Begin by choosing a simple pop-up design—like a flower or a heart—that can easily fold flat when the card is closed. Cut out your design from sturdy paper and carefully glue it inside the card. The surprise element pops up when the card is opened, adding a delightful surprise for the recipient. It’s a little trickier but totally worth it when you see the smile it brings.
Incorporating Family Photos
Family photos can turn a simple card into a cherished keepsake. Select a few favourite photos and print them in a size that fits your card. Arrange them creatively, maybe in a collage style or as a mini photo album. You can even add captions or little notes next to each picture. This personalises the card and brings back fond memories, making it a perfect gift for mom.
Decorative Paper Mache Vases
Choosing the Right Paper and Paste
Getting started with paper mache home decor is all about picking the right materials. Newspaper is a classic choice because it’s cheap and easy to find, but you can also use tissue paper for a smoother finish. For paste, a simple mix of flour and water works wonders, though you might prefer using white glue for a stronger hold. Here’s a quick recipe for homemade paste:
- Mix one part flour with two parts water in a bowl.
- Stir until it’s smooth and free of lumps.
- If needed, add a bit of salt to prevent mould.
Painting Techniques for a Polished Look
Once your vase is dry, it’s time to paint. Acrylic paints are ideal because they dry quickly and come in vibrant colors. Start by applying a base coat to cover the newspaper print. After that, let your imagination run wild! You can try blending colors for a gradient effect or adding patterns with stencils. Remember, a coat of varnish can add a glossy finish and make your creation last longer.
Adding Embellishments for Extra Flair
To give your vase a unique touch, consider adding embellishments. Think about using buttons, beads, or even small shells. These can be glued on after painting. For a more rustic look, wrap twine or ribbon around the neck of the vase. You could even glue on some dried flowers or leaves for a natural vibe. The key is to have fun and make it personal!
Creative Origami Gifts for Mom
Origami is not just about folding paper; it’s about creating something beautiful and meaningful. This Mother’s Day, why not surprise your mom with a thoughtful gift made from the heart? Here are some ideas to get you started.
Folding Techniques for Beginners
If you’re new to origami, don’t worry! There are plenty of simple projects to try. Start with basic shapes like cranes or hearts. These are not only easy to make but also carry special meanings.
- Gather your materials: You’ll need square sheets of paper, which can be found at most craft stores.
- Learn the basic folds: Master the valley fold and mountain fold. These are the foundation for most origami designs.
- Practice makes perfect: Begin with easy designs and gradually try more complex ones as you gain confidence.
Crafting Intricate Origami Flowers
Once you’re comfortable with the basics, why not try making some intricate origami flowers? These can be a beautiful addition to any gift.
- Choose your paper wisely: Thinner paper works better for detailed designs.
- Follow step-by-step tutorials: Many online resources are available to guide you through the process.
- Experiment with colors: Use different colored paper to make your flowers stand out.
Making Useful Origami Items
Origami isn’t just for decoration; you can create functional items too!
- Bookmarks: Simple to make and very handy for any book lover.
- Gift boxes: Perfect for wrapping small presents or storing jewellery.
- Wallets: A fun project that results in a practical item.
Tip: Origami can be a relaxing and rewarding hobby. It’s an opportunity to slow down and enjoy the creative process. Plus, the end result is a unique gift that shows how much you care.
DIY Paper Jewelry Creations
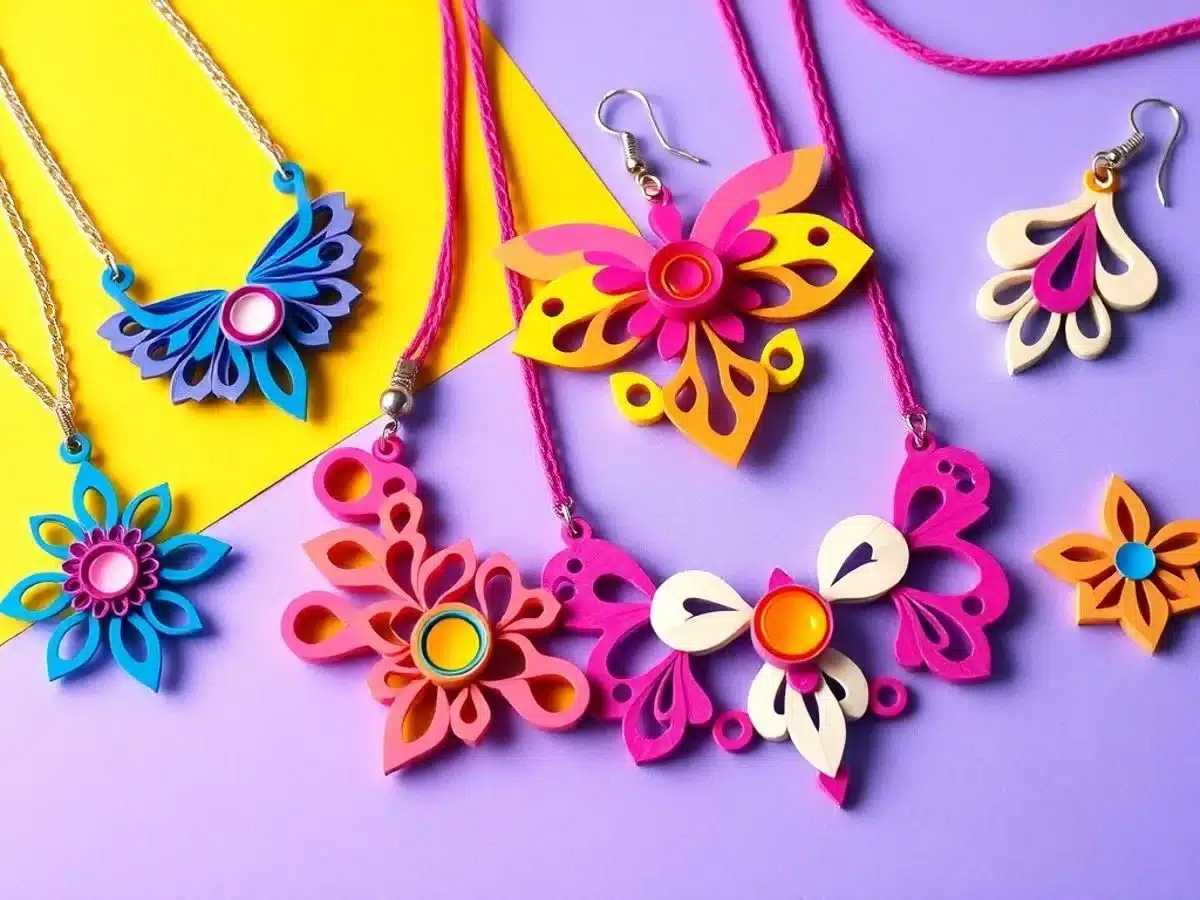
Crafting Earrings with Paper Beads
Making earrings from paper beads is fun and a great way to recycle old magazines or paper scraps. Paper beads are lightweight and can be made in various shapes and colors, giving you endless possibilities. Here’s how to get started:
- Gather your materials: colorful paper, a pair of scissors, glue, a toothpick, and earring hooks.
- Cut the paper into long, triangular strips. The wider the base, the thicker your bead will be.
- Roll the paper tightly around a toothpick, starting from the wide end, and glue the end to secure it.
- Let the beads dry, then coat them with a clear varnish for a glossy finish.
- Attach them to earring hooks using jump rings.
This simple process can be a fantastic creative outlet for children too, as they explore colors and shapes while improving their motor skills.
Designing Statement Necklaces
Statement necklaces can transform any outfit, and making them from paper adds a unique twist. To create a bold necklace, you can use paper circles or folded origami shapes.
- Materials Needed: Cardstock, a circle punch or scissors, glue, a hole punch, and a ribbon or chain.
- Punch out or cut several circles from the cardstock.
- Arrange them in a pattern you like, layering them for depth.
- Glue the circles together and let them dry.
- Punch holes at the top of each cluster and thread a ribbon or chain through.
This method allows you to create personalized designs that reflect your style!
Creating Bracelets with Unique Patterns
Bracelets made from paper can be as simple or as intricate as you want. Using techniques like paper weaving or quilling, you can create eye-catching patterns.
- Paper Weaving: Cut strips of paper and weave them together to form a band. Secure the ends with glue and attach a clasp.
- Quilling: Roll thin strips of paper into coils and shapes, then glue them together to form a bracelet.
- Layering: Stack different shapes and colors for a textured look.
Each technique offers a different style, so you can experiment to see which you enjoy the most. Whether you choose vibrant colours or subtle pastels, your paper jewellery will be a hit!
Artistic Paper Wall Hangings
Selecting the Perfect Color Palette
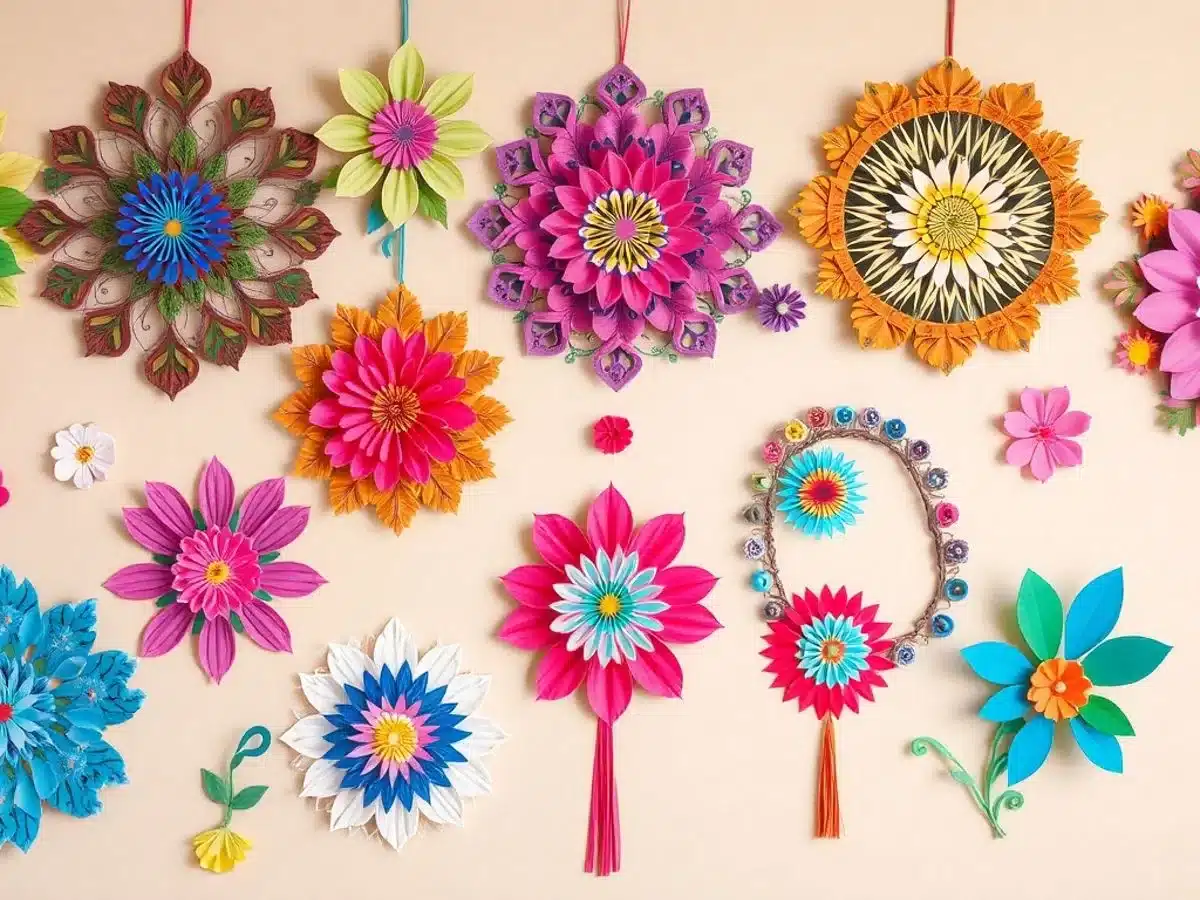
Choosing the right colors for your paper wall hanging can make all the difference. Start by considering the room where you plan to display your art. Think about the existing colors and decide whether you want your piece to blend in or stand out. A harmonious palette can tie a room together, while bold contrasts can make your artwork the focal point. If you’re feeling adventurous, combine unexpected colors for a unique twist.
Layering Techniques for Depth
Layering is key to adding depth and dimension to your paper wall hangings. Begin by selecting a variety of paper textures and weights. Use heavier paper for the base and lighter paper for the top layers. Here’s a simple process to follow:
- Cut your base shape from a sturdy paper.
- Layer lighter paper on top, securing with glue or double-sided tape.
- Experiment with overlapping and folding to create shadows and highlights.
Incorporating Mixed Media Elements
Consider adding mixed media elements to take your paper wall hanging to the next level. This could include anything from fabric scraps to small found objects. Here are a few ideas to get you started:
- Use fabric for added texture and softness.
- Include beads or sequins for a bit of sparkle.
- Attach small trinkets or charms for a personal touch.
Combining different materials not only enhances the visual interest but also allows you to express your creativity in new ways. Remember, there are no rules—just let your imagination run wild.
Fun and Functional Paper Bookmarks
Using Pressed Flowers for Decoration
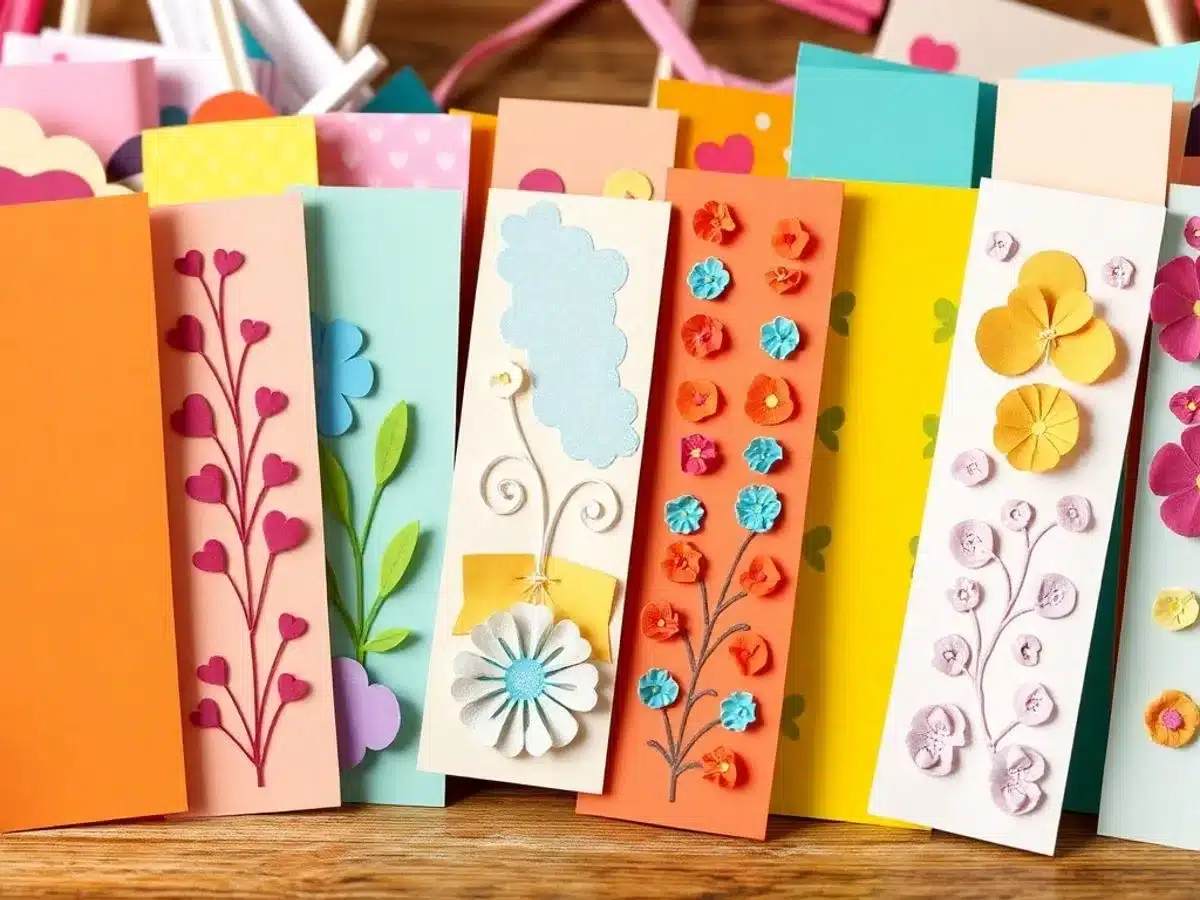
Pressed flowers can transform a plain bookmark into something truly special. Not only are they beautiful, but they also add a touch of nature to your reading experience. Here’s how you can make your own:
- Gather your flowers: Pick small, flat flowers like violets or daisies. These work best as they press easily.
- Press them: Place the flowers between two sheets of paper and press them with a heavy book. Leave them for a week or until they’re completely dry.
- Assemble your bookmark: Cut a piece of cardstock to your desired size. Arrange the pressed flowers on the cardstock and secure them with clear contact paper or laminate them for durability.
Creating a bookmark with pressed flowers is not just about the end product; it’s about enjoying the process of selecting and pressing the flowers.
Creating Tassels and Charms
Adding tassels and charms to your bookmarks can make them more personal and fun. It’s a simple way to add a bit of flair:
- Choose your materials: You’ll need embroidery thread for tassels and small charms or beads.
- Make the tassel: Wrap the thread around a piece of cardboard until it’s thick enough. Slide it off and tie a piece of thread around the top. Cut the bottom loops to form a tassel.
- Attach the charm: Use a jump ring to attach a charm to the tassel or directly to the bookmark.
Designing with Calligraphy
Calligraphy can give your bookmarks a sophisticated look. It’s a great way to personalize them with quotes or names:
- Select your quote: Choose a short phrase or name that you want to feature on your bookmark.
- Practice your lettering: If you’re new to calligraphy, practice on scrap paper first. There are many online guides and tutorials available.
- Create your design: Use a pencil to lightly sketch your design on the bookmark, then go over it with a calligraphy pen.
For more creative paper craft ideas, explore ten delightful paper crafts that are easy and fun to make.
Conclusion
Wrapping up and crafting something special for Mother’s Day is more than just making a gift; it’s about creating memories. Whether it’s a simple card or an elaborate handmade piece, the effort and thought behind it are what truly count. These paper crafts are fun to make and a heartfelt way to show appreciation for all moms do. So, gather your supplies, let your creativity flow, and make this Mother’s Day unforgettable with a personal touch. Happy crafting!
Frequently Asked Questions
What materials do I need to make paper flowers?
You will need colored paper, scissors, glue, and floral wire. You might also want some markers or paints for decoration.
How can I make a greeting card pop-up?
To make a pop-up card, cut out the shape you want to pop up and fold it. Then, glue the folded part inside the card so it stands out when opened.
What kind of paper is best for origami?
Thin, square sheets of paper are best for origami. Special origami paper is ideal, but you can also use regular paper cut into squares.
Can I use recycled paper for paper mache?
Yes, recycled paper works great for paper mache. Just tear it into small pieces and mix with paste to create your project.
How do I make paper beads for jewellery?
Cut strips of paper, roll them tightly, and secure with glue. Once dry, you can paint them and string them into jewellery.
What are some easy paper crafts for beginners?
Simple crafts include making bookmarks, basic origami shapes, and simple greeting cards. These are great for practising cutting and folding skills.