DIYbrico | Discover, Create, Inspire

10 Simple Easy Paper Crafts for Kids to Spark Creativity
Explore 10 simple easy paper crafts for kids to spark creativity and fun with minimal materials.

Crafting with kids is a fun way to let their imaginations run wild while keeping them busy. Plus, it’s easy on the wallet. All you need is some paper, scissors, and glue. Paper crafts are perfect for rainy days or a casual afternoon at home. They don’t require a lot of prep or cleanup, which is great for parents. So, let’s dive into these ten simple, easy paper crafts for kids that will surely spark their creativity.
Key Takeaways
- Paper crafts are budget-friendly and require minimal materials.
- These activities help develop fine motor skills in children.
- Crafting encourages creativity and imagination.
- Each project can be completed in a short amount of time.
- Perfect for indoor play on rainy days or quiet afternoons.
1. Easy Paper Crafts for Kids – Paper Airplanes
Paper airplanes are a staple in imaginative construction paper crafts for kids. They’re simple to make and provide endless fun. All you need is a piece of paper and a bit of imagination.
How to Make a Basic Paper Airplane
- Start with a plain sheet of paper. A standard letter-sized paper works great.
- Fold the paper in half lengthwise, then unfold it to create a crease down the middle.
- Fold the top two corners inward to meet at the center crease, forming a triangle.
- Fold the triangle down so the top point meets the bottom edge of the paper.
- Fold the entire paper half along the initial center crease, with the folded edges on the outside.
- Create the wings by folding each side down, starting about an inch from the bottom edge.
- Adjust the wings to your liking and let your airplane take flight!
Making paper airplanes is not just about the craft; it’s about the joy of watching something you made soar through the air. It’s a simple pleasure that never gets old.
Tips for Better Flights
- Experiment with different paper weights to see how they affect the flight.
- Add small paper clips to the nose to help balance and improve distance.
- Try different wing shapes to see how they change the flight pattern.
Whether aiming for distance or just trying to make it loop, paper airplanes are a fantastic way to engage kids in creative play. They’re easy to make, fun to fly, and a great way to spend an afternoon. Get folding and see how far your creativity can take you!
2. Origami Animals
Exploring Origami with Kids
Origami, the art of folding paper into intricate designs, is a fantastic way to engage children in a creative activity that also hones their concentration and fine motor skills. Kids can transform it into a miniature zoo of delightful creatures with just a square piece of paper.
Step-by-Step Guide to Origami Animals
Let’s dive into making some simple yet charming origami animals that are perfect for young beginners:
- Origami Dog: Start with a square piece of paper. Fold it in half diagonally to form a triangle. Fold the top corners down to create ears, and add a nose and eyes with a marker.
- Origami Frog: Begin with a square paper. Fold it in half, then unfold. Fold the edges to the center line, flip it over, and fold the corners to make the frog’s legs. Press down on the back to make it “jump.”
- Origami Bird: Use a square piece of paper. Fold it in half to form a triangle. Fold the top corners to the bottom point to form wings. Flip it over and add a beak.
Tips for Successful Origami
- Use Thin Paper: Thin paper makes folding easier and helps maintain crisp edges.
- Start Simple: Begin with basic shapes and gradually move to complex designs.
- Encourage Creativity: Let kids use markers to add eyes, spots, or patterns to their creations.
Origami is more than just a craft. It’s a journey into creativity and patience, where each fold brings a new discovery.
For a fun introduction, try this origami dog craft that uses simple folds and even a bit of math vocabulary to make the learning process engaging and educational.
3. Paper Flowers
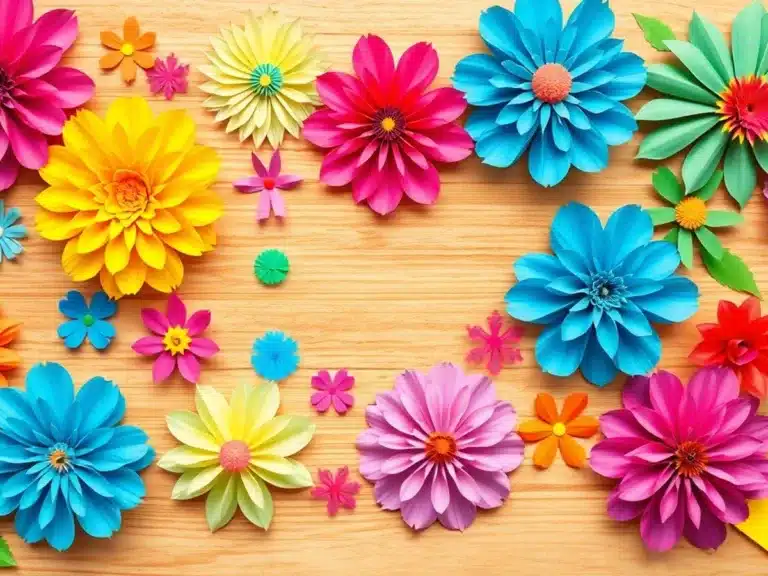
Creating paper flowers is a delightful way to bring a splash of color and a touch of nature into your home without the need for watering. This craft is perfect for kids who love to experiment with shapes and colors, and it’s a fantastic way to spend an afternoon.
Materials Needed
- Colored paper (various colors)
- Scissors
- Glue or tape
- Green pipe cleaners or straws (for stems)
Instructions
- Cutting Shapes: Start by cutting out different shapes from your colored paper. Think about flower petals, circles, and spirals. Each shape can create a different type of flower.
- Adding Texture: To give your flowers a more realistic look, try folding, curling, or crumpling the paper pieces. This step is where kids can really let their creativity shine.
- Assembling the Flower: Begin layering the paper pieces to form your flower. Use glue or tape to secure each layer. Encourage kids to play around with different combinations to see what they like best.
- Creating the Stem: Attach a green pipe cleaner or straw to the back of the flower using glue or tape. This will serve as the stem, allowing your paper flower to stand tall.
Tip: Don’t be afraid to try different flower shapes and sizes. A bouquet of paper flowers with various styles can be a stunning centerpiece.
Benefits of Making Paper Flowers
- Sparks Creativity: Kids can explore different designs and color combinations.
- Develops Skills: Enhances fine motor skills through cutting and assembling.
- Eco-Friendly: Uses recyclable materials to create something beautiful.
For more creative paper crafts for kids, making paper flowers is just the beginning. Encourage children to explore other projects like paper mache sculptures or colorful paper chain garlands. These activities not only boost creativity but also improve skills like hand-eye coordination and spatial awareness.
4. Paper Masks
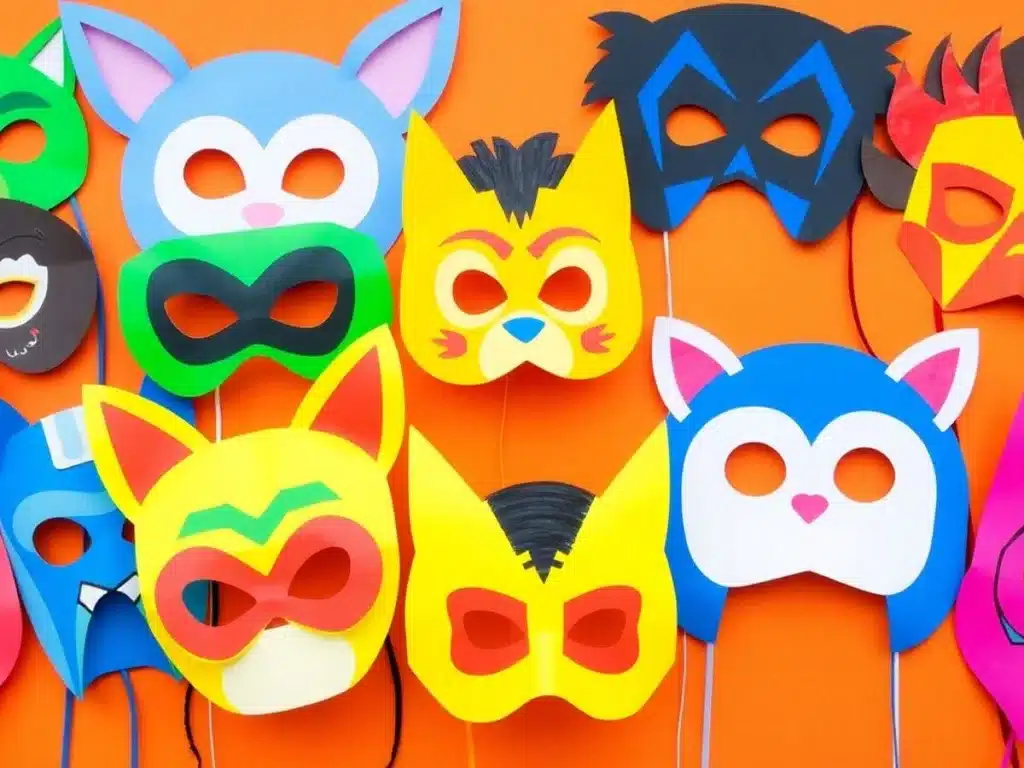
Creating paper masks is a fantastic activity that allows kids to dive into a world of imagination and creativity. Whether they want to become a superhero, an animal, or a favorite character, making masks is a fun way to encourage play and artistic expression.
How to Make a Simple Paper Mask
Here’s a quick guide to crafting a basic paper mask:
- Draw or Print a Template: Start by drawing a mask shape on paper or printing a template. This will be the base of your mask.
- Cut Out the Mask: Carefully cut out the mask shape, including eye holes.
- Decorate Your Mask: Use crayons, markers, or paints to add colors and patterns. This is where kids can let their creativity shine.
- Attach a String or Elastic Band: Punch holes on the sides of the mask and tie a string or attach an elastic band. This will help the mask stay in place when worn.
- Add Some Flair: Optional – add embellishments like feathers, sequins, or stickers to make the mask even more unique.
Crafting paper masks can be a delightful way for children to express themselves. It’s not just about making something to wear; it’s about creating a new identity, even if just for a moment.
For more ideas on similar crafts, you might want to explore creative and fun paper plate crafts for kids, which include making masks and monsters. These projects are perfect for sparking creativity and letting imaginations run wild.
5. Paper Chains
Paper chains are a classic craft that never goes out of style. They’re super easy to make and can brighten up any room quickly. Whether you’re prepping for a birthday party or want to add color to your kid’s room, paper chains are the way to go. They’re a fantastic way to let kids practice their cutting and gluing skills.
Materials Needed
- Colored paper or construction paper
- Scissors
- Glue stick or tape
Steps to Create Paper Chains
- Cut the Paper: Start by cutting your paper into strips. Aim for about 1 inch wide and 6 inches long. You can mix and match colors for a more vibrant chain.
- Make the First Link: Take one strip, form a loop, and secure the ends with glue or tape.
- Add More Links: Slide the next strip through the first loop, form it into a circle, and secure it. Repeat this process, alternating colors if you like, until your chain is as long as you want.
“Paper chains are not just fun; they are a great way to teach kids about patterns and sequences.”
Creative Ideas
- Countdown Chains: Use paper chains as a countdown to a special event. Each day, remove a link until the big day arrives.
- Seasonal Decor: Customize your paper chains with seasonal colors or patterns. Think red and green for Christmas or pastel shades for Easter.
- Personalized Messages: Write a letter or word on each link to spell out a message when the chain is hung up.
For more fun and creative paper crafts, check out our exploration of imaginative paper crafts that inspire creativity in kids.
6. Paper Collage Art
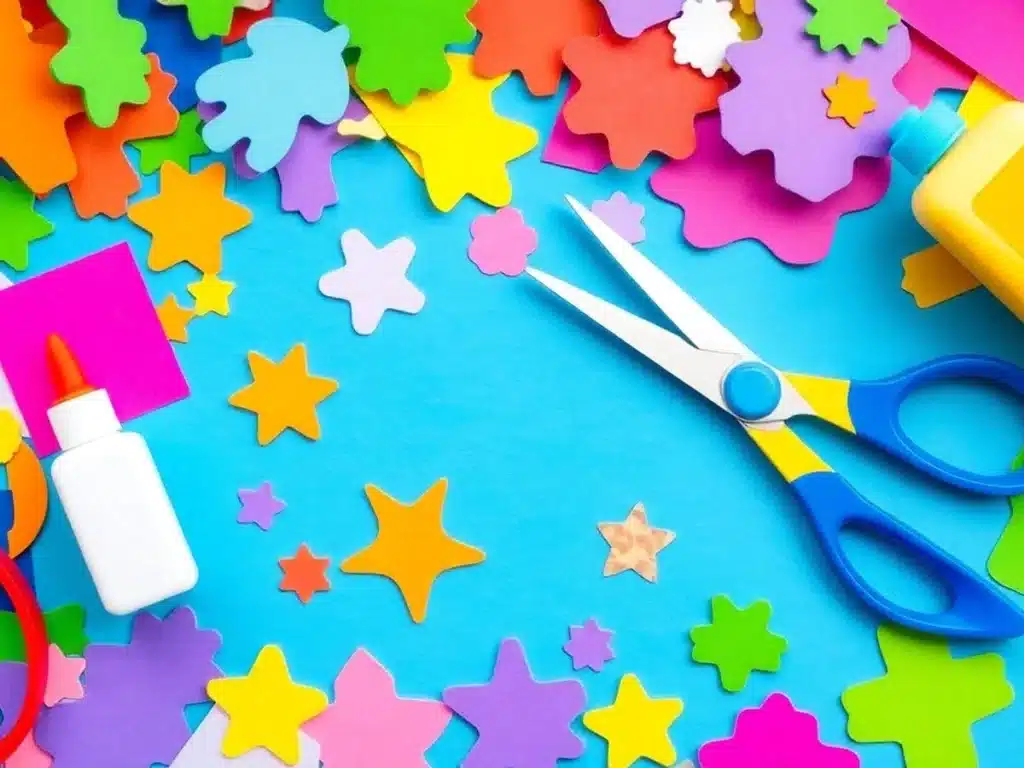
Creating paper collage art is an excellent way for kids to unleash creativity. It’s not just about cutting and gluing; it’s about storytelling and imagination. Gather some old magazines, colored paper, newspapers, and scissors. Let the kids cut out different shapes, images, and textures. They can arrange these cutouts on a larger piece of paper to make scenes, abstract designs, or even a little story.
Steps to Create Paper Collage Art
- Collect Materials: You’ll need various paper types, scissors, and glue. Magazines and newspapers are perfect for this.
- Cut and Arrange: Cut out interesting shapes and images. Encourage the kids to play with different layouts before sticking anything down.
- Glue it Down: Once they’re happy with the design, glue the pieces onto the background paper.
- Add Details: Use markers or crayons to add extra details or outlines to the collage.
Paper collage art is more than just a craft; it’s a way for children to express themselves. They might not always choose collage as their medium, but it can be a powerful tool for self-expression in a choice-based classroom.
Encourage kids to experiment with overlapping shapes and mixing different textures. This activity not only boosts creativity but also helps in developing fine motor skills.
7. Paper Plate Animals
Creating rocking paper plate crabs is a delightful way for kids to dive into crafting. These projects are fun and super simple, using materials you likely already have at home. Here’s how you can transform a basic paper plate into a charming animal face:
- Gather Your Supplies: You’ll need paper plates, colored paper, scissors, glue, and markers or crayons. If you have googly eyes or glitter, that’s even better!
- Design the Face: Decide on the animal you want to create. Draw or cut out shapes for the eyes, nose, mouth, ears, and any other features from the colored paper.
- Assemble Your Animal: Glue the features onto the paper plate. This is where your child’s creativity can shine—let them mix and match colors and shapes.
- Add Details: Use markers or crayons to add fur, whiskers, or any other details. This step is all about adding personality to your animal.
- Finishing Touches: If you have them, add googly eyes or a sprinkle of glitter for some extra sparkle.
Crafting paper plate animals is a wonderful way to encourage creativity and imagination in kids. Plus, it’s a great way to spend a rainy afternoon indoors.
Whether making a lion with a wild mane or a cute bunny with long ears, the possibilities are endless. Encourage kids to think outside the box and maybe even create their mythical creatures. This craft is perfect for playdates or family art sessions, offering a fun, hands-on experience that everyone can enjoy.
8. Paper Bag Kites
Let’s Make Paper Bag Kites
Creating a paper bag kite is a delightful activity for kids, especially when the weather is just right for kite flying. These kites are simple to make and bring a sense of accomplishment when they soar in the sky. Here’s a quick guide to crafting your paper bag kite:
- Gather Your Materials: You’ll need a paper lunch bag, colorful markers or paints, string, and lightweight streamers or ribbons.
- Decorate the Bag: Let the kids get creative! Use markers, paints, or stickers to decorate the paper bag. This is where they can let their imagination run wild.
- Prepare the Kite Tail: Attach long ribbons or streamers to the open end of the bag. These will act as the kite’s tail, helping it to fly smoothly.
- Attach the String: Punch two holes near the closed end of the bag and tie a piece of string through them. This will be your kite string.
- Time to Fly: Find an open space with wind, and let the kids see their creations fly!
Watching a kite that you’ve made yourself dance in the sky is a magical experience for kids. It’s a simple reminder of the joy that comes from creating something with your own hands.
Paper bag kites are a fantastic way to spark children’s creativity while providing a fun outdoor activity. They’re perfect for a sunny afternoon in the park or even just in the backyard. Plus, they make for a fabulous keepsake of a crafty day spent together.
9. Paper Puppets
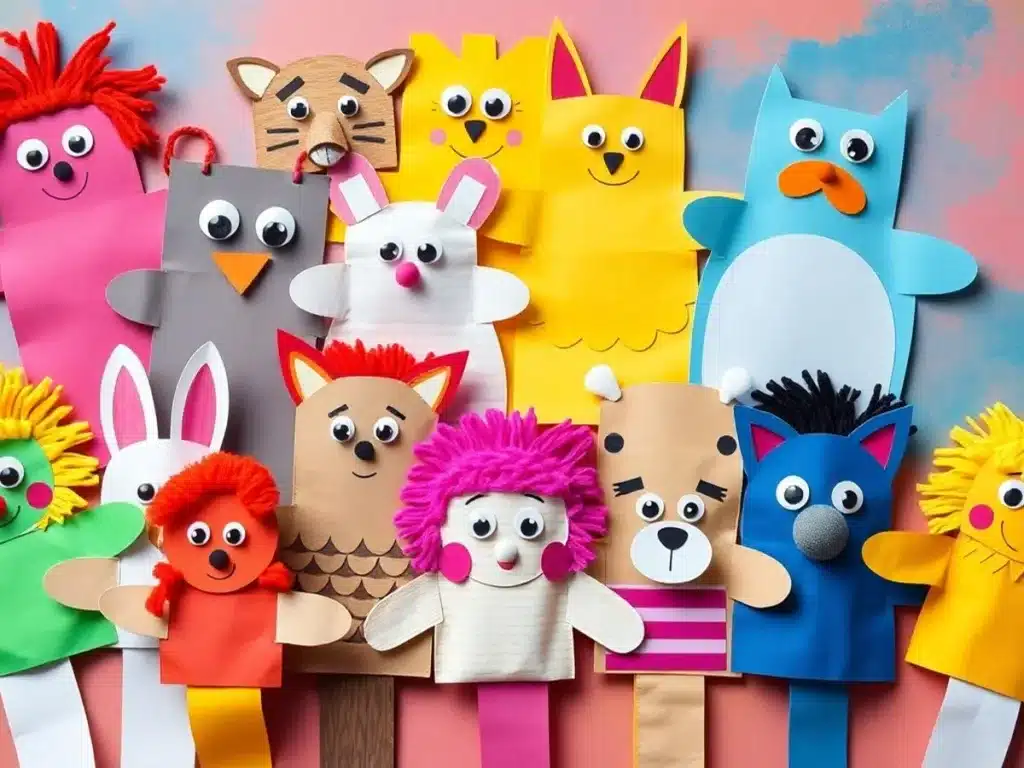
Crafting Paper Puppets
Paper puppets are a fantastic way for kids to dive into the world of storytelling and imaginative play. With just a few materials, children can create their own characters and bring them to life. Here’s a simple guide to making paper puppets that will spark creativity and fun.
Materials Needed
- Paper (colored or plain)
- Markers or crayons
- Scissors
- Glue or tape
- Popsicle sticks or straws
Step-by-Step Instructions
- Draw or print your characters: Start by drawing your puppet characters on paper. If drawing isn’t your thing, you can find printable templates online.
- Color and decorate: Use markers, crayons, or paints to bring your characters to life. Let your imagination run wild with colors and patterns.
- Cut out the characters: Carefully cut out the characters, including any movable parts like arms or legs.
- Attach to sticks: Use glue or tape to stick your characters onto popsicle sticks or straws. This will make them easy to hold and maneuver.
- Put on a show: Gather your audience and let the storytelling begin!
Tip: Adding extras like yarn for hair or pipe cleaners for arms can make your puppets even more unique.
Creating paper puppets is not just about the end product but the process of crafting and storytelling. Encourage kids to create stories and act them out using their puppets. It’s a delightful way to boost creativity and confidence.
For more detailed templates to make your own paper bag puppets, consider downloading some free printable PDFs. These templates can make the crafting process even easier and more fun.
10. Paper Windsocks
Creating paper windsocks is a delightful way to engage kids in crafting while adding a splash of color to your outdoor space. This simple project is perfect for children of all ages and can be easily adapted to suit different skill levels.
Materials Needed
- Construction paper or cardstock
- Scissors
- Glue or tape
- String or yarn
- Markers or crayons for decoration
- Streamers or ribbons
Steps to Create Your Paper Windsock
- Prepare the Base: Cut a piece of construction paper into a rectangle. The size can vary depending on how big you want your windsock to be.
- Decorate: Let the kids unleash their creativity by decorating the paper with markers, crayons, or stickers.
- From the Cylinder: Roll the decorated paper into a cylinder shape and secure the edges with glue or tape.
- Attach Streamers: Cut streamers or ribbons into strips and attach them to one end of the cylinder. These will flutter in the wind and add visual interest.
- Add a Handle: Punch two holes at the top of the cylinder and thread a piece of string or yarn through them to create a handle for hanging.
Crafting windsocks is a fun way to teach kids about the wind and weather. As the windsock dances in the breeze, it’s a great opportunity to discuss how wind direction and speed can be observed.
Once completed, hang your windsock outside and watch as it comes to life with the wind. Not only is this a creative activity, but it also provides a practical learning experience for children in understanding weather patterns.
Conclusion
Crafting with paper is such a simple yet powerful way to let kids explore their creativity. These 10 easy paper crafts are just the beginning. They open up a world where imagination can run wild, and kids can express themselves in colorful and fun ways. Plus, it’s a great way to spend time together, away from screens. So grab some paper, scissors, and glue, and dive into these projects. You’ll be amazed at what your kids can create. Happy crafting!
Frequently Asked Questions
What age group is suitable for these paper crafts?
These paper crafts are perfect for kids aged 5 to 12. They are simple enough for younger children with supervision and engaging enough for older kids.
What materials do I need to start these crafts?
You’ll need basic materials like paper, scissors, glue, and markers. Some crafts might require additional items like string or tape.
Can these crafts help develop skills in children?
Yes, crafting helps improve fine motor skills, boosts creativity, and encourages problem-solving.
Do I need to supervise my child during these activities?
For younger children, supervision is recommended, especially when using scissors or small items.
How long do these crafts typically take to complete?
Most of these crafts can be completed in 30 minutes to an hour, depending on the complexity and the child’s skill level.
Can these crafts be adapted for group activities?
Absolutely! These crafts are great for group settings like classrooms or parties, encouraging teamwork and sharing.