DIYbrico | Discover, Create, Inspire

Innovative Small Woodworking Projects to Elevate Your Craft in 2025
Discover innovative small woodworking projects for 2025 to enhance your craft and creativity.

Have you ever thought about taking your woodworking hobby up a notch? With 2025 just around the corner, it’s a great time to dive into small woodworking projects that challenge your skills and add a personal touch to your home. From crafting unique candle holders to designing custom picture frames, these projects offer a fun way to express creativity while making something useful. Whether you’re a seasoned woodworker or just starting, a project here will spark your interest and inspire you to try something new.
Key Takeaways
- Small woodworking projects are ideal for honing skills and creativity.
- Creating wooden items like candle holders and picture frames can personalize your space.
- These projects are suitable for both beginners and experienced woodworkers.
- Woodworking can be a relaxing and rewarding hobby.
- Exploring different designs and techniques keeps the craft interesting.
Small Woodworking Projects – Exploring the Charm of Wooden Candle Holders
Crafting Rustic Pillar Candle Holders
Wooden candle holders are a timeless piece of decor that can add warmth and charm to any space. When it comes to crafting rustic pillar candle holders, the focus is on embracing the natural beauty of the wood. Start by selecting a piece of wood that showcases interesting grain patterns or unique imperfections. This is where the rustic charm truly shines. You can use reclaimed wood for an eco-friendly twist, giving new life to materials that might otherwise go to waste.
Here’s a simple step-by-step guide to crafting your rustic pillar candle holders:
- Select Your Wood: Choose a sturdy piece of wood like oak or walnut.
- Cut to Size: Use a saw to cut the wood into the desired height for your candle holder.
- Create a Recess: Use a drill or chisel to carve out a shallow recess on top to securely hold the candle.
- Sand the Surface: Sand the entire piece to smooth out any rough edges or splinters.
- Apply Finish: Finish with a natural oil or wax to enhance the wood’s natural beauty.
Designing Sophisticated Tealight Displays
Tealight displays are perfect for those who love a more refined and sophisticated look. These displays can transform a simple dining table or mantle into a centerpiece. Consider using lighter woods like maple or birch for a clean, elegant appearance.
- Arrangement Ideas: Arrange multiple tealights in a linear or circular pattern on a single wooden base.
- Incorporate Metal: Add metallic accents like brass or copper for a modern touch.
- Layered Heights: Use different heights for the tealight holders to create visual interest.
Incorporating Natural Elements
Incorporating natural elements into your candle holders can create a seamless blend between the indoors and the outdoors. This can be as simple as adding decorative touches such as:
- Dried Flowers or Leaves: Embed small dried flowers or leaves into the wood for a natural accent.
- Stone Inlays: Incorporate small stones or pebbles into the design for a rustic yet elegant look.
- Bark Textures: Leave sections of the wood’s bark intact for an authentic, earthy feel.
Wooden candle holders are more than just functional items; they are an expression of creativity and craftsmanship. By experimenting with different designs and materials, you can create pieces that are uniquely yours and add a personal touch to your home decor.
For those looking to add a touch of handmade charm to their holiday decorations, exploring vibrant crochet ideas can provide inspiration for creating complementary pieces that enhance the cozy ambiance created by your wooden candle holders.
Creating Personalized Wooden Kitchen Utensils
Selecting the Right Wood for Utensils
Choosing the right wood is like picking the perfect ingredient for your recipe—it makes all the difference. Hardwoods like maple, cherry, and walnut are popular choices for kitchen utensils because they’re durable and less likely to warp or crack. Each type of wood brings its own character to the table. Maple is light and smooth, cherry darkens over time, giving a rich tone, and walnut offers a deep, classic look. Think about the end use of the utensil—will it be used for stirring, serving, or cutting? This will help you decide which wood to go for.
Engraving Techniques for Customization
Engraving takes your wooden utensils from ordinary to extraordinary. It’s like adding a personal signature to your work. You can use a simple wood burner for a rustic look or go high-tech with a laser engraver for intricate designs. Whether it’s a family name, a special date, or a unique pattern, engraving turns utensils into keepsakes. Personalized utensils make wonderful gifts cherished by those who receive them. If you’re new to engraving, start with simple designs and practice on scrap wood before moving to your final piece.
Finishing Touches for Durability
A good finish not only makes your utensils look great but also protects them from wear and tear. Food-safe oils like mineral oil or beeswax polish are excellent choices. They enhance the natural beauty of the wood and provide a protective barrier against moisture. Apply the finish with a clean cloth, let it soak in, and then buff it to a shine. Regular maintenance is key—reapply the oil every few months to keep the wood in top shape. These finishing touches ensure your utensils last for years, making them not just tools but heirlooms.
Designing Elegant Wooden Jewelry Boxes
Choosing the Perfect Wood for Jewelry Boxes
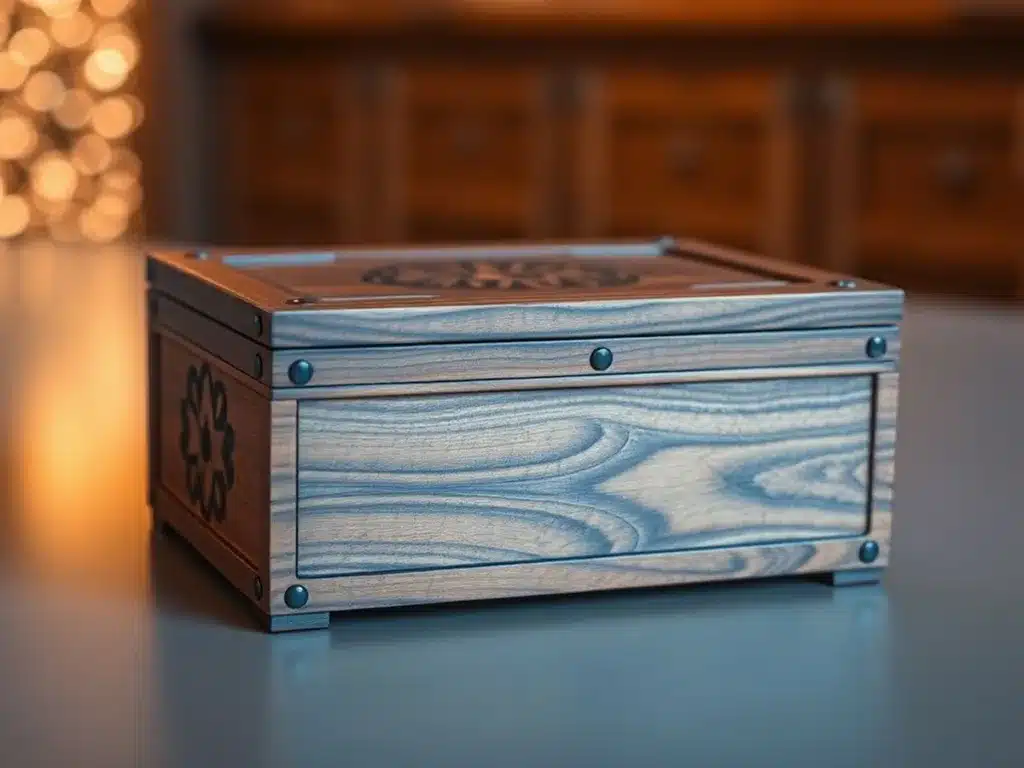
When it comes to crafting wooden jewelry boxes, selecting the right type of wood is crucial. Different woods offer various textures, colors, and grains, which can greatly influence the final look of your box. Cherry, maple, and oak are popular choices due to their durability and beautiful finishes. Cherry wood provides a rich, warm color that deepens over time, while maple offers a light, clean look that’s perfect for modern designs. Oak, with its prominent grain, gives a rustic touch to any piece.
Incorporating Intricate Carvings
Adding intricate carvings to your jewelry box can transform a simple design into a work of art. This is where your creativity can truly shine. Consider floral patterns, geometric shapes, or even personalized motifs. Carving requires patience and precision, so it’s important to practice scrap wood before working on your main piece. Utilize tools like chisels and gouges to achieve the desired depth and detail in your designs.
Adding Velvet Linings for a Luxurious Touch
A jewelry box isn’t complete without a soft, protective lining. Velvet is a classic choice that not only cushions the jewelry but also adds a touch of luxury. Choose a color that complements the wood’s tone—deep reds or greens can create a striking contrast, while neutral shades like beige or gray offer a more subtle elegance. When lining your box, ensure the velvet is cut precisely to fit each compartment, securing it with a strong adhesive to prevent any shifting over time.
Crafting a wooden jewelry box is more than just about functionality; it’s about creating a keepsake that holds cherished memories. Each piece you make is a reflection of your personal style and craftsmanship.
For those interested in exploring creative and easy paper crafts, these projects can be a fun way to add personalized touches to your jewelry boxes, such as handmade gift tags or decorative paper inserts.
Building Stylish Wooden Planters
Selecting Wood for Outdoor Durability
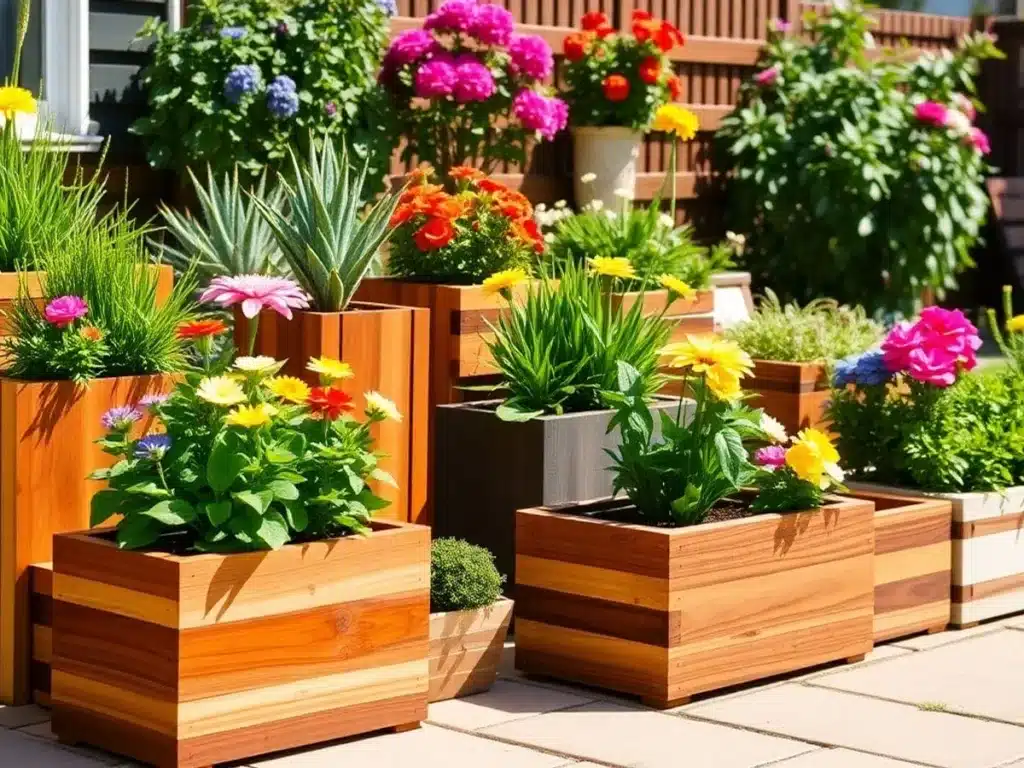
When thinking about creating wooden planters, choosing the right wood is key. You want something that can handle the outside elements without falling apart. Cedar and redwood are great picks because they’re naturally resistant to rot and bugs. Teak is another option, though it can be a bit pricey. If you’re on a budget, pressure-treated pine could work, but make sure it’s safe for plants.
Here’s a quick look at some wood options:
| Wood Type | Durability | Cost |
|---|---|---|
| Cedar | High | Moderate |
| Redwood | High | High |
| Teak | Very High | Very High |
| Treated Pine | Moderate | Low |
Incorporating Drainage Solutions
Drainage is a big deal when it comes to planters. Without it, your plants might drown. Drill a few holes in the bottom of your planter to let the water escape. You can also add a layer of gravel or small stones at the bottom to help with drainage. Some folks even use a bit of landscape fabric to keep the soil from washing away.
Here’s a simple checklist for drainage:
- Drill holes at the bottom.
- Add a gravel layer.
- Consider using landscape fabric.
Designing for Aesthetic Appeal
Now, the fun part—making your planter look good. You can keep it simple with a classic rectangular shape or get creative with hexagons or circles. Consider adding a splash of color with some outdoor paint or stain. If you’re feeling adventurous, try incorporating different textures or patterns with wood slats.
A well-designed planter can turn any garden or patio into a stylish retreat. It’s all about mixing functionality with a bit of flair. Whether you go for a minimalist look or something more elaborate, your planter can be a standout piece in your outdoor space.
If you’re looking to add a touch of eco-friendliness to your gardening, consider transforming empty toilet paper rolls into biodegradable seed pots. It’s a fun and sustainable way to start your plants before moving them to your stylish wooden planters.
Innovative Wooden Birdhouses for Your Garden
Choosing Weather-Resistant Materials
Building a birdhouse that lasts through all seasons means picking the right materials. Weather-resistant wood like cedar or redwood is a solid choice. These types of wood naturally fend off rot and decay, making them ideal for outdoor projects. If you’re feeling adventurous, you could even try using reclaimed wood for an eco-friendly touch. Just make sure whatever you use is untreated, as chemicals can harm our feathered friends.
Incorporating Unique Architectural Features
Why settle for a plain birdhouse when you can create a mini architectural wonder? Think about adding features like gabled roofs, multiple entry holes, or even a small porch. These not only make the birdhouse look cool but also provide different species of birds with varied nesting options. You could even design a modular birdhouse that can be expanded or altered as needed.
Ensuring Safety for Birds
Safety is key when building a birdhouse. The entrance hole size should match the type of birds you want to attract—too big, and predators might get in. Smooth out any rough edges to prevent injuries, and avoid using nails or screws that could poke through the wood. Ventilation holes are a must to keep the interior from getting too hot, and drainage holes will help keep it dry inside. Lastly, place your birdhouse in a spot that’s safe from predators but still visible enough for you to enjoy some birdwatching.
Crafting Unique Wooden Wall Clocks
Exploring Modern and Rustic Designs
Creating a wooden wall clock is like mixing art with function. You can go for a sleek, modern look with clean lines and a polished finish or embrace the rustic charm with rough edges and rich wood grains. Choosing the right design sets the tone for the entire space. A modern clock might use lighter woods like maple or ash, while a rustic design could feature darker woods such as walnut or reclaimed barn wood. Consider the room’s decor and pick a style that complements or contrasts in an interesting way.
Incorporating Metal and Glass Elements
Adding metal or glass to your wooden clock can really make it pop. Think about using a metal frame or accents like brass or copper for a touch of elegance. Glass can be used for the clock face, giving it a sophisticated look. These materials not only enhance the visual appeal but also add durability. When combining these elements, balance is key—too much metal can overshadow the wood, while too much glass might make it feel fragile.
Techniques for Precise Timekeeping
A clock is only as good as its ability to keep time, right? Ensuring accurate timekeeping involves selecting the right clock mechanism. Quartz movements are popular for their precision and affordability. When installing the mechanism, make sure it’s aligned correctly and secured firmly. Also, consider the weight of the clock hands if you’re using heavier materials; they should be balanced to avoid putting strain on the mechanism. Regular maintenance, like changing the battery and ensuring the hands move freely, can keep your clock ticking smoothly for years.
Creating Custom Wooden Picture Frames
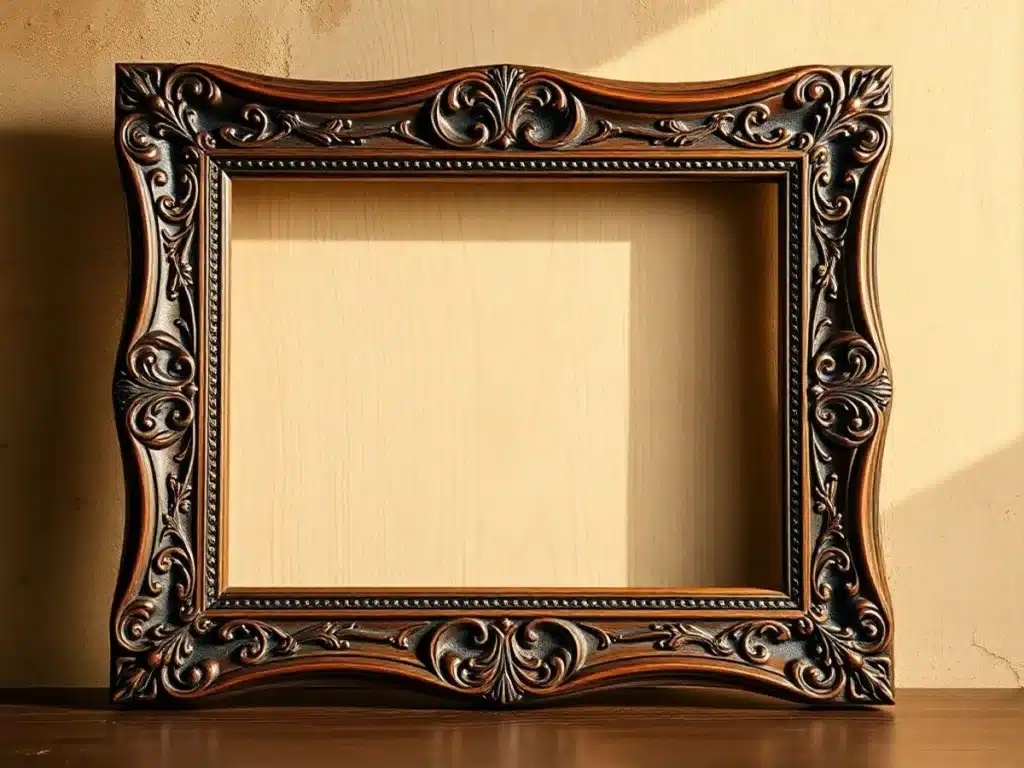
Selecting Wood for Different Styles
Choosing the right wood is the first step in crafting a custom picture frame. Each type of wood brings its own character and tone. For a rustic look, consider using reclaimed wood, which not only adds charm but also tells a story. If you’re aiming for something more modern, woods like maple or birch, with their clean lines and subtle grains, might be your go-to. The type of wood you select can dramatically influence the overall vibe of your frame.
Incorporating Decorative Molding
Decorative molding can transform a simple wooden frame into a work of art. You can purchase pre-made moldings or carve your own if you’re feeling adventurous. This is where you get to play with styles—be it ornate Victorian or sleek contemporary. Attaching these moldings requires precision, so take your time to ensure everything aligns perfectly.
Techniques for a Professional Finish
A professional finish can make all the difference in how your frame looks and lasts. Start by sanding the wood to a smooth finish, which helps in absorbing stains evenly. Choose a stain or paint that complements the wood and the picture it will hold. Applying a clear coat or varnish not only protects the wood but also adds a polished look. Finally, make sure to let everything cure properly, ensuring durability and longevity.
Crafting a custom wooden picture frame is not just about holding a photograph; it’s about creating a piece that enhances the image it surrounds. The process is as much about the art of woodworking as it is about the art of photography.
For those looking to explore more creative projects, platforms like DiyBrico offer a wide array of ideas and resources to ignite your creative spark.
Conclusion
So, there you have it, a bunch of cool woodworking projects to try out in 2025. Whether you’re a newbie or a seasoned pro, there’s something here to spark your creativity. From small, simple items to more complex pieces, these projects can really help you hone your skills. Plus, they make great gifts or even products to sell if you’re looking to make a little extra cash. Remember, the key is to have fun and let your imagination lead the way. Happy crafting!
Frequently Asked Questions
What type of wood is best for making candle holders?
Softwoods like pine are easy to carve, while hardwoods like oak offer durability and a polished look.
How do I start with making wooden kitchen utensils?
Begin by choosing food-safe wood like maple or cherry, and use simple designs to practice your skills.
What tools do I need for crafting a wooden jewelry box?
Basic tools like a saw, sandpaper, and a drill are essential. For added detail, consider using carving tools.
Can I make a wine rack without advanced woodworking skills?
Yes, simple designs like a basic shelf can be crafted with minimal experience. Start with a straightforward plan.
How do I protect wooden planters from the weather?
Use weather-resistant finishes or sealants to protect the wood from moisture and sun damage.
What is the easiest wooden project for beginners?
Wooden picture frames are a great starting point as they require basic skills and tools.