DIYbrico | Discover, Create, Inspire

10 Inspiring Creative Woodworking Projects to Spark Your Imagination
Explore 10 creative woodworking projects to ignite your imagination and craft unique wooden pieces.

Have you ever thought about diving into the world of creative woodworking projects? It’s a fantastic way to let your imagination run wild and create something tangible. Whether you’re a seasoned pro or just starting, there’s always a new project. From crafting beautiful furniture to making unique sculptures, the possibilities are endless. Let’s explore some inspiring woodworking projects that might spark your next big idea.
Key Takeaways
- Choose the right type of wood for your project to ensure the best results.
- Learn different joinery techniques to enhance the strength and beauty of your creations.
- Prioritize safety by using proper protective gear when working with tools.
- Keep learning and experimenting with new woodworking techniques and designs.
- Woodworking is not just about the end product; enjoy the creative process and learn from mistakes.
1. Wooden Furniture
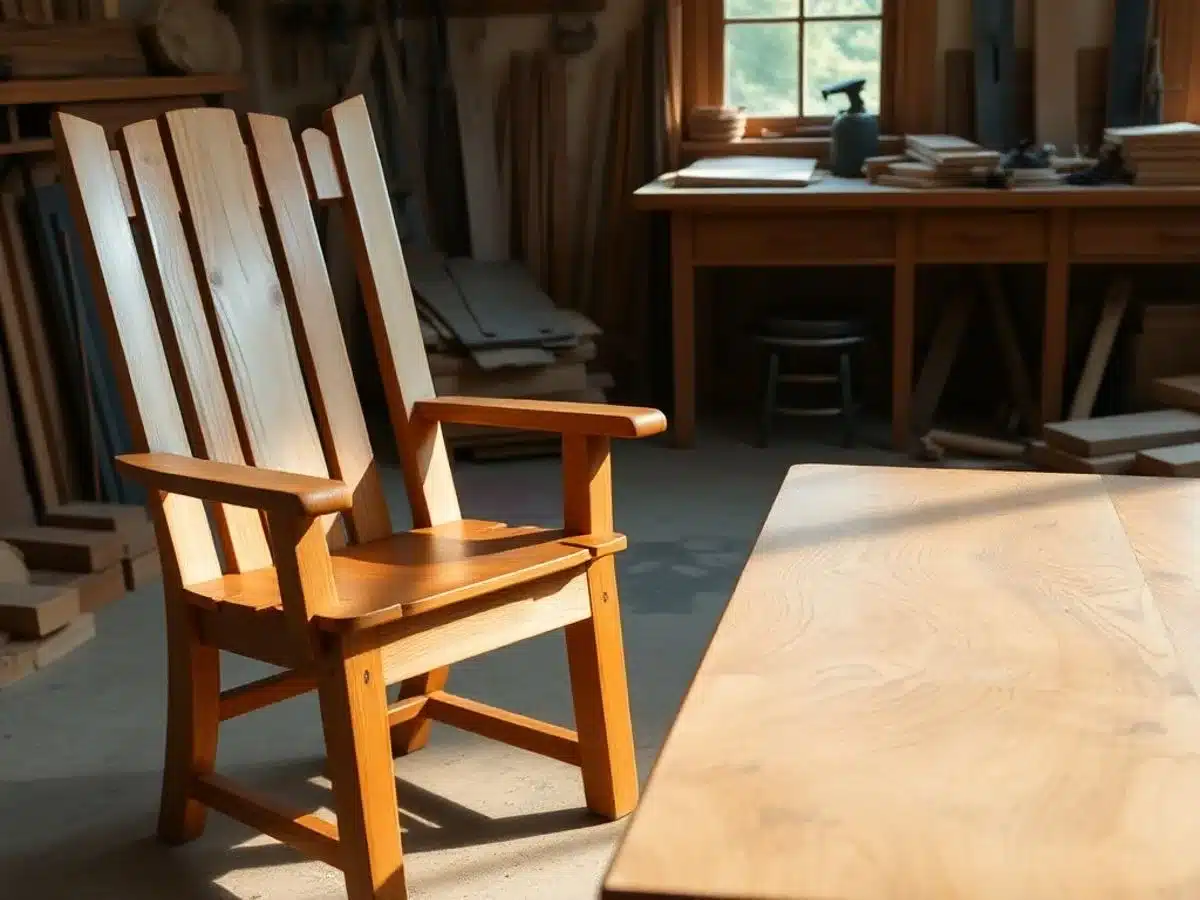
Creating your own wooden furniture is a fantastic way to add a personal touch to your home. Whether you’re crafting a dining table or a cozy armchair, the possibilities are endless. Woodworking lets you tailor each piece to your space and style perfectly. Here are some projects to consider:
- Dining Tables: Craft a table that becomes the centerpiece of your dining room. Choose between sleek, modern designs or rustic styles with hand-carved details.
- Bookshelves: Build a classic bookshelf to showcase your favorite reads and decorative items. Consider adjustable shelves for added flexibility.
- Armchairs: Design an armchair that offers comfort and style, perfect for relaxing after a long day.
Making wooden furniture is not just about functionality; it’s about creating pieces that tell a story and fit seamlessly into your lifestyle.
You can explore nine simple woodworking projects to get started, ideal for both beginners and seasoned woodworkers.
2. Wooden Shelves
Wooden shelves are more than just a storage solution; they’re a chance to express your creativity while organizing your space. Whether you’re into sleek, modern designs or rustic charm, there’s a wooden shelf project that fits your style.
Types of Wooden Shelves
- Floating Shelves: These are perfect for a minimalist look. They appear to float on the wall without any visible brackets, offering a clean and modern aesthetic.
- Corner Shelves: Ideal for making use of unused corner spaces, these shelves can transform an awkward spot into a functional storage area.
- Ladder Shelves: These freestanding shelves lean against the wall, providing a casual and stylish way to display books and decorative items.
Building Your Own Wooden Shelves
Creating your own wooden shelves can be a rewarding DIY project. Here’s a simple guide to get you started:
- Choose Your Wood: Select a type of wood that suits your desired look and budget. Pine is affordable, while oak offers durability and a classic appearance.
- Measure Your Space: Determine the dimensions of your shelves based on the space available and what you plan to store.
- Cut and Sand: Cut the wood to your desired lengths and sand the edges smoothly to prevent splinters.
- Assemble: Depending on your design, you may need brackets, nails, or glue for assembly.
- Finish: Apply a stain or paint to protect the wood and enhance its appearance.
Wooden shelves not only serve as a practical storage solution but also add a touch of personal style to any room. Whether you opt for a floating shelf or a more traditional design, each piece can be customized to fit your unique taste and needs.
Embrace the versatility of wooden shelves to showcase your favorite items while keeping your home organized and stylish.
3. Wooden Clocks
Creating a wooden clock is a fantastic way to blend functionality with artistry. These clocks aren’t just about telling time; they are about making a statement. Imagine a large, rustic wall clock that becomes the centerpiece of your living room or a small, elegant desk clock that adds a touch of sophistication to your workspace.
Types of Wooden Clocks
- Wall Clocks: These are perfect for making a bold statement. You can experiment with various wood types, from rich mahogany to light pine, and choose finishes that match your decor.
- Desk Clocks: Ideal for office settings, these clocks can be both functional and decorative. Consider integrating features like pen holders or a small calendar.
- Mantel Clocks: These classic pieces are great for adding a touch of elegance to any room. With intricate designs and polished finishes, they can become heirloom pieces.
Steps to Craft Your Clock
- Choose Your Wood: Decide on the type of wood that suits your aesthetic and functional needs. Hardwoods like oak and walnut are durable and have beautiful grains.
- Design Your Clock: Sketch out your design, considering the size and shape that will best fit your space.
- Select Clock Movement: Choose between quartz, mechanical, or digital movements depending on your preference for accuracy and maintenance.
A handmade clock can transform any space, offering a unique blend of functionality and personal style. It’s not just about keeping time; it’s about crafting a piece of art that reflects your personality.
For those new to woodworking, starting with a simple clock design can be an excellent project. You can find beginner-friendly woodworking crafts that guide you through the process with step-by-step instructions. Whether you’re crafting for personal enjoyment or creating a gift, a wooden clock is a timeless choice.
4. Wooden Jewelry
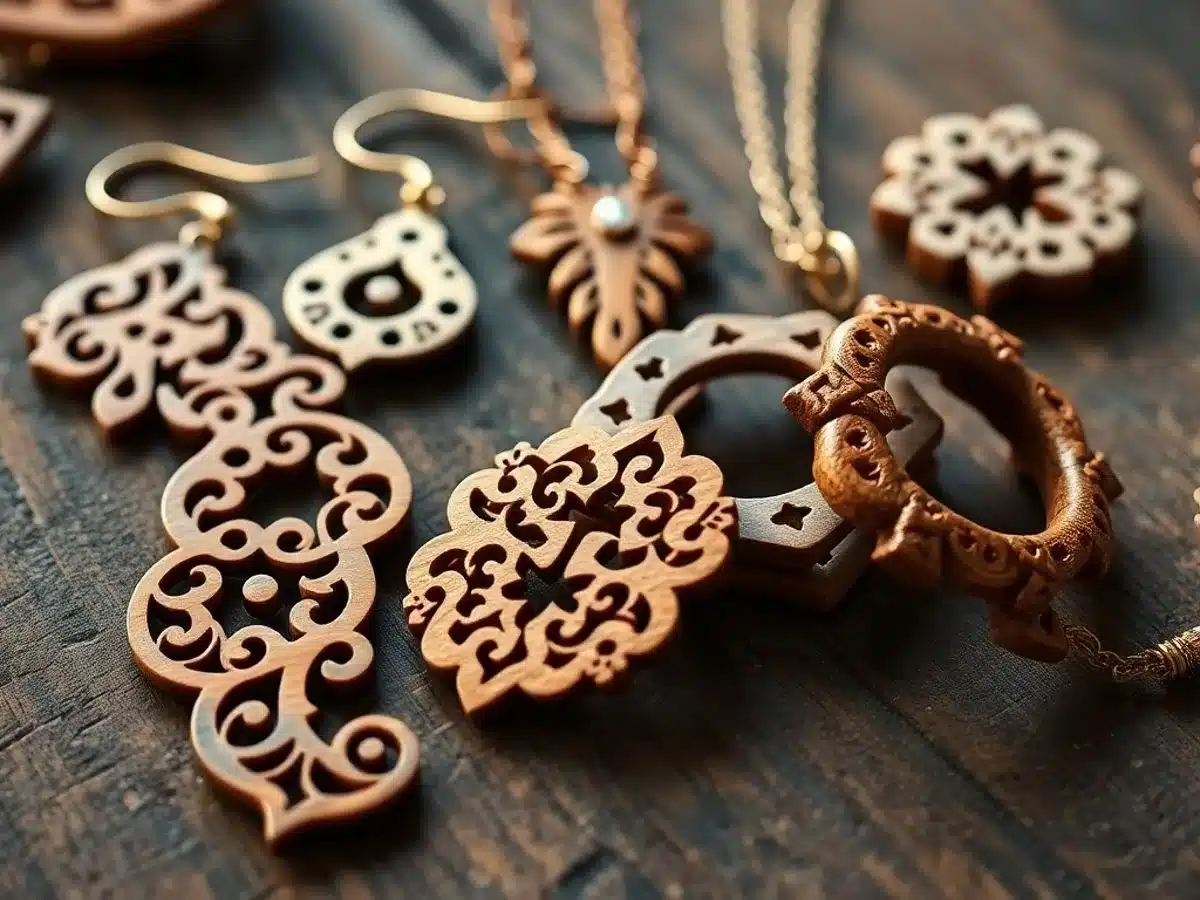
Creating wooden jewelry is an art that combines the warmth of natural materials with personal style. Whether you’re crafting a statement necklace or a pair of delicate earrings, the possibilities are endless when you work with wood. This material offers a unique charm, making each piece a tiny work of art.
Why Choose Wood for Jewelry?
Wooden jewelry is not only beautiful but also lightweight and comfortable to wear. It adds a touch of nature to your everyday look and can be customized to reflect your personal taste. By experimenting with different types of wood and finishes, you can create pieces that are truly one-of-a-kind.
Types of Wooden Jewelry
- Necklaces: These can range from bold statement pieces to simple pendants. Experiment with different shapes and sizes to find what suits you best.
- Bracelets: Wooden bracelets can be chunky or sleek, depending on your preference. They pair well with other materials like metal or leather.
- Earrings: Lightweight and versatile, wooden earrings can be crafted in various styles, from studs to dangling designs.
Making Your Own Wooden Jewelry
- Select Your Wood: Choose a type of wood that suits your style. Some popular choices include maple, walnut, and cherry.
- Design Your Piece: Sketch out your design before you start cutting. This helps in planning the size and shape.
- Cut and Shape: Use woodworking tools to cut and shape your pieces. Sand them down for a smooth finish.
- Finish and Assemble: Apply a finish to protect the wood and enhance its natural beauty. Then, assemble your jewelry using findings like clasps and hooks.
Crafting wooden jewelry is a rewarding hobby that allows you to express your creativity while making beautiful accessories. It’s a perfect way to blend craftsmanship with personal style.
Looking to create a stylish keepsake box to store your handmade jewelry? Consider using intermediate techniques like rabbets and miters to enhance your woodworking skills while crafting a beautiful and functional piece.
5. Wooden Coasters
Crafting Wooden Coasters
Creating wooden coasters is a fantastic way to add a personal touch to your home decor while keeping surfaces safe from drink rings. These small but mighty pieces can transform a simple table setting into something special. With endless design possibilities, you can customize them to fit any theme or occasion.
Materials Needed
- Fallen tree limb or any suitable wood
- Sandpaper
- Wood finish or sealant
- Optional: Paints or decoupage materials
Steps to Create Wooden Coasters
- Select Your Wood: Choose a fallen tree limb or any piece of wood that suits your style.
- Cut the Wood: Slice the wood into discs, aiming for a uniform thickness.
- Sand the Edges: Smooth the edges and surfaces using sandpaper to prevent splinters.
- Design Your Coasters: You can leave the wood natural or use paints and decoupage techniques to add flair.
- Seal the Coasters: Apply a wood finish to protect the surface and enhance the wood’s natural beauty.
Wooden coasters are not just practical; they are an expression of creativity. Whether you’re crafting for your own home or making gifts, they offer a unique way to showcase your personal style.
Tips for Unique Designs
- Try using resin inlays for a modern look.
- Experiment with wood-burning techniques for intricate patterns.
- Use different stains and finishes to highlight the wood grain.
Wooden coasters are a simple project that can make a big impact. They’re perfect for beginners and seasoned woodworkers alike. Get creative and enjoy the process!
6. Wooden Cutting Boards
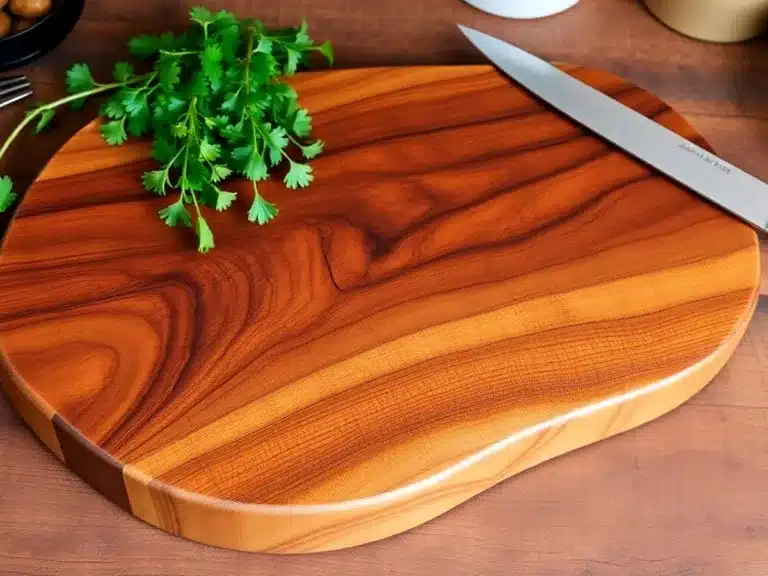
Wooden cutting boards are not just practical kitchen tools; they’re a blend of functionality and elegance. Crafting your own cutting board can be a rewarding project for any woodworking enthusiast. Here’s why you might consider making one:
- Durability: Wood is a sturdy material that can withstand the wear and tear of daily kitchen use. Unlike plastic boards, wooden boards are less likely to dull your knives.
- Natural Beauty: The grain patterns in wood add a touch of natural beauty to your kitchen. Each board is unique, making it not just a tool, but a piece of art.
- Antibacterial Properties: Wood has natural antibacterial properties, making it a safer choice for food preparation.
Steps to Create Your Own Wooden Cutting Board
- Choose Your Wood: Select a hardwood like maple, walnut, or cherry. These woods are dense and durable, perfect for cutting boards.
- Cut and Glue: Cut the wood into strips and glue them together to form a board. Use clamps to hold the pieces in place while the glue dries.
- Sand the Surface: Once the glue is dry, sand the board down to a smooth finish. Start with a coarse grit sandpaper and work your way to a finer grit.
- Finish with Oil: Apply a food-safe oil to protect the wood and enhance its natural color.
A well-crafted wooden cutting board not only enhances your cooking experience but also brings a touch of elegance to your kitchen. It’s not just about making food; it’s about creating a culinary experience.
For those who enjoy crafting, making a unique papercraft can also be a delightful way to express creativity, similar to woodworking.
7. Wooden Tool Box
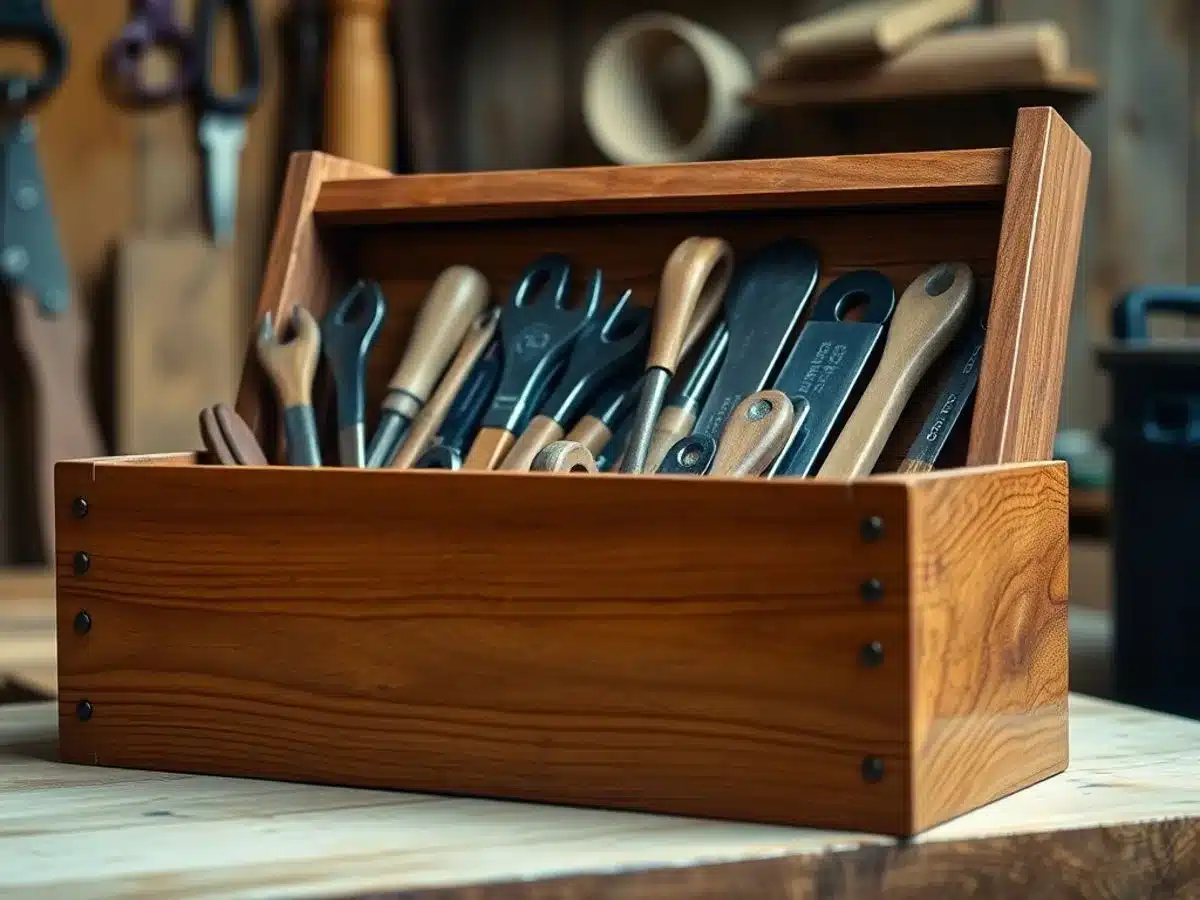
Building a wooden toolbox is a fantastic project for those who love to keep their tools organized and within reach. This project isn’t just about utility; it’s about creating something that reflects your personal style. Plus, it’s a great way to practice your woodworking skills.
Materials Needed:
- Wood boards
- Screws
- Hinges
- Handle
- Drill
Steps to Create Your Toolbox:
- Cut the wood boards: Start by cutting the base, sides, and ends to your desired dimensions. Make sure each piece fits snugly together.
- Assemble the box structure: Use screws to attach the sides and ends to the base, forming a sturdy structure.
- Attach the bottom: Secure the bottom piece to ensure the box can hold weight without collapsing.
- Add the handle and lid: Attach hinges to the lid and secure a handle on top for easy carrying.
Skills You’ll Learn:
- Drilling
- Screwing
- Creating functional designs
Building a toolbox is not just about storing tools; it’s about crafting a piece that’s both functional and personal. It’s a project that grows with you, reflecting your evolving skills and style.
For those looking to refine their woodworking techniques, David Barron’s guide on mastering dovetail and mortice joints can be an invaluable resource. This guide not only helps in creating an ideal toolbox but also enhances your overall woodworking skills.
8. Laptop Stand
Crafting a wooden laptop stand can be a game-changer for your workspace, offering both style and functionality. A well-designed laptop stand elevates your screen to eye level, reducing neck and back strain during those long hours at the desk.
Why Build a Wooden Laptop Stand?
- Ergonomics: Helps maintain a healthy posture by raising the laptop screen to eye level.
- Aesthetic Appeal: Wood brings a natural and warm look to your workspace, unlike metal or plastic.
- Customization: Tailor it to fit your specific needs, whether it’s cable management or extra storage.
Materials Needed
- Plywood or solid wood piece
- Sandpaper
- Wood glue or screws
- Wood finish or paint (optional)
Step-by-Step Guide
- Design Your Stand: Sketch a simple design that suits your needs. Consider adding slots for ventilation or cable management.
- Cut the Wood: Using your design, cut the wood into the required pieces. A basic stand usually requires a flat surface and two supporting sides.
- Assemble the Pieces: Use wood glue or screws to attach the pieces together. Ensure everything is aligned and stable.
- Finish the Surface: Sand the edges for a smooth finish. Apply wood finish or paint if desired.
- Test Your Stand: Place your laptop on the stand to ensure stability and comfort.
Building a wooden laptop stand not only enhances your workspace but also gives you a sense of accomplishment. Plus, it’s a practical project that you can easily customize to match your style and needs.
9. Birdhouse
Building a birdhouse is a classic woodworking project that combines simplicity with creativity. It’s a perfect weekend project that can be both fun and rewarding. Not only do you get to practice your woodworking skills, but you also provide a cozy home for your feathered friends.
Materials Needed
- Wood planks
- Nails
- Hammer
- Saw
- Wood glue
Steps to Build a Birdhouse
- Cut the Wood Pieces: Start by cutting the wood planks into pieces for the walls, roof, floor, and entrance. Make sure each piece is measured correctly to fit together snugly.
- Assemble the Walls and Floor: Use nails and wood glue to attach the walls to the floor. Ensure the structure is sturdy enough to withstand the elements.
- Attach the Roof: Once the walls are up, secure the roof pieces on top. This can be a simple flat roof or a more decorative sloped design.
- Add the Perch and Entrance Hole: Drill a hole for the entrance and attach a small perch just below it. This gives birds easy access to their new home.
Creating a birdhouse is not just about construction; it’s about inviting nature into your backyard. Watching birds make use of your handiwork can be a uniquely satisfying experience.
This project is a great way to explore your woodworking skills while also contributing to the local ecosystem. Plus, it’s a fantastic way to get the whole family involved in a creative outdoor activity.
10. Easy Wood Sculptures
Introduction
Creating easy wood sculptures is a fantastic way to explore your creative side without needing a ton of experience or tools. This project is all about using what you have, making it both budget-friendly and eco-friendly. It’s perfect for those who want to try something new or even for kids who are just getting started with woodworking.
Materials Needed
- Various wood scraps
- Wood glue
- Sandpaper
- Paint (optional)
Steps to Create Your Sculpture
- Gather Your Wood Scraps: Look around your home or workshop for any leftover wood pieces. The more variety in shapes and sizes, the better.
- Plan Your Design: Before you start gluing, arrange the pieces in different configurations. Think about balance and how the pieces will fit together.
- Glue the Pieces: Once you’re satisfied with your design, start gluing the pieces together. Hold each piece in place for a few seconds to ensure it sticks.
- Sand Rough Edges: After the glue has dried, use sandpaper to smooth out any rough edges. This step is crucial for safety, especially if kids are involved.
- Paint or Leave Natural: You can choose to paint your sculpture to add some color or leave it natural for a more rustic look.
Skills Developed
- 3D Thinking: Arranging the pieces helps develop spatial awareness.
- Balance: Ensuring your sculpture stands upright involves learning about balance and weight distribution.
- Abstract Design: This project encourages thinking outside the box and creating something unique.
Conclusion
Wood sculptures are a great way to spark creativity and learn basic woodworking skills. They offer a chance to experiment with design and form without the pressure of perfection. Plus, they make for great personalized decor or gifts. So gather those scraps, let your imagination run wild, and see what you can create!
“Creating wood sculptures is not just about the final piece; it’s about enjoying the process, learning as you go, and expressing your creativity in a tangible way.”
Conclusion
So there you have it, ten creative woodworking projects to get those gears turning. Whether you’re a seasoned pro or just starting out, there’s something here to spark your imagination. Woodworking isn’t just about making stuff; it’s about the journey, the learning, and yes, even the mistakes. Each project is a chance to try something new, to learn, and to grow. So grab your tools, pick your wood, and dive into the world of woodworking. Who knows, you might just surprise yourself with what you can create. Happy crafting!
Frequently Asked Questions
What types of wood are best for beginners?
Softwoods like pine and cedar are great for beginners because they’re easier to work with and generally less expensive.
How can I ensure safety while woodworking?
Always wear safety gear like goggles and gloves, and make sure to follow all tool instructions carefully to avoid accidents.
What tools do I need to start woodworking?
Basic tools include a saw, hammer, drill, measuring tape, and sandpaper. As you progress, you might add more specialized tools.
Can I make money from woodworking?
Yes, many people sell their handmade wooden items online or at craft fairs. It’s a great way to turn a hobby into extra income.
Is woodworking a good hobby for kids?
Yes, with proper supervision and age-appropriate projects, woodworking can be a fun and educational hobby for children.
How do I choose the right wood for a project?
Consider the wood’s hardness, grain, and color. Different projects may require different types of wood for the best results.