DIYbrico | Discover, Create, Inspire

Creative and Fun Kids Woodworking Projects to Ignite Imagination
Ignite creativity with fun kids woodworking projects like birdhouses, toy cars, and more. Perfect for young builders!

Woodworking is a fantastic way for kids to get hands-on and creative. It’s not just about making things; it’s about learning and having fun simultaneously. Countless projects can spark a child’s imagination, from building birdhouses to crafting toy cars. Let’s explore some exciting kids’ woodworking projects that are educational and entertaining.
Key Takeaways
- Woodworking is a creative and educational activity for kids.
- Projects like birdhouses and toy cars are fun and easy to start with.
- Kids can learn about tools and materials while crafting.
- These activities help develop fine motor skills and problem-solving abilities.
- Personalization adds an extra layer of fun and creativity.
Building a Birdhouse: A Classic Woodworking Project
Choosing the Right Wood and Tools
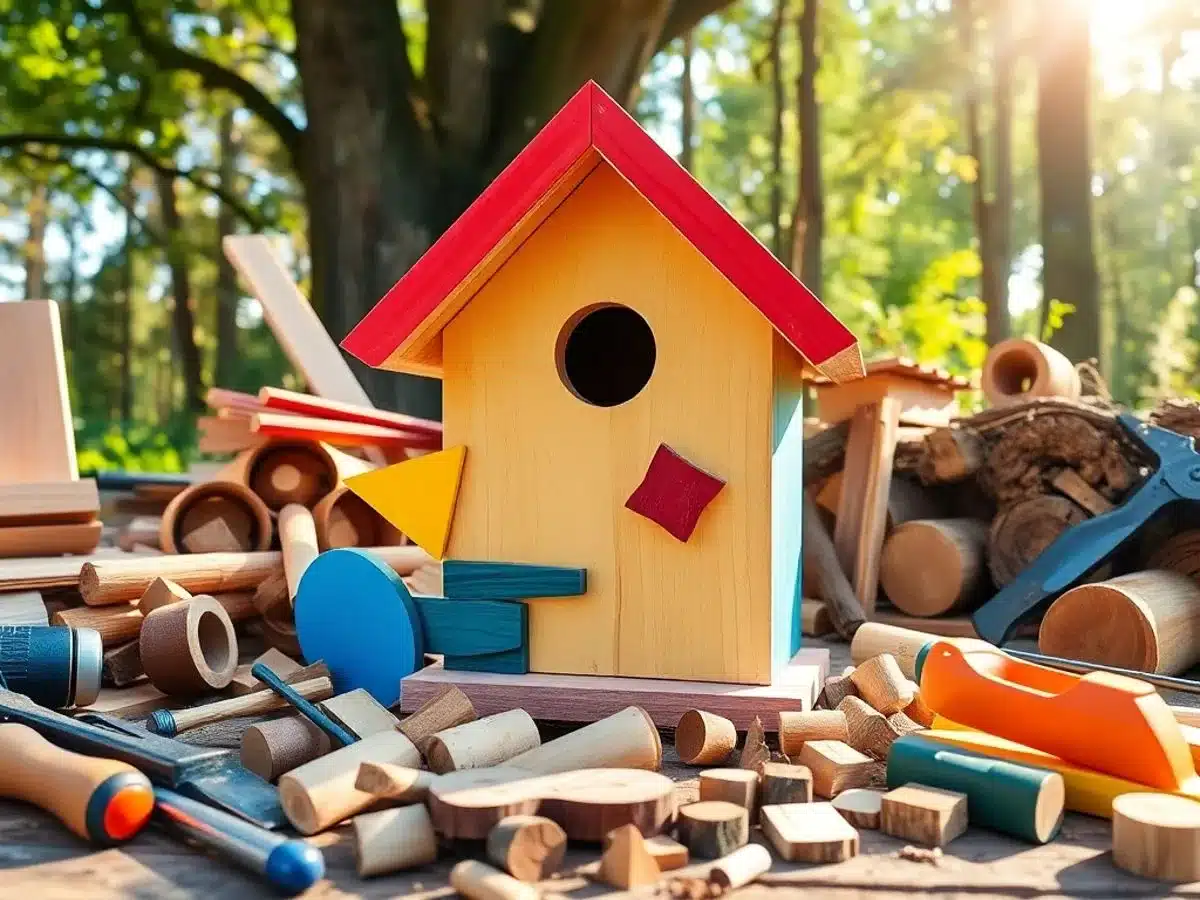
When starting a birdhouse project, selecting the right materials is key. Cedar and pine are popular choices due to their durability and resistance to weather. You’ll also need a few basic tools: a saw, hammer, nails, and sandpaper. For those new to woodworking, consider using a DIY birdhouse kit that includes all the necessary components.
Step-by-Step Guide to Building
- Cut the Wood Pieces: Begin by cutting your wood into six pieces: a front, back, two sides, a base, and a roof. Each piece should be measured precisely to ensure a snug fit.
- Assemble the Walls: Nail the sides to the back piece. Then attach the front, ensuring there’s an entrance hole for the birds.
- Attach the Base and Roof: Secure the base to the bottom of the walls. Finish by attaching the roof, ensuring it’s slightly slanted to allow rain to run off.
Decorating Your Birdhouse
Once the structure is complete, it’s time to add some flair. Painting your birdhouse not only adds character but also provides an extra layer of protection against the elements. Use non-toxic paint to keep it safe for birds. Consider adding decorations like small stones or twigs to give it a natural look. If you’re feeling adventurous, try creating a modern design or repurposing materials like old teapots or drawers for a unique touch.
Crafting a Wooden Toy Car: A Fun and Educational Experience
Materials Needed for a Toy Car
Building a wooden toy car is a fantastic way for kids to learn about basic woodworking and creativity. Here’s what you’ll need:
- Wooden blocks or pre-cut car shapes: You can buy these from craft stores or online.
- Wheels and axles: These can be purchased or recycled from old toys.
- Sandpaper: To smooth out any rough edges.
- Non-toxic paint or wood stain: For adding color and finishing touches.
- Wood glue: Essential for assembling the parts.
Assembling the Car Body
Once you’ve gathered all your materials, it’s time to start building. Follow these simple steps:
- Shape the body: If you’re starting with a block of wood, use sandpaper to shape it into a car body.
- Attach the wheels: Drill small holes for the axles, then insert and secure the wheels.
- Smooth the edges: Use sandpaper to ensure all surfaces are smooth and safe for little hands.
Adding Wheels and Finishing Touches
Now comes the fun part: adding those final touches to make your car unique.
- Paint your car: Use non-toxic paint to add vibrant colors. Let your child’s imagination run wild!
- Decorate with stickers or decals: Add racing stripes and numbers, or even transform it into a Shelby GT500 Mustang replica.
- Seal the paint: Use a clear, non-toxic sealant to protect the paint and give it a nice sheen.
Crafting a wooden toy car is not just about building a toy; it’s about sparking creativity and learning through play. Kids will love seeing their ideas come to life!
Designing a Personalized Wooden Nameplate
Selecting the Perfect Wood
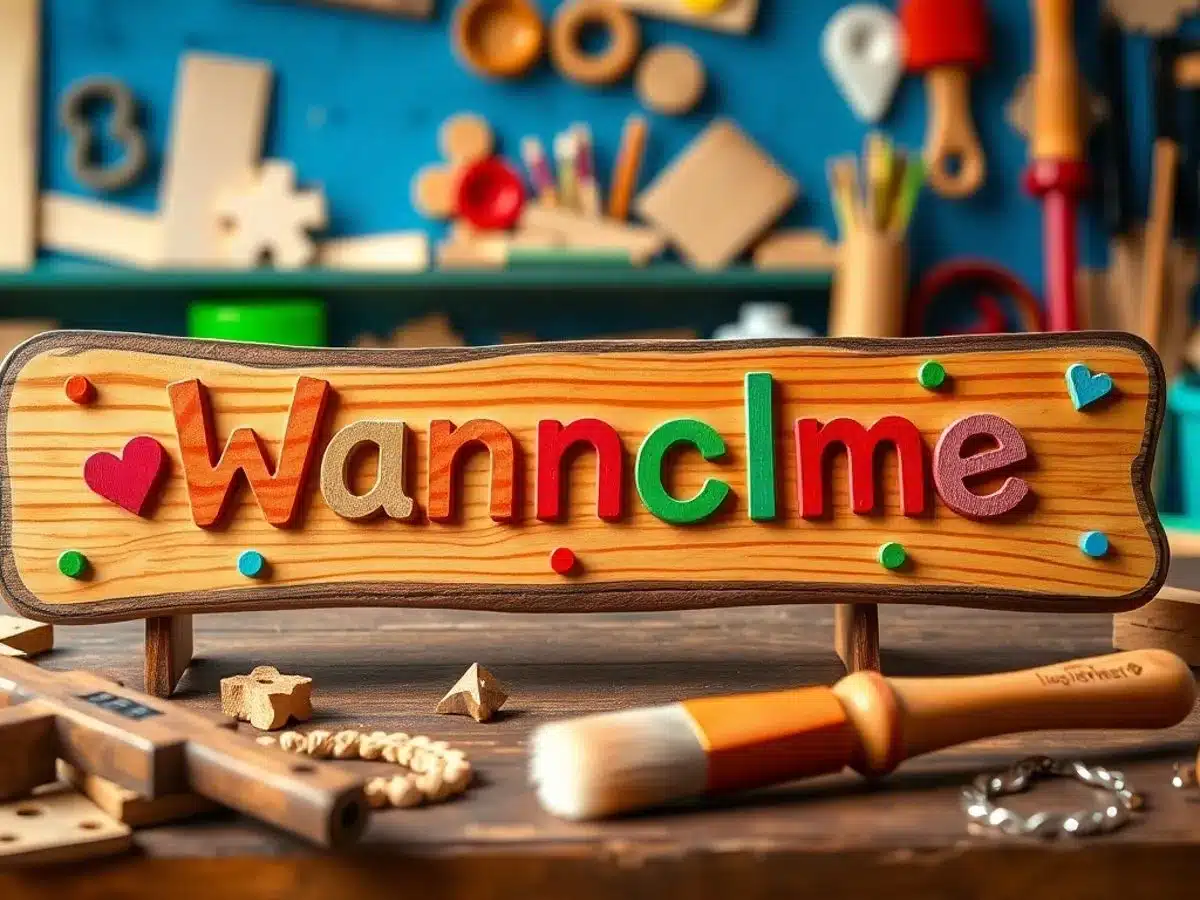
Choosing the right wood is the first step in creating a personalized nameplate. Opt for quality wood that offers durability and an elegant finish. Walnut is a popular choice due to its rich color and smooth texture, making it perfect for a sophisticated look. When selecting wood, consider the grain pattern and how it complements the intended design. Remember, the wood’s quality will largely determine the longevity and appearance of your nameplate.
Carving Techniques for Beginners
Carving your nameplate can seem daunting, but with a few beginner-friendly techniques, it becomes an enjoyable task. Start with simple tools like a chisel and mallet. Outline your design lightly with a pencil before carving. Practice on a scrap piece to get a feel for the tools and the wood’s resistance. Remember, patience is key; take your time to achieve clean, precise lines. You might also consider using a stencil to guide your carving, ensuring a neat and professional finish.
Painting and Sealing Your Nameplate
Once carved, it’s time to add color to your nameplate. Choose paints that complement the natural tones of the wood. Acrylic paints work well and dry quickly. Apply the paint in thin layers, allowing each coat to dry before adding the next. After painting, seal your work with a clear varnish to protect it from wear and tear. This not only preserves the color but also enhances the wood’s natural beauty. For a nameplate that stands firmly on tables, consider adding non-slip pads to the bottom corners, ensuring it remains stable on any surface.
Crafting a personalized wooden nameplate is more than just a creative project; it’s a way to add a personal touch to your workspace or study. Whether for yourself or as a gift, it’s an endeavor that combines artistry with practicality.
For a truly unique piece, consider personalized name plates made from quality wood, offering both durability and a touch of elegance with their sophisticated walnut finish.
Creating a Wooden Picture Frame: A Keepsake to Treasure
Measuring and Cutting the Frame
Crafting a wooden picture frame is a project that combines precision with creativity. Start by measuring your photo or artwork to determine the size of the frame. It’s crucial to leave a bit of extra space for the glass and matting. Once you’ve got your measurements, cut the wood pieces accordingly. Accuracy is key here; any miscalculation can throw off the entire frame. Use a miter saw to cut the corners at a 45-degree angle, ensuring they fit snugly together.
Joining Techniques for a Sturdy Frame
Joining the pieces of your frame is where it all comes together. There are several methods you can use, such as gluing, nailing, or even using corner brackets for added stability. If you’re up for a challenge, try making grooves to join the pieces more seamlessly, as detailed in this guide. Clamping the frame while the glue dries will help maintain its shape and ensure everything stays aligned.
Decorative Ideas for Personalization
Once your frame is assembled, it’s time to let your creativity shine. Consider painting or staining the wood to match your home decor or the theme of the picture. You might add embellishments like small wooden cutouts, beads, or even engravings to give it a personal touch. A coat of sealant will not only protect your frame but also give it a polished finish. This project isn’t just about framing a picture; it’s about creating a memory that lasts.
Making a Wooden Candy Dispenser: A Sweet Project
Gathering Materials and Tools
Starting a project like a candy dispenser is a fun way to spend an afternoon. Gathering the right materials is key. You’ll need some basic tools like a hammer, nails, and sandpaper. For the wood, small pre-cut pieces are ideal, especially if you’re working with kids. A 16-ounce plastic mason jar will serve as the candy holder. Don’t forget a set of paints and brushes for decoration. You might consider purchasing a Candy Dispenser Woodworking Kit that includes all these materials and detailed instructions.
Constructing the Dispenser Mechanism
Building the mechanism is where the fun really begins. Start by assembling the base of the dispenser. Use nails to secure the wood pieces together, making sure everything is aligned properly. Once the base is ready, attach the mason jar holder. This part can be a bit tricky, so take your time. Ensure the jar can easily be removed and replaced. The final step is to create a simple lever or slider that will release the candy. Test it out with some gumballs to make sure it works smoothly.
Decorating and Personalizing Your Dispenser
After construction, it’s time to let your creativity shine. Use paints to give your candy dispenser a unique look. Kids love this part, and it’s a great opportunity for them to express themselves. You can use bright colors, patterns, or even write names on the dispenser. Once the paint is dry, consider sealing it with a clear coat to protect the design. This project not only results in a functional candy dispenser but also a colorful piece that reflects your child’s personality.
Building a candy dispenser is more than just a woodworking task; it’s a chance to bond with your kids and teach them basic crafting skills. Plus, the reward of seeing it in action makes all the effort worthwhile.
Building a Bug Hotel: Encouraging Eco-Friendly Habits
Understanding the Importance of Bug Hotels
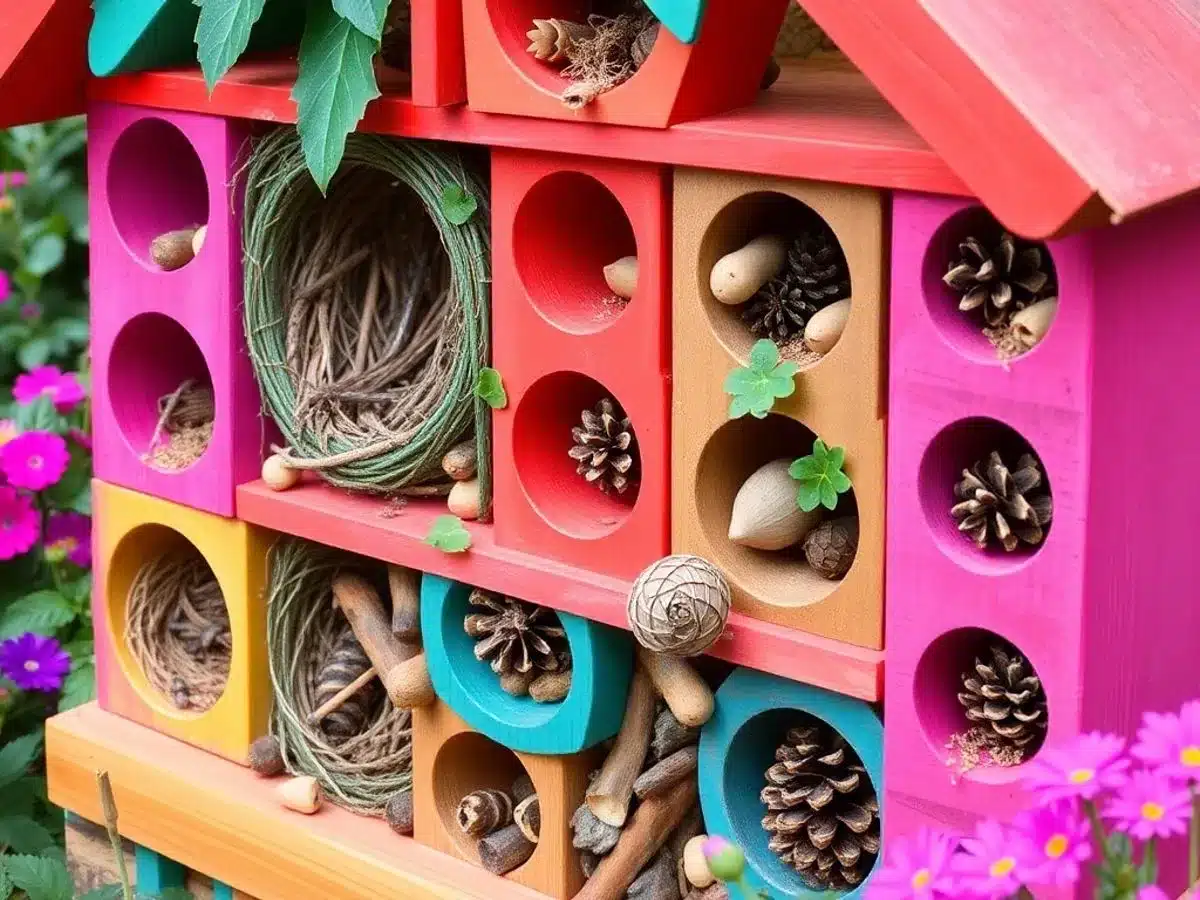
Building a bug hotel is a fantastic way to teach kids about the environment and the role insects play in it. Insects are crucial for pollination, breaking down organic matter, and providing food for other wildlife. By creating a welcoming habitat, we support biodiversity and help maintain the balance of nature.
A bug hotel is not just a home for insects; it’s a miniature ecosystem that encourages children to appreciate and understand the natural world around them.
Materials and Tools for Construction
Creating a bug hotel doesn’t require fancy materials. Here’s what you’ll need:
- Wooden pallets or old wooden crates
- Bamboo canes or hollow stems
- Twigs, leaves, and pinecones
- Bricks with holes
- Straw or hay
For tools, a basic set of a hammer, nails, and a saw will do. You might also want to have some sandpaper handy to smooth out any rough edges.
Step-by-Step Assembly Guide
- Choose the Right Spot: Find a quiet corner in your garden or backyard where the bug hotel can stay undisturbed.
- Build the Frame: Use wooden pallets or crates to create a sturdy frame. Stack them to form a tower-like structure.
- Fill the Gaps: Start filling the sections with natural materials. Arrange bamboo canes, twigs, and other items to create nooks and crannies.
- Secure the Structure: Make sure everything is packed tight and secure. Use nails or twine to hold the structure together if needed.
- Add Finishing Touches: You can decorate the bug hotel with paint or natural dyes, but keep it subtle to maintain a natural look.
Building a bug hotel is a family-friendly activity that not only brings joy but also imparts valuable lessons about nature and sustainability. It’s a simple yet impactful project that encourages kids to engage with the environment positively.
Assembling a Wooden Guitar: A Musical Journey
Parts of a Wooden Guitar Kit
Creating a wooden guitar is like piecing together a musical puzzle. Each part of the guitar kit plays a crucial role in the final sound and look of your instrument. Typically, a kit includes a pre-cut body, neck, fretboard, strings, and tuning pegs. Some kits might also provide sandpaper and glue. Before diving into assembly, lay out all the parts to ensure nothing’s missing. This helps prevent any mid-project panic.
Assembly Instructions for Beginners
Getting started is straightforward, even for beginners. Here’s a simple guide:
- Attach the Neck to the Body: Use the screws or glue provided. Ensure it’s aligned properly for the best sound.
- Secure the Fretboard: Carefully place it on the neck, ensuring it’s straight and secure.
- Add the Tuning Pegs: Insert them into the headstock and tighten them.
- String the Guitar: Follow the instructions to wind the strings onto the tuning pegs, ensuring they’re taut.
- Check the Sound: Strum a few chords to see if adjustments are needed.
Tips for Painting and Customizing
Once assembled, it’s time to make the guitar uniquely yours. Here are some tips:
- Choose a Theme: Decide on a color scheme or design that reflects your style.
- Use Acrylic Paints: They’re easy to use and dry quickly.
- Add Stickers or Stencils: These can add flair without much effort.
- Seal the Paint: Use a clear varnish to protect your design.
Making a guitar isn’t just about building an instrument; it’s about crafting a piece of art that sings your personality. Whether you’re strumming in your room or jamming with friends, your custom guitar is a testament to your creativity and effort.
For more creative woodworking projects for kids, check out our full article on engaging and educational woodworking activities.
Constructing a Wooden Toolbox: A Handy Project for Kids
Essential Tools and Materials
Creating a wooden toolbox is a fantastic way for kids to learn the basics of woodworking while crafting something they can actually use. To get started, you’ll need some basic materials and tools. Here’s a quick list:
- Wood: Choose a softwood like pine or cedar, which is easier for kids to handle.
- Hammer and Nails: Small nails are best for little hands.
- Saw: A child-friendly hand saw is essential.
- Sandpaper: For smoothing out any rough edges.
- Paint and Brushes: To add a personal touch to their toolbox.
Step-by-Step Construction Guide
Building a toolbox involves several simple steps, perfect for young builders. Here’s how you can guide them through the process:
- Measure and Cut the Wood: Start by measuring the wood pieces to create the toolbox’s base, sides, and handle. Let the kids use a ruler and pencil to mark the cuts.
- Assemble the Base and Sides: Once the pieces are cut, help the kids hammer the nails to attach the sides to the base. This is a great moment to teach them about alignment and stability.
- Attach the Handle: Cut a piece of wood for the handle and secure it to the sides of the toolbox. Ensure it’s sturdy enough to carry tools.
- Sand the Edges: Use sandpaper to smooth out any rough edges. This step is crucial for safety and gives the toolbox a neat finish.
Personalizing Your Toolbox with Paint
Now comes the fun part—decorating! Encourage the kids to express their creativity by painting their toolbox. They can use bright colors or even stencils to add their name or favorite designs. This step allows them to truly make the toolbox their own.
Letting kids personalize their toolbox not only makes the project more enjoyable but also instills a sense of pride and ownership in their work. It’s a wonderful way to wrap up a learning experience with a splash of creativity.
For more engaging woodworking projects for kids, explore our collection of fun ideas that inspire creativity and hands-on skills.
Conclusion
Wrapping up, woodworking projects for kids are more than just a fun way to pass the time. They’re a chance for kids to get creative, learn new skills, and maybe even discover a lifelong hobby. Whether it’s building a birdhouse or crafting a wooden car, these projects can spark imagination and bring families together. Plus, with so many kits available, it’s easy to find something that fits your child’s interests and skill level. So why not grab a kit, roll up your sleeves, and dive into the world of woodworking with your kids? It’s a great way to spend quality time together and watch their confidence grow as they create something amazing with their own hands.
Frequently Asked Questions
What age is appropriate for kids to start woodworking?
Children as young as 8 can begin simple woodworking projects with adult supervision. It’s important to ensure they understand basic safety rules.
What safety measures should be taken when kids are woodworking?
Kids should always wear safety goggles and gloves. Adult supervision is crucial, and using tools designed for children can enhance safety.
What are some beginner-friendly woodworking projects for kids?
Projects like building a birdhouse, crafting a toy car, or making a picture frame are great for beginners. They are simple yet fun and educational.
How can I encourage my child’s interest in woodworking?
Start with easy projects and let them choose what they want to create. Praise their efforts and display their finished projects to boost confidence.
What tools are necessary for kids’ woodworking?
Basic tools like a hammer, small saw, and sandpaper are often enough for simple projects. Kits designed for kids usually include all the necessary tools.
Are there any woodworking kits available for kids?
Yes, there are many kits available that include materials and instructions for various projects, making it easy and fun for kids to get started.