DIYbrico | Discover, Create, Inspire

10 Fun Woodworking Projects You Can Start Today
Explore 10 fun woodworking projects perfect for beginners, including chairs, tables, and more. Start today!

Have you ever thought about picking up a hammer and getting into woodworking? It’s easier than you might think and a lot of fun, too. Whether you want to spruce up your home or need a new hobby, these projects are a great way to start. From a comfy Adirondack chair to a handy shoe rack, there’s something here for everyone. Let’s dive into these 10 fun woodworking projects you can start today.
Key Takeaways
- Woodworking is a rewarding hobby that anyone can start.
- Projects range from simple to more complex, perfect for different skill levels.
- You don’t need fancy tools to begin; basic ones will do.
- Creating your own furniture can save money and add a personal touch to your home.
- These projects are not only functional but also fun to make.
1. Adirondack Chair
Building an Adirondack chair is a fantastic woodworking project that combines comfort with style. Known for its slanted seat and wide armrests, this chair is perfect for lounging outdoors.
Materials Needed
- Pressure-treated lumber or cedar
- Wood screws
- Waterproof wood glue
- Exterior wood stain or paint
Tools Required
- Circular saw
- Drill
- Sandpaper
- Paintbrush
Steps to Build
- Cut the Wood: Start by cutting your wood according to the dimensions of the chair. Ensure all pieces are smooth and free of splinters.
- Assemble the Frame: Begin with the back and seat frames, using wood screws and glue for sturdy joints.
- Attach the Legs and Arms: Secure the legs to the frame, then attach the wide armrests.
- Sand and Finish: Smooth all surfaces with sandpaper, then apply a coat of stain or paint to protect against the elements.
Building an Adirondack chair isn’t just about creating a seat; it’s about crafting a piece of furniture that invites relaxation and leisure in your backyard.
For those looking for detailed instructions, the ROCKLER Adirondack Chair Plans offer comprehensive templates and step-by-step guidance to ensure your chair turns out beautifully. Whether you’re a beginner or a seasoned woodworker, these plans can help you achieve a professional finish.
2. Picnic Table
Thinking about building a picnic table? You’ve picked a classic woodworking project that’s both practical and rewarding. A picnic table is perfect for outdoor gatherings, family meals, or just enjoying a sunny day in your backyard. Here’s a step-by-step guide to help you get started.
Materials Needed:
- Pressure-treated lumber
- Wood screws
- Wood glue
- Sandpaper
- Outdoor sealant
Tools Required:
- Circular saw
- Drill
- Measuring tape
- Square
- Paintbrush
Steps to Build a Picnic Table:
- Plan Your Design:
- Cut the Lumber:
- Assemble the Frame:
- Attach the Seats:
- Sand and Finish:
A picnic table not only serves as a functional piece of furniture but also becomes a centerpiece for outdoor activities. Whether you’re hosting a barbecue or simply enjoying a cup of coffee, a well-crafted picnic table is a worthwhile addition to any backyard.
Building a picnic table can be a fun weekend project that enhances your outdoor space and provides a great spot for family and friends to gather. With some basic tools and materials, you can create a durable and attractive table that will last for years.
3. Birdhouse
Building a birdhouse is a classic woodworking project that’s both fun and rewarding. It’s the perfect project for beginners to get their feet wet. Not only does it allow you to practice basic woodworking skills, but it also provides a cozy home for your feathered friends.
Materials Needed:
- Wooden planks (cedar or pine works well)
- Wood glue
- Nails or screws
- Sandpaper
- Exterior paint or wood stain
Steps to Build a Simple Birdhouse:
- Cut the Wood: Start by cutting the wooden planks into pieces for the roof, sides, base, and the front and back panels. Make sure to sand down any rough edges.
- Assemble the Base and Sides: Using wood glue and nails, attach the side panels to the base. Ensure everything is aligned properly.
- Attach the Front and Back Panels: Secure these panels to the sides and base. The front panel should have a small circular opening for the birds to enter.
- Add the Roof: Fix the roof pieces on top, ensuring there’s a slight overhang to protect the entrance from rain.
- Finishing Touches: Sand any rough spots and apply a coat of exterior paint or wood stain to protect the birdhouse from the elements.
Building a birdhouse is not just about creating a shelter; it’s about inviting nature into your backyard. Watching birds come and go can be a delightful experience.
If you’re looking to explore more beginner-friendly woodworking projects, consider trying out different designs and styles of birdhouses. They make great gifts and can add a charming touch to any garden or patio.
4. Cutting Board
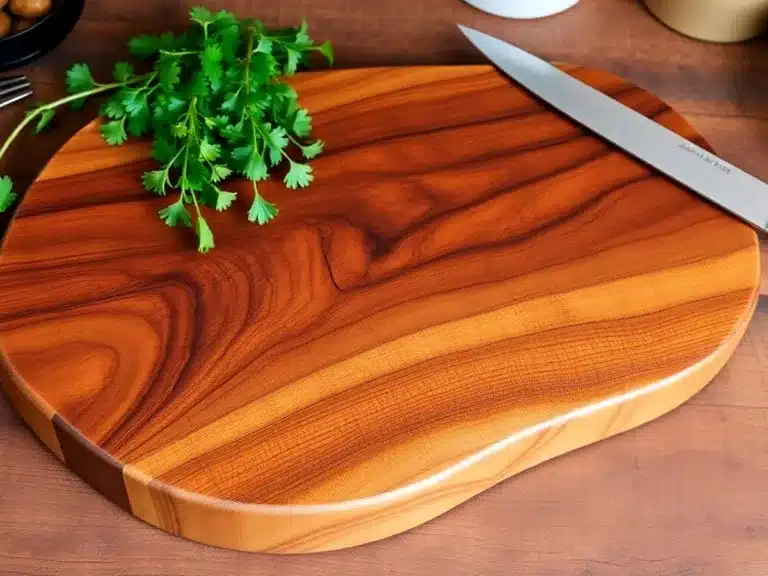
Crafting a cutting board is a fantastic project for both beginners and seasoned woodworkers. It’s not just about creating a functional kitchen tool but also about expressing creativity and craftsmanship. A handmade cutting board can be tailored to any size or shape, making it a versatile project.
Materials Needed
- Hardwood (such as maple, walnut, or cherry)
- Wood glue
- Sandpaper (various grits)
- Food-safe finish (like mineral oil)
Steps to Create Your Cutting Board
- Select Your Wood: Choose a dense hardwood to ensure durability. Maple and walnuts are popular choices due to their hardness and grain.
- Cut to Size: Decide on the dimensions of your cutting board and cut your wood accordingly. A typical size is around 12×18 inches.
- Glue It Together: Arrange the wood pieces side by side and apply wood glue. Clamp them tightly and let the glue dry overnight.
- Sand the Surface: Start with a coarse sandpaper and gradually move to a finer grit until the surface is smooth.
- Apply Finish: Use a food-safe finish like mineral oil to seal the wood and protect it from moisture.
Crafting a cutting board is not only about function but also about adding a personal touch to your kitchen. It’s an opportunity to experiment with different wood types and designs, making each piece unique.
For more innovative woodworking projects that inspire creativity, explore our collection that caters to all skill levels.
5. Key Hanger
Looking for a simple woodworking project that can be completed in just an hour? A key hanger is a great choice for both beginners and seasoned DIY enthusiasts. It’s not just practical, but also a great way to add a touch of personality to your home.
Materials Needed
- A piece of wood (consider using reclaimed or pallet wood for a rustic look)
- Hooks, dowels, or knobs
- Sandpaper
- Wood finish (paint, stain, or varnish)
- Screws and a screwdriver
Steps to Create Your Key Hanger
- Select Your Wood: Start with a piece of wood that fits your style. Reclaimed wood can give a unique character, while a polished piece offers a sleek finish.
- Prepare the Wood: Sand the wood to smooth any rough edges. This will also help the finish adhere better.
- Design Layout: Decide on the placement of your hooks or knobs. Make sure they’re evenly spaced for a balanced look.
- Attach the Hooks: Securely screw in the hooks or knobs. Ensure they’re tight enough to hold keys without wobbling.
- Finish the Wood: Apply your chosen finish. Whether it’s a vibrant paint or a natural stain, let it dry completely before use.
A custom key hanger not only organizes your keys but also serves as a decorative piece in your home. It’s a small project with a big impact.
For a creative twist, consider making an Arts and Crafts Keyholder using tiles from Pewabic Pottery. This adds a decorative touch while keeping your keys organized.
Tips
- Experiment with different hooks or knobs for a personalized look.
- Try adding a small shelf above the hooks for sunglasses or mail.
- Use a distressing technique for a vintage vibe.
Conclusion
Building a key hanger is a straightforward project that brings both function and style to your home. Whether you stick to a simple design or get creative with embellishments, it’s a rewarding way to practice your woodworking skills.
6. Shoe Rack
If you’ve ever tripped over a pile of shoes at your front door, you know the struggle is real. A DIY shoe rack is a simple yet effective project to help you keep your entryway tidy. In just a few hours, you can create a functional piece that organizes your shoes beautifully. Here’s how you can start:
Materials Needed:
- Durable hardwood like cedar, pine, or oak
- Wood screws and brackets
- Sandpaper and wood finish
- Measuring tape and pencil
Step-by-Step Guide:
- Measure Your Space: First, decide where you want your shoe rack to go. Measure the width and height to ensure a perfect fit.
- Cut the Wood: Using your measurements cut the wood to size. You’ll need pieces for the top, bottom, sides, and shelves.
- Assemble the Frame: Start by attaching the sides to the base. Use wood screws and brackets for a sturdy frame.
- Add the Shelves: Depending on how many pairs of shoes you want to store, add one or more shelves inside the frame.
- Sand and Finish: Sand all surfaces smooth and apply a wood finish to protect and enhance the look.
A handmade shoe rack not only clears the clutter but also adds a touch of craftsmanship to your home. It’s a practical project that brings order and style together.
For those looking to save space, consider a hanging rack design. It’s perfect for tight spots and still keeps everything organized. Happy building!
7. Dog Bowl Stand
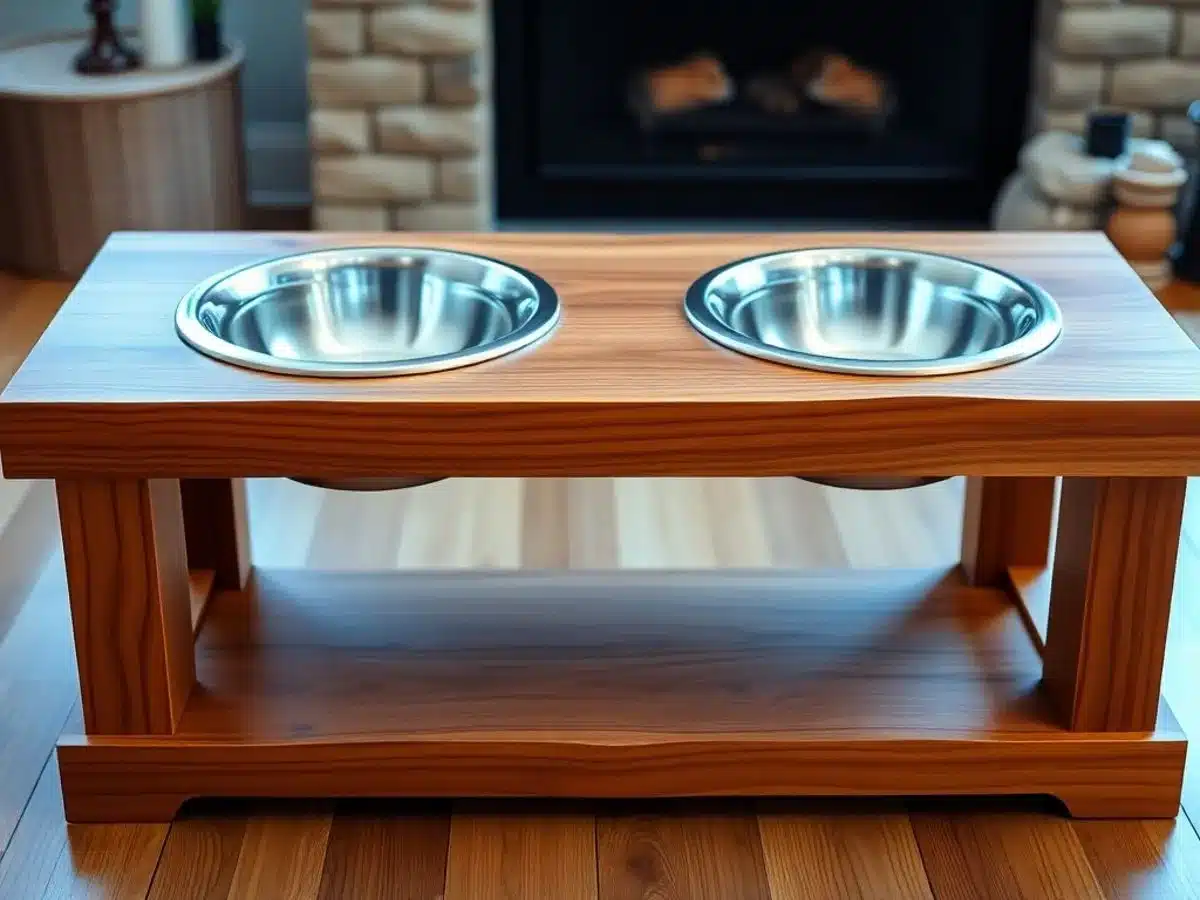
Looking to pamper your pooch with a touch of DIY flair? Building a dog bowl stand is an easy and rewarding project that enhances your furry friend’s dining experience. This stand not only elevates the bowls to a comfortable height for your dog but also adds a stylish touch to your home decor.
Materials Needed:
- Hardwood plank
- Ready-made table legs
- Jigsaw
- Paint or wood stain
Steps to Create a Dog Bowl Stand:
- Measure and Cut: Start by measuring the width of your dog bowls. Use these measurements to mark the spots on your hardwood plank where you’ll cut the openings. A jigsaw works great for cutting these circular holes.
- Attach the Legs: Once the bowl openings are cut, attach the table legs to the plank. Ensure they are evenly spaced to keep the stand stable.
- Finish the Wood: Sand the edges to smooth any rough spots. Apply your choice of paint or stain to match your home’s interior.
This project is perfect for beginners, offering a simple way to practice basic woodworking skills while creating something functional and attractive.
For a more detailed guide on constructing a stylish and functional pet bowl stand, follow step-by-step instructions that cover assembling the top and bottom sections, and drilling holes for assembly. This ensures a sturdy and elegant pet accessory that both you and your pet will love.
8. Side Table
Creating a side table is a fantastic project for those just dipping their toes into woodworking. It’s a piece that combines function with style, making it a perfect addition to any room. Whether it’s for your living room, bedroom, or even a cozy reading nook, a side table can enhance your space without overwhelming it.
Materials Needed
- Wooden planks or an old wood crate
- Sandpaper
- Wood glue or screws
- Varnish or paint (optional)
Steps to Build a Simple Side Table
- Choose Your Wood: Start with a wooden plank or repurpose an old crate. This will form the top of your table.
- Cut the Wood: Depending on the height you desire, cut the legs of the table from the same wood or use a contrasting type for a unique look.
- Assemble the Pieces: Attach the legs to the tabletop using wood glue or screws. Make sure everything is aligned properly.
- Finish the Surface: Sand down any rough edges. If you want a polished look, apply a coat of varnish or paint.
Building a side table not only adds a personal touch to your home but also gives you a sense of accomplishment. It’s a manageable project that doesn’t require a lot of space or specialized tools.
If you’re interested in exploring more table designs, such as a sock-leg accent table, there are plenty of plans available that can guide you through more intricate projects. This way, you can build a matching set or try out different styles and techniques.
9. Workbench
Building a woodworking bench is like creating the heart of your workshop. This project is not just about putting together a table; it’s about crafting a space that makes every other project easier and more enjoyable. A solid workbench can transform your woodworking experience.
Materials and Tools
- Wood: Choose sturdy hardwood like maple or oak for durability.
- Fasteners: Bolts and screws to ensure everything stays put.
- Tools: You’ll need a saw, drill, and a sander.
Steps to Build Your Workbench
- Plan Your Design: Consider the size of your space and the types of projects you’ll be doing.
- Cut the Wood: Precision is key. Measure twice and cut once.
- Assemble the Frame: Start with the legs and connect them with horizontal supports.
- Attach the Top: Securely fasten the top to the frame, ensuring it’s level.
- Add Finishing Touches: Sand the surface smooth and apply a finish to protect the wood.
A well-built workbench is more than just a table; it’s a partner in your projects, helping you achieve the precision and quality you strive for.
Tips for Customization
- Add Storage: Incorporate shelves or drawers for tools and materials.
- Install a Vise: A vise can be incredibly useful for holding workpieces steady.
- Consider Mobility: Add wheels if you need to move your bench frequently.
Creating a workbench is a rewarding project that pays off every time you step into your workshop. It’s a project that might take a weekend, but the benefits will last for years. Whether you’re a seasoned woodworker or just starting, a custom workbench is a perfect project to hone your skills and make your workspace truly yours.
10. Plant Stand
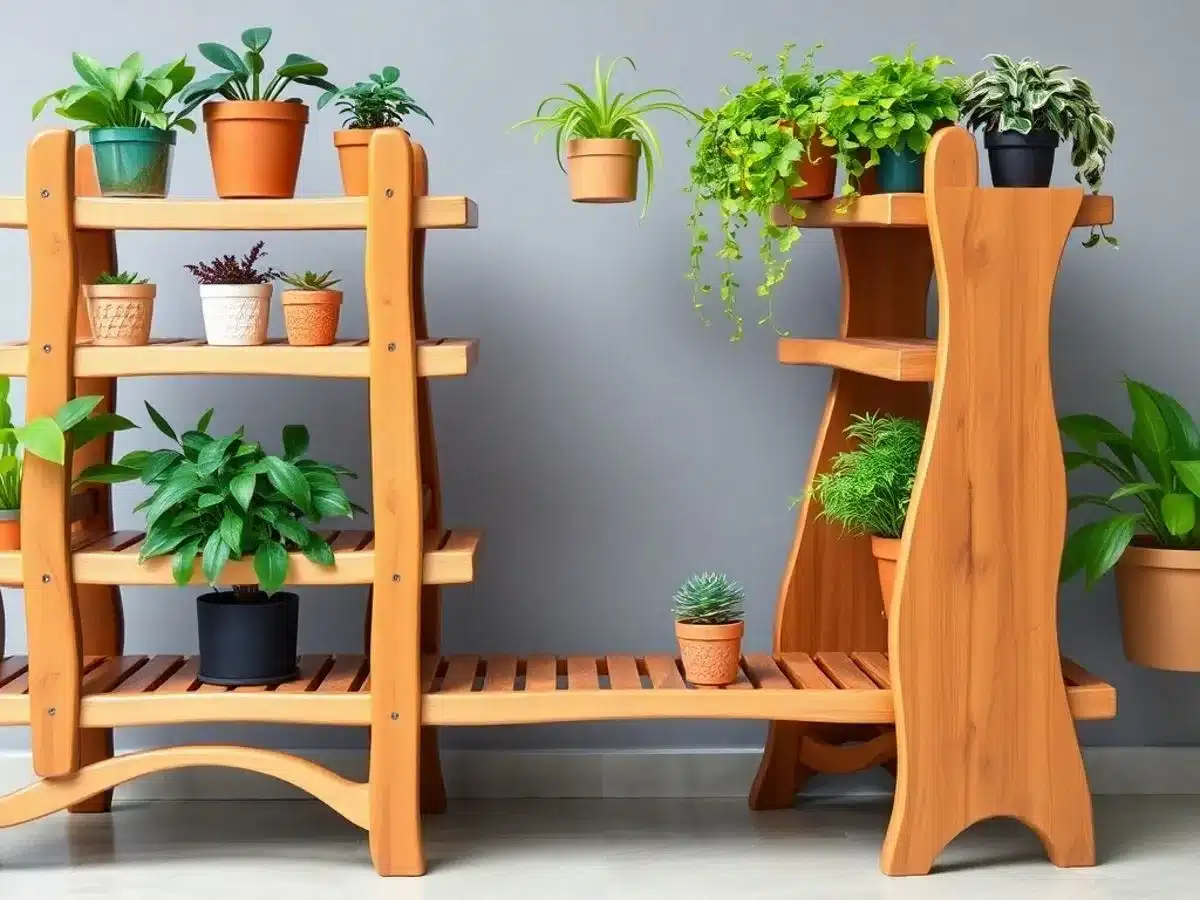
Building a plant stand is a fantastic way to add a touch of nature to your living space. Whether you’re a seasoned woodworker or just starting out, this project is both fun and rewarding. Creating your own plant stand means you can customize it to fit your style and needs perfectly.
Here’s a quick guide to get you started:
- Choose Your Design: Decide whether you want a single-tier stand for a statement plant or a multi-tier stand to display a variety of greenery.
- Select the Material: You can go for reclaimed wood for a rustic look or fresh lumber for a more polished finish.
- Gather Your Tools: Basic woodworking tools like a saw, drill, and sander will be essential.
- Cut and Assemble: Measure and cut your wood according to your chosen design, then assemble the pieces using screws or nails.
- Finish It Off: Sand down any rough edges and apply a finish or paint that complements your decor.
A well-crafted plant stand not only showcases your plants but also enhances the aesthetic of your home.
If you’re looking for detailed instructions and precise measurements, consider checking out this printable PDF with woodworking plans for constructing an outdoor plant stand with an arbor. It’s a great resource for beginners and includes everything you need to get started.
Wrapping Up Your Woodworking Journey
So there you have it, ten fun woodworking projects you can dive into right away. Whether you’re a seasoned pro or just starting out, these projects offer something for everyone. From crafting a cozy Adirondack chair to building a handy key hanger, the possibilities are endless. Plus, there’s nothing quite like the satisfaction of creating something with your own hands. So grab your tools, pick a project, and get started. Who knows? You might just discover a new favorite hobby. Happy woodworking!
Frequently Asked Questions
What tools do I need to start woodworking?
To begin woodworking, you will need basic tools like a saw, hammer, measuring tape, and a drill. As you progress, you might want to invest in more advanced tools like a power sander or a router.
Is woodworking expensive?
Woodworking can be as affordable or expensive as you make it. Starting with basic tools and inexpensive materials can keep costs low. As you become more skilled, you might choose to invest in higher-quality tools and materials.
Can kids participate in woodworking projects?
Yes, kids can definitely join in on woodworking projects with adult supervision. Simple projects like birdhouses or key hangers are great for teaching them basic skills.
How long does it take to complete a woodworking project?
The time it takes to finish a woodworking project varies depending on its complexity. Some simple projects can be done in a few hours, while more intricate ones might take several days or even weeks.
What types of wood are best for beginners?
For beginners, softwoods like pine or cedar are good choices because they are easier to work with and generally less expensive. As you gain experience, you can try harder woods like oak or maple.
Do I need a lot of space to start woodworking?
You don’t need a huge space to start woodworking. A small garage or even a corner of a room can work just fine. Just make sure you have enough room to safely use your tools.