DIYbrico | Discover, Create, Inspire

Crafting Magic: A Step-by-Step Guide to Dream Catcher Crochet for Beginners

Table of Contents
Ever thought about making your own dream catcher? It’s not just a fun craft; it’s a way to add a personal touch to your space. Whether you’re a crochet newbie or have some stitches under your belt, creating a dream catcher can be a rewarding project. This guide will walk you through the basics of dream catcher crochet, breaking down each step so you can craft your own piece of magic.
Key Takeaways
- Dream Catcher Crochet is a great project for beginners and seasoned crafters alike.
- Choosing the right yarn and hook is crucial for the success of your project.
- Understanding basic stitches like single and double crochet is essential.
- Decorating options are endless—think beads, feathers, and ribbons.
- Avoid common mistakes by maintaining tension and counting stitches carefully.
Understanding the Basics of Dream Catcher Crochet
What is Dream Catcher Crochet?
Dreamcatcher crochet is a blend of traditional dreamcatcher art and the craft of crocheting. Originating from Native American culture, dreamcatchers are believed to protect sleepers from bad dreams. By weaving a crochet web within a hoop, you create a decorative piece that looks beautiful and carries a rich cultural significance. It’s a creative way to blend art and tradition into a unique craft.
Essential Tools and Materials
Before you dive into crocheting your dream catcher, gather these essential tools:
- Yarn: Choose a yarn that suits your project size and style. Worsted-weight yarn is a good starting point for beginners.
- Crochet Hook: The size of your hook should match your yarn. A 4mm hook is often recommended for medium-weight yarn.
- Embroidery Hoop: This acts as the frame for your dreamcatcher. You can use a wooden or metal hoop, depending on your preference.
- Feathers and Beads: These add a decorative touch, giving your dreamcatcher a more traditional look.
- Scissors and Tapestry Needle: Essential for cutting yarn and weaving in ends.
Having all your materials ready makes the crafting process smoother and more enjoyable.
Choosing the Right Yarn and Hook
Selecting the right yarn and hook is crucial for the success of your dream catcher. Here’s a simple guide:
- Yarn Weight: Lighter yarns create delicate webs, while heavier yarns are better for a bolder look.
- Hook Size: Match your hook size to your yarn. A larger hook creates looser stitches, while a smaller hook gives tighter stitches.
- Color Choice: Pick colors that complement your decor or convey a particular mood. Bright colors can add a fun twist, while earth tones offer a more traditional feel.
By understanding these basics, you set a strong foundation for crafting a dream catcher that’s both beautiful and meaningful. If you’re feeling adventurous, try experimenting with different yarn textures and colors to make your dream catcher truly unique.
Step-by-Step Guide to Creating a Dream Catcher
Starting with a Magic Circle
You’ll want to start with a magic circle to kick off your dream catcher project. This foundation technique helps you create a tight, adjustable loop as the base of your crochet work. Mastering the magic circle is crucial because it ensures your dream catcher has a neat, closed center. To make one, simply create a loop with your yarn, insert your hook, and start crocheting into the loop. For those new to this, check out our guide on how to start a crochet chain with ease, which explains the basics and provides a solid start.
Crocheting the Web Pattern
Once your magic circle is ready, it’s time to move on to the web pattern. This is where your dream catcher starts to take shape. Begin by crocheting a series of chains and slip stitches to form the intricate web. You can experiment with different stitches like double crochet or even try adding a few picots for texture. Remember to keep your tension consistent to avoid any gaps in the webbing.
Finishing Touches and Assembly
Now that you’ve got the web pattern down, it’s time for the finishing touches. Attach your crocheted web to an embroidery hoop, making sure it’s centred and secure. Trim any excess yarn and weave in loose ends for a tidy finish. To add a personal touch, consider incorporating beads or feathers into the design. These elements not only enhance the visual appeal but also give your dream catcher a unique flair. Finally, tie a loop at the top of the hoop so you can hang your creation with pride.
Crafting a dream catcher is a rewarding process that combines creativity with skill. Each step brings you closer to a beautiful piece that reflects your personal style and effort.
Exploring Different Crochet Stitches for Dream Catchers
Single and Double Crochet Stitches
When you’re just starting out with crochet stitches, single and double crochet stitches are your go-to basics. The single crochet stitch is the simplest and gives a tight, dense fabric, perfect for creating a sturdy base for your dream catcher. On the other hand, the double crochet stitch adds height and openness, allowing for more intricate designs. It’s versatile and can be used to make everything from simple patterns to more complex textures. Mastering these stitches is your first step towards creating a beautiful dream catcher.
Incorporating Picot and Shell Stitches
Once you’re comfortable with the basics, you might want to try picot and shell stitches. These add a decorative edge to your dream catcher and can make it look more delicate and intricate. The picot stitch creates small loops, adding a lacy effect, while shell stitches form a fan-like pattern that adds volume and texture. These stitches are fantastic for adding a bit of flair to the edges of your dream catcher, making it stand out as a unique piece.
Adding Texture with Puff and Popcorn Stitches
For those looking to add even more texture, puff and popcorn stitches are great choices. Puff stitches create a raised, bumpy texture that adds depth to your design. Popcorn stitches, similar to puff stitches, are a bit bulkier and can be used to create a 3D effect. These stitches are perfect for highlighting specific areas of your dream catcher, giving it a more dynamic and engaging appearance.
Playing around with different stitches not only enhances your dream catcher’s design but also makes the crafting process more enjoyable. Don’t be afraid to mix and match stitches to create something truly unique.
Decorating Your Dream Catcher
Adding Beads and Feathers
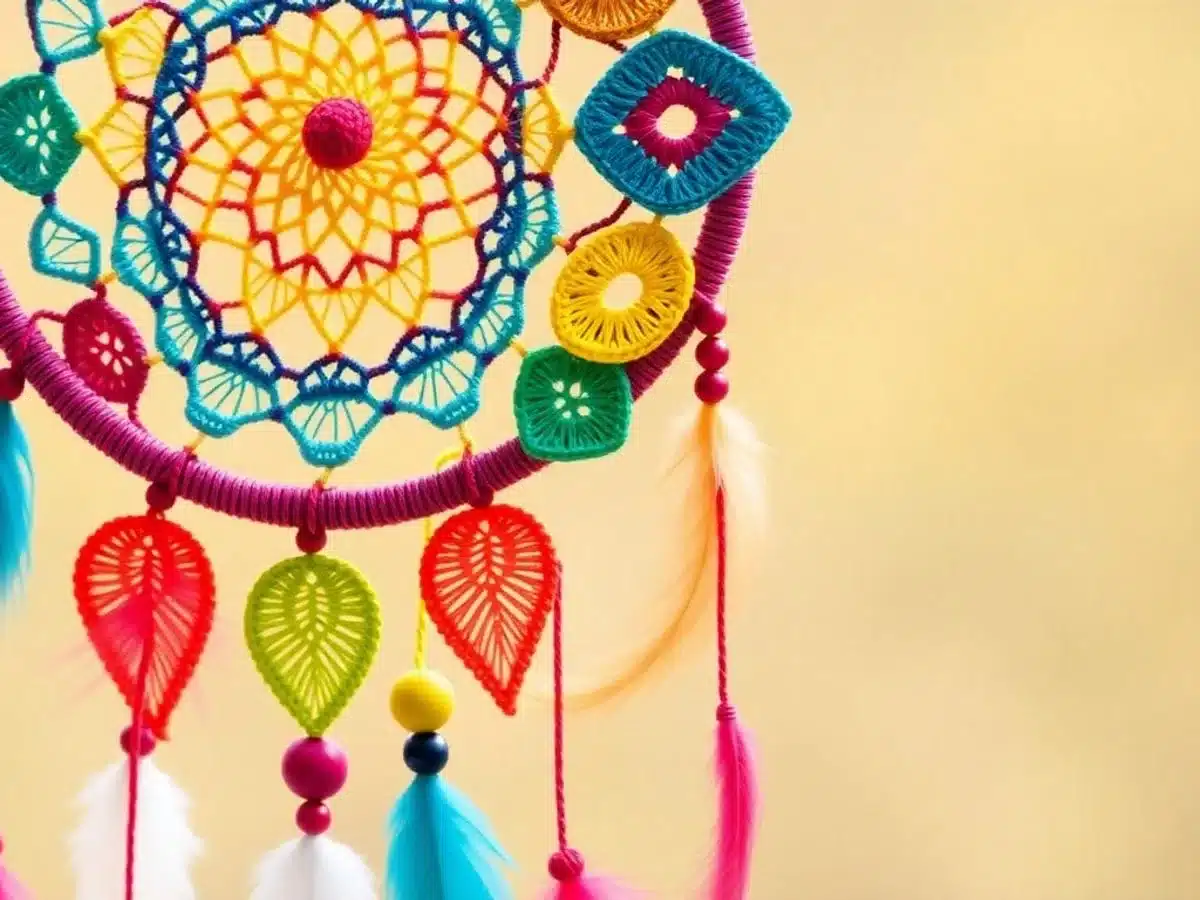
Beads and feathers are a classic combo when it comes to dream catcher decoration. Beads can be woven into the web or strung along the hanging strings to add some sparkle and color. You can also attach feathers at the bottom of your dream catcher. They sway gently with the breeze, adding a whimsical touch. A mix of colors and sizes can give your dream catcher that boho vibe everyone loves.
Incorporating Lace and Ribbons
Lace and ribbons are perfect for adding a delicate touch to your dream catcher. You can wrap lace around the outer hoop or use it to create intricate bows. Ribbons can be tied in long strands from the bottom, or even interwoven into the web for added texture. This is where you can let your creativity shine. Experiment with different colors and patterns to see what fits your style best.
Creating a Personalized Design
Personalizing your dream catcher is all about making it unique to you. You might want to add charms or small trinkets that hold special meaning. Consider using PDF crochet patterns to create custom designs that resonate with your personal style. Whether it’s a favorite color scheme or incorporating symbols that are important to you, the possibilities are endless. Let your dream catcher reflect who you are.
Common Mistakes and How to Avoid Them
Troubleshooting Gaps in the Web
Ever finished a dream catcher only to find awkward gaps in the web? It’s a common hiccup. The trick is to maintain even tension on your yarn while working. If the yarn is too loose, you’ll end up with gaps. Too tight, and the web might pucker. Try to keep your tension consistent, and check your work frequently.
Maintaining Consistent Tension
Tension is everything in crochet. If your tension is all over the place, your dream catcher will look uneven. Practice makes perfect here. Work on keeping a steady grip on your yarn and hook. You might find it helpful to practice on scrap yarn before diving into your main project.
Correcting Stitch Count Errors
Counting stitches sounds easy, but one missed stitch can mess up your pattern. It’s easy to lose track, especially if you’re watching TV or chatting. Make it a habit to count your stitches at the end of each round. If you notice a mistake, don’t hesitate to go back and fix it. Better to spend a few minutes correcting an error than to end up with a wonky dream catcher.
Mistakes happen to everyone, even seasoned crocheters. The key is to learn from them and not to get discouraged. With each project, you’ll improve your skills and gain confidence. Keep practicing, and soon you’ll be crafting dream catchers like a pro.
For more insights on overcoming challenges in creative projects, you might find this podcast helpful, as it covers topics like overcoming design fears and gaining visibility without a huge social media following.
Inspiration and Ideas for Your Dream Catcher
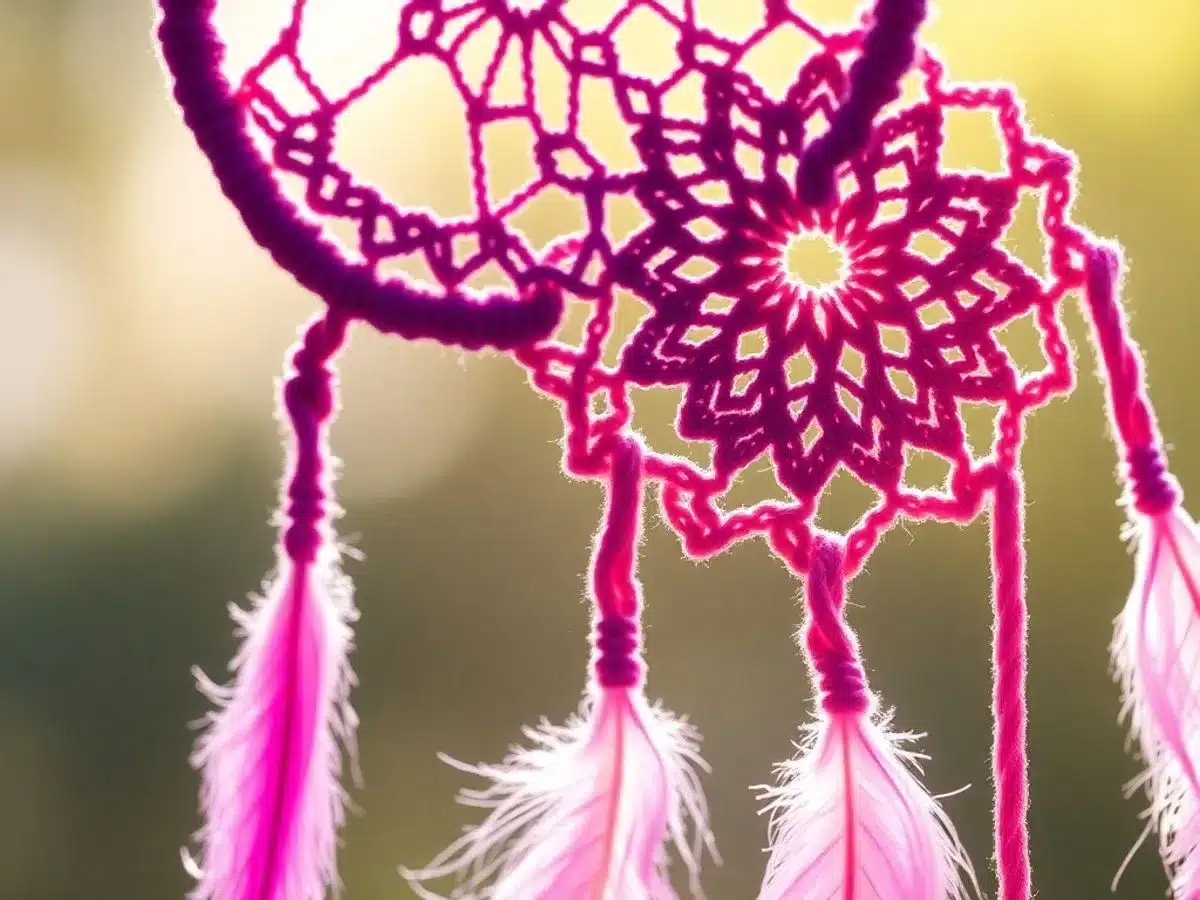
Exploring Color Combinations
Color is a powerful tool when it comes to crafting dream catchers. Mixing and matching different shades can completely transform the look of your piece. Think about the mood you want to create. Soft pastels can give a calming vibe, while bold, bright colors might add a pop of energy. Consider using a color wheel to find complementary colors that will make your dream catcher stand out. You can even try a gradient effect by choosing yarns in varying shades of the same color.
Using Natural Elements
Incorporating natural elements into your dream catcher can bring a touch of the outdoors inside. Consider adding wooden beads, feathers, or even small twigs. These elements not only add texture but also a sense of nature’s beauty. You might want to explore using natural fibers like cotton or hemp for the webbing, which can give your dream catcher a rustic, earthy feel. This approach is perfect for those who want their craft to reflect a connection with nature.
Creating Themed Dream Catchers
Themed dream catchers can be a fun way to personalize your craft. Whether it’s a large wall hanging inspired by Native American designs or a whimsical piece for a child’s room, the possibilities are endless. You could create a seasonal theme, using colors and decorations that reflect the current season. Or, perhaps a celestial theme with stars and moons woven into the pattern. Let your imagination run wild and create a dream catcher that tells a story or reflects a personal interest.
Remember, the beauty of a dream catcher lies in its ability to be customized. Each piece you create is a reflection of your own creativity and style. So, don’t be afraid to experiment and make it uniquely yours.
Advanced Techniques for Dream Catcher Crochet
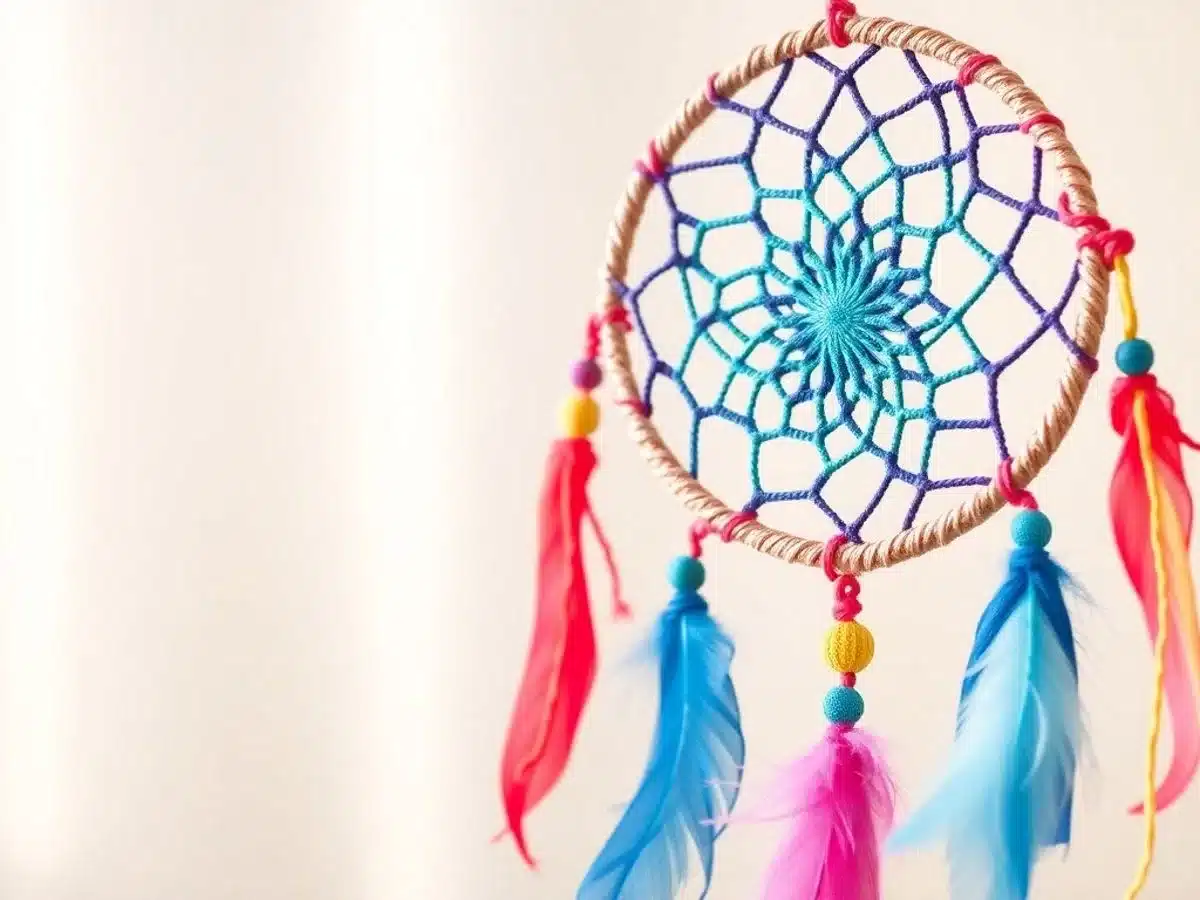
Incorporating Mandala Designs
Adding mandala designs to your dream catcher can bring a whole new level of artistry. Mandalas, with their intricate patterns and symmetrical designs, offer a perfect way to enhance the visual appeal of your dream catcher. To start, choose a mandala pattern that resonates with you. You can find many free patterns online or even try creating your own. Once you have your pattern, begin crocheting it from the center outwards, just like a traditional mandala. This technique not only adds beauty but also allows for a personalized touch.
Creating Multi-Layered Webs
Multi-layered webs are the way to go for those looking to add depth and complexity. By layering different patterns and textures, you create a rich tapestry within your dream catcher. Start with a basic web pattern, then add layers using different stitches or yarn colors. You might use a magic circle as a foundation for each layer, ensuring a tight and seamless start. This technique requires patience and practice but results in a stunning, one-of-a-kind piece.
Experimenting with Different Shapes
Why stick to the traditional circular dream catcher when you can explore various shapes? Triangular, square, or even hexagonal dream catchers can add a unique flair to your design. Begin by selecting the shape you want and find a suitable frame or create one using wire. Then, crochet your web pattern to fit the chosen shape. This approach challenges your creativity and allows you to experiment with different crochet techniques and stitches.
Remember, each dream catcher is a reflection of your creativity and skill. Don’t be afraid to try new things and make each piece a true representation of your artistic vision.
Tips for Perfecting Your Dream Catcher Crochet Skills
Practicing Regularly
Getting better at crochet, especially when making dream catchers, is all about consistency. Try setting aside a bit of time each day or week just for crocheting. Even if it’s just 15 minutes, it adds up over time. Consider keeping a crochet journal to track your progress and jot down any new techniques you learn.
Joining a Crochet Community
Being part of a crochet community can be a game-changer. Whether it’s an online forum or a local group, sharing your experiences and learning from others can boost your skills. It’s also a great way to stay motivated and inspired. Plus, you might find some new friends who are just as passionate about crochet as you are!
Exploring Online Resources and Tutorials
The internet is a treasure trove of crochet knowledge. From YouTube tutorials to crochet blogs, there’s a wealth of information out there. Make it a habit to explore different resources and try out new patterns or stitches. This hands-on learning can really enhance your crochet abilities.
Crocheting is a journey, not a destination. Each stitch you make is a step forward, and every project completed is a milestone reached. Keep experimenting and enjoy the process!
Conclusion
So there you have it, folks! Crafting a dream catcher with crochet isn’t just a fun project; it’s a journey into creativity. You’ve learned the basics, tackled the magic circle, and even added your own flair with beads and feathers. Sure, it might have been a bit tricky at first, but with some patience and practice, you’ve got this. Remember, every stitch is a step forward. Keep experimenting with different yarns and patterns, and soon you’ll be making dream catchers that are truly your own. Happy crocheting, and may your dreams always be sweet!
Frequently Asked Questions
What is a dreamcatcher crochet?
A dreamcatcher crochet is a handmade decoration that combines the traditional dreamcatcher design with crochet techniques. It involves creating a circular web pattern using yarn and a crochet hook, often adorned with beads, feathers, and other decorative elements.
What materials do I need to crochet a dreamcatcher?
To crochet a dreamcatcher, you will need yarn, a crochet hook, an embroidery hoop, beads, feathers, and a tapestry needle. You might also want some lace or ribbons for decoration.
How do I start crocheting a dreamcatcher?
Make a magic circle with your yarn, then crochet the web pattern following your chosen design. Attach the web to an embroidery hoop and add decorative elements like beads and feathers.
What is a magic circle in crochet?
A magic circle is a technique used to start crocheting in the round. It creates a tight, adjustable loop that helps prevent a hole in the center of your project, making it perfect for dreamcatchers.
Can beginners make a dreamcatcher crochet?
Yes, beginners can definitely make a dreamcatcher crochet. Start with simple patterns and basic stitches, and gradually incorporate more complex designs as you gain confidence.
How can I personalize my dreamcatcher crochet?
You can personalize your dreamcatcher by choosing different yarn colors, adding beads, feathers, or even small charms. Experiment with various crochet stitches and decorative elements to make it unique.