DIYbrico | Discover, Create, Inspire

Unlocking Creativity: A Comprehensive Guide to the Magic Ring Crochet Technique

Table of Contents
Ever started a crochet project and felt like you were all thumbs? You’re not alone. That’s where the magic ring crochet technique comes in handy. It’s a little trick that makes starting circular projects like hats or cute amigurumi dolls a breeze. Once you get the hang of it, you’ll wonder why you didn’t try it sooner. Let’s dive into the magic of this technique and see what makes it so special.
Key Takeaways
- The magic ring crochet technique is perfect for starting projects with a tight, adjustable loop.
- It’s ideal for creating seamless beginnings in circular projects like hats and amigurumi.
- Using a magic ring helps avoid that annoying hole in the center of your work.
- With practice, making a magic ring becomes second nature.
- This technique adds a polished look to your crochet projects.
Understanding the Magic Ring Crochet Technique
What is a Magic Ring?
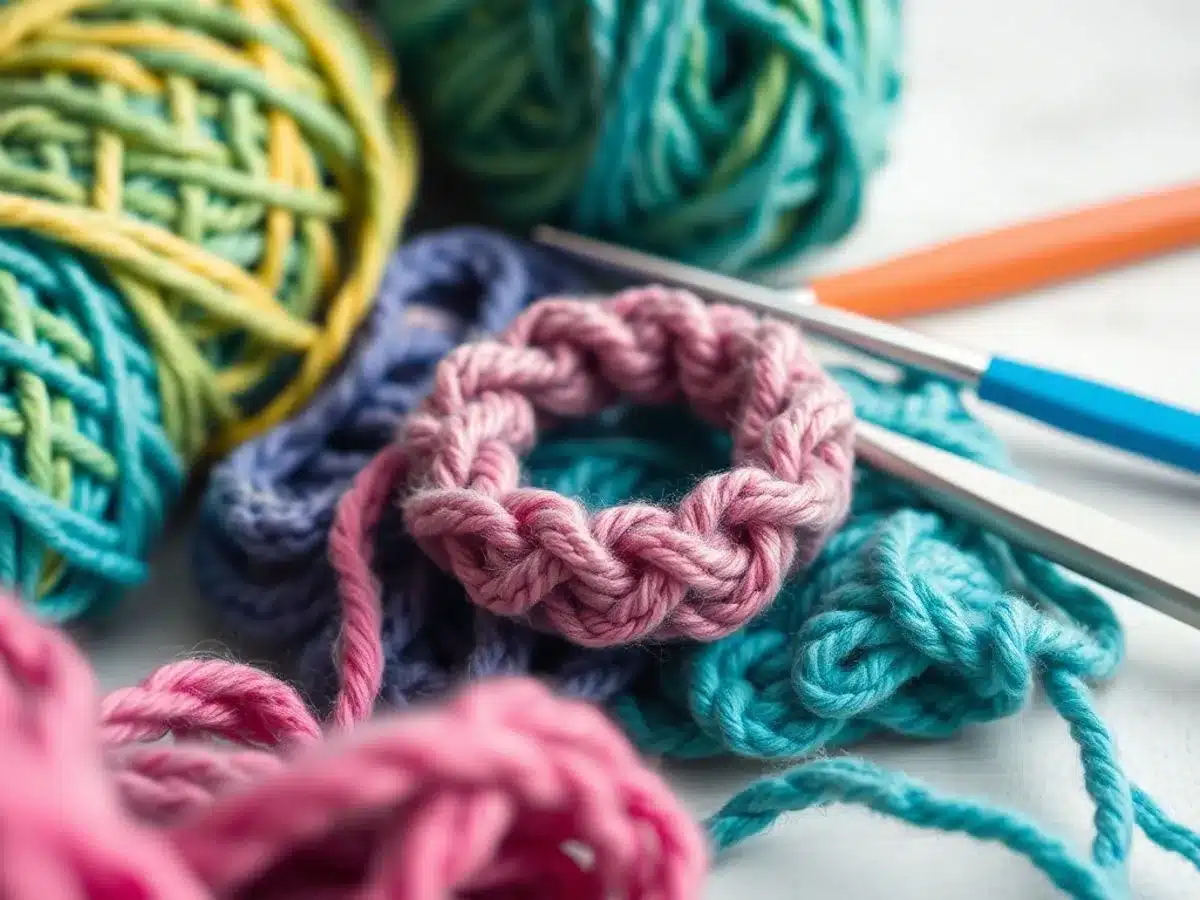
The magic ring, sometimes called a magic loop or magic circle, is a clever way to start crocheting in the round. Instead of chaining a few stitches and joining them to form a ring, you create an adjustable loop that you can tighten after your first round of stitches. This technique is perfect for projects that require a tight, seamless center, like amigurumi or hats.
Benefits of Using a Magic Ring
Using a magic ring has some great advantages:
- No Gaps: Unlike traditional methods, the magic ring allows you to close the center tightly, eliminating any unsightly holes.
- Versatility: Whether you’re making a beanie, a toy, or a coaster, this method is suitable for many projects.
- Easy Adjustments: You can easily modify the loop size to fit the number of stitches you need.
Mastering the magic ring not only improves the look of your crochet projects but also boosts your confidence in tackling more complex patterns.
Common Mistakes to Avoid
When learning the magic ring technique, there are a few pitfalls to watch out for:
- Leaving a Gap: Make sure to pull the loop tightly after your first round of stitches to avoid a hole.
- Losing Track of Stitches: Use a stitch marker to keep track of the beginning of your rounds.
- Not Securing the Tail: Ensure the tail end is woven in securely to prevent unravelling.
By keeping these points in mind, you’ll be well on your way to mastering this handy technique. If you’re new to this, a video tutorial can be a great help in getting started.
Step-by-Step Guide to Mastering the Magic Ring
Creating the Initial Loop
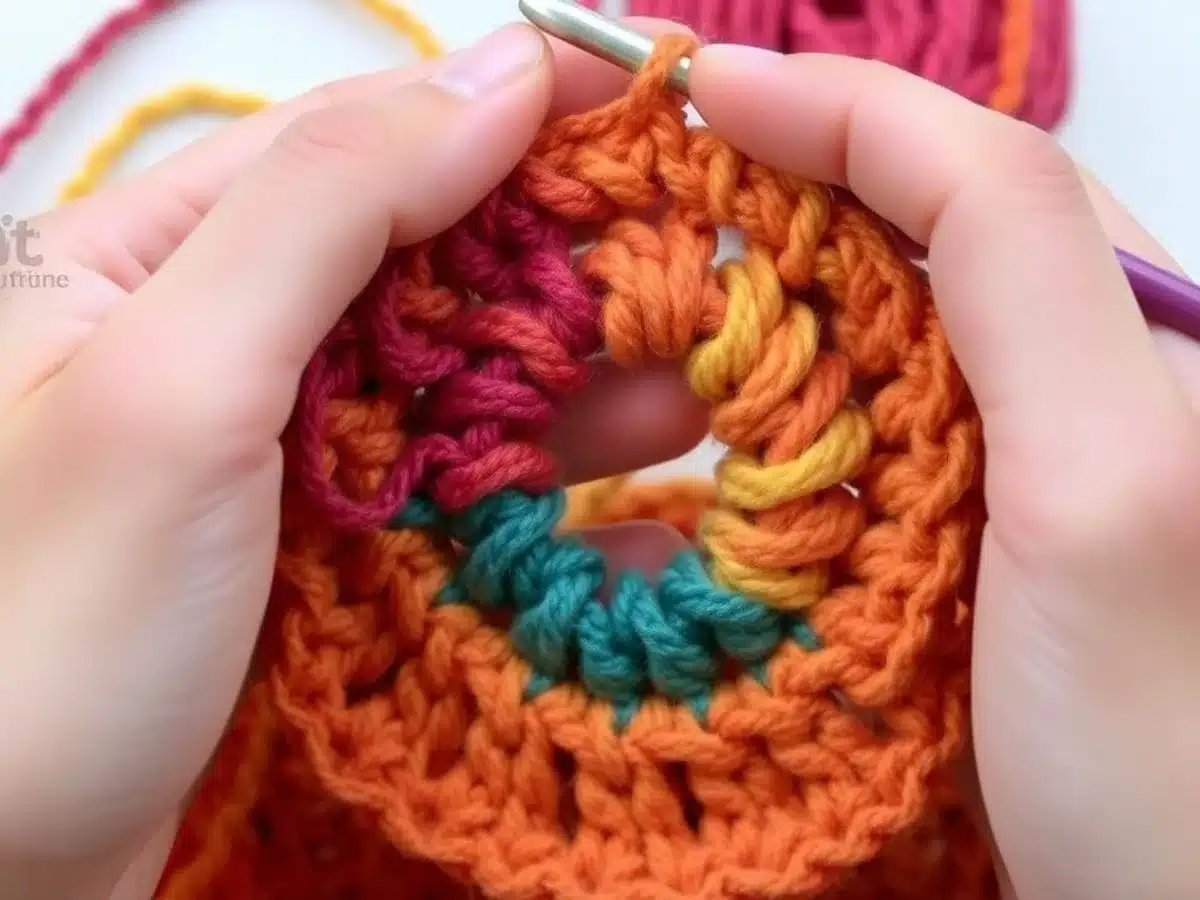
Making a magic ring starts with forming a loop. Hold the yarn in your non-dominant hand, leaving a tail about six inches long. Wrap the yarn around two fingers to create a circle. Carefully slide the circle off your fingers, making sure it stays intact. This loop is the foundation of your magic ring.
Inserting the Hook and Yarn Over
Now, insert your crochet hook into the loop. Grab the working yarn with your hook and pull it through the loop to make a slip knot. This slip knot is the anchor that holds your magic ring together. Yarn over again and pull through to create your first chain stitch. This step sets the stage for the rest of your crochet work.
Completing the First Round of Stitches
With the loop secured, it’s time to crochet into it. Follow your pattern to determine how many stitches to make in the loop. Commonly, you’ll start with six single crochets for amigurumi. As you work, keep the tail yarn to the back and maintain even tension. Once your stitches are done, pull the tail yarn to tighten the ring. This action closes the center and gives you a neat, gap-free start.
“The magic ring is not just a starting point; it’s a foundation for creativity in crochet. Once you master it, a world of circular projects awaits.”
Projects Perfect for the Magic Ring Technique
Amigurumi Creations
Amigurumi, those cute little crocheted toys, are a prime example of where the magic ring shines. Starting with a tight circle, this technique helps keep the stuffing in and the shape just right. Whether you’re crafting a small animal or a whimsical character, the magic ring ensures your project starts off perfectly. If you’re new to amigurumi, a beginner-friendly crochet bee pattern is a great place to start.
Hats and Beanies
Regarding hats and beanies, the magic ring is your best friend. It helps create a snug fit at the crown, eliminating that pesky hole you sometimes find at the center. This method gives your hat a polished, professional look right from the start. Plus, it offers flexibility in adjusting the size as you go.
Coasters and Doilies
For flat, round items like coasters or decorative doilies, the magic ring offers a smooth, gap-free center. This is especially useful when working with intricate lace patterns. The ability to adjust the tension and size of the opening means you can tailor each piece to your liking, ensuring a neat and tidy finish.
“The magic ring isn’t just a technique; it’s a doorway to creative freedom in crochet. Once you master it, a world of circular projects awaits.”
Consider exploring different yarns and hook sizes to see how they affect your finished product. Don’t be afraid to experiment and make each project your own. If you’re new to this technique, start with simple patterns and work your way up to more complex designs. Happy crocheting!
Advanced Techniques with the Magic Ring
Combining with Other Crochet Techniques
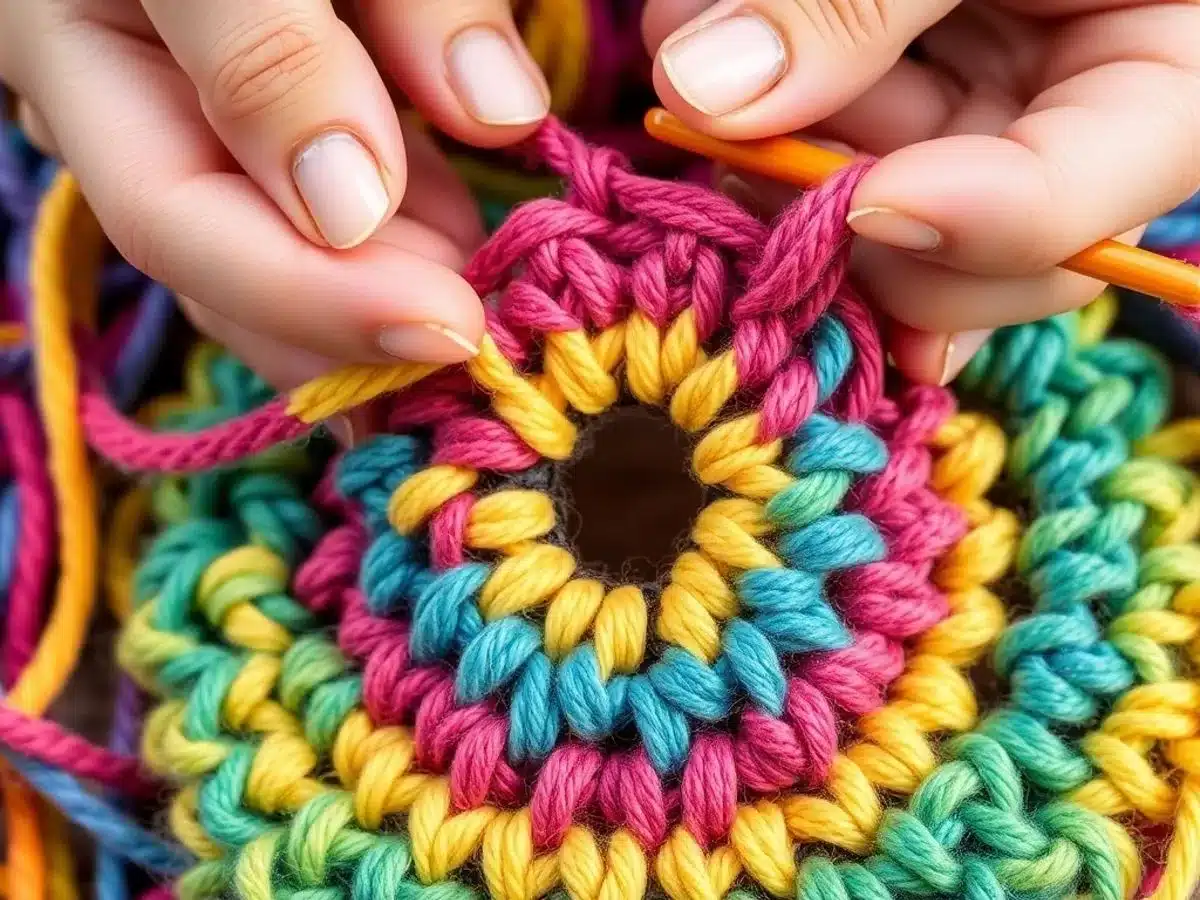
Once you’ve got the hang of the magic circle, you can start mixing it up with other crochet tricks. Ever heard of the standing stitch or the invisible join? These can really jazz up your projects. Think of it like adding a little flair to your crochet game. Seamless transitions and unique designs are just a couple of perks you get when you combine techniques.
Exploring Variations and Modifications
Now, if you’re feeling adventurous, why not tweak the basic magic ring? You can play around with different loop styles or even throw in some extra stitches. It’s like giving your project a personal touch. You might stumble upon a new style that becomes your signature move. Experimentation is key—don’t be afraid to make it your own!
Incorporating into Complex Patterns
Integrating the magic ring into complex patterns can be super rewarding for those who love a challenge. Imagine creating intricate spirals or even three-dimensional shapes. It’s all about pushing the boundaries and seeing what you can come up with. Remember, the only limit is your imagination, so let it run wild!
Troubleshooting Common Magic Ring Issues
Fixing a Loose Center
A loose center in your magic ring is a common hiccup, especially when you’re just getting started. The trick is all in the tension. If the center of your ring is too loose, it often means the yarn tail wasn’t pulled tight enough. To fix this, make sure to pull the yarn tail snugly after you’ve completed the first round of stitches. This will help close up that pesky gap in the middle.
Dealing with Uneven Tension
Uneven tension can make your magic ring look wonky. This happens when the stitches are inconsistent, either too tight or too loose. To tackle this, focus on keeping your hand movements steady. Practice makes perfect, so try working on a few sample rings to get the feel of even tension. Remember, it’s all about finding a rhythm that feels natural to you.
Preventing the Ring from Unraveling
Nothing’s more frustrating than your magic ring coming undone halfway through a project. To stop this from happening, ensure that your initial loop and stitches are secure. After completing the first round, give the yarn tail a firm tug to tighten the ring. Additionally, consider using a locking stitch marker to keep everything in place. This little tool can be a lifesaver for maintaining the integrity of your ring.
Materials and Tools for Magic Ring Crochet
Choosing the Right Yarn
Picking the right yarn makes all the difference in your crochet projects. For beginners, cotton yarn is a great option since it doesn’t stretch much and is easy to handle. Wool and acrylic are also popular choices, offering different textures and warmth. Here’s what to consider:
- Fiber Content: Cotton for beginners, wool for warmth, acrylic for versatility.
- Weight: Medium weight (like worsted) is ideal for starting a magic circle.
- Color: Lighter colors help you see your stitches better, which is super helpful when you’re just starting.
Selecting the Appropriate Hook
The crochet hook is your main tool, and its size depends on the yarn weight. Here’s a quick guide:
| Yarn Weight | Hook Size (mm) |
|---|---|
| Fine | 2.25 – 3.5 |
| Medium | 4.0 – 5.5 |
| Bulky | 6.0 – 8.0 |
Essential Accessories for Success
Beyond yarn and hook, a few other tools can make your crochet experience smoother:
- Sharp Scissors: For cleanly cutting yarn.
- Stitch Markers: These help you keep track of your rounds and prevent mistakes.
- Tapestry Needle: Useful for weaving in ends.
Setting up a comfortable, well-lit workspace can transform your crochet sessions. A clutter-free area with good lighting helps you focus on the intricate details of your magic ring technique.
By gathering the right supplies and setting up a comfortable, organized workspace, you’ll be well on your way to mastering the magic ring technique. These seemingly small details can have a big impact on the overall quality and enjoyment of your crochet projects.
Tips for Perfecting Your Magic Ring Skills
Practicing with Different Yarns
Trying out various yarns can give you a feel for how different materials affect your crochet. Some yarns are slippery, while others grip the hook firmly. Experimenting with different textures and weights will help you find your preference. Start with cotton for its sturdiness and move to wool or acrylic as you gain confidence.
Joining a Crochet Community
Being part of a crochet group, whether online or in person, can be incredibly motivating. These communities offer support, share tips, and inspire you with new ideas. You might find solutions to problems you didn’t know how to tackle on your own.
Experimenting with New Patterns
Once you’re comfortable with the magic ring, it’s time to branch out. Dive into patterns that incorporate the magic ring in unique ways. This could be anything from amigurumi to intricate lacework. The more you challenge yourself, the more skilled you’ll become.
“Getting the magic circle just right takes patience and persistence. It’s all about finding that sweet spot where everything clicks.”
Remember, the key to mastering the magic ring is practice and the willingness to try new things. Don’t be afraid to make mistakes; they are stepping stones to improvement. Happy crocheting!
Conclusion
So, there you have it. The magic ring crochet technique is like a secret weapon in your crafting toolkit. Once you get the hang of it, starting those round projects becomes a breeze. No more annoying gaps in the middle of your hats or toys. It might take a bit of practice, but soon enough, you’ll be doing it without even thinking. And the best part? It opens up a whole new world of creative possibilities. So grab your hook and some yarn, and dive into your next crochet adventure. Happy crocheting!
Frequently Asked Questions
What is a magic ring in crochet?
A magic ring is a way to start crocheting in a circle without leaving a hole in the middle. It’s great for projects like toys and hats.
How is the magic ring different from the chain method?
The magic ring closes tightly, leaving no hole, while the chain method might leave a gap in the center.
Is the magic ring hard for beginners?
It might seem tricky at first, but with practice, beginners can learn it easily. There are many guides to help.
What projects are good for the magic ring?
Projects like stuffed toys, hats, and coasters benefit from the magic ring because it creates a smooth start.
Any tips for mastering the magic ring?
Use a bigger hook to start, practice with extra yarn, and watch videos for help. Pull the tail tight to close the ring.
Why use a magic ring instead of a chain?
The magic ring allows for a tighter, more adjustable start, making it perfect for round projects.