DIYbrico | Discover, Create, Inspire

Create Your Own Crochet Turtle: A Step-by-Step Guide to Amigurumi Mastery
Master amigurumi with our crochet turtle guide. Perfect for all skill levels. Create, customize, and enjoy!

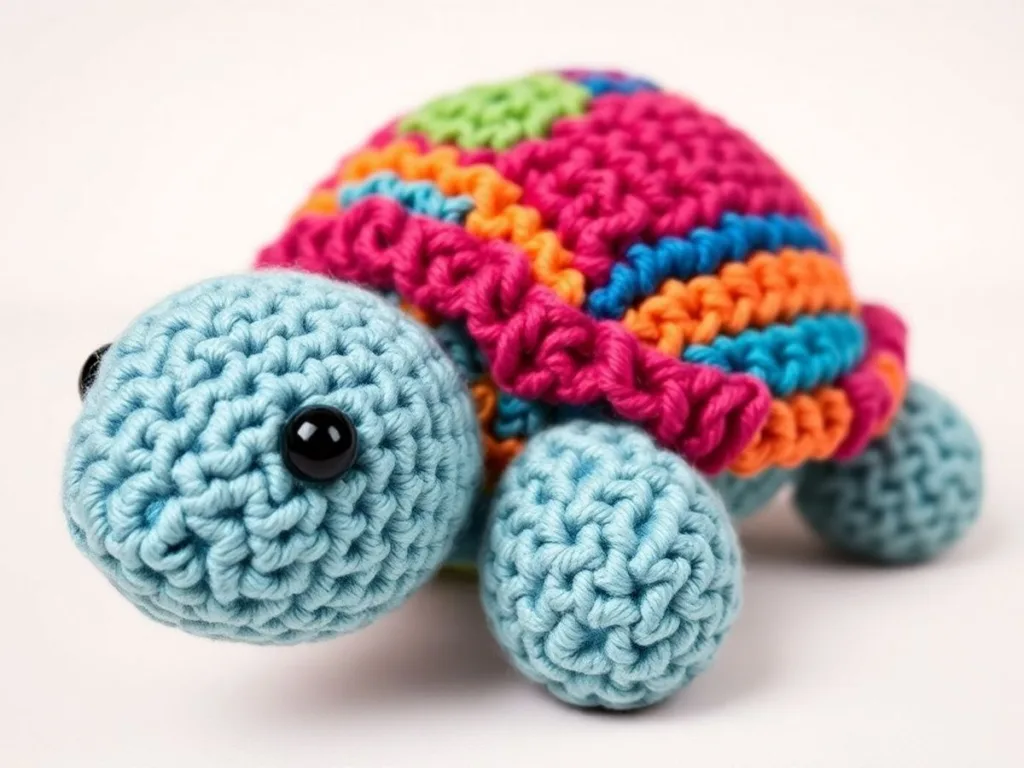
Hey there, crochet fans! Have you ever thought about making your crochet turtle? It’s super fun and a bit of a challenge, but that makes it exciting. This guide is about helping you create a cute amigurumi turtle from scratch. Whether you’re a newbie or have been crocheting for years, you’ll find some handy tips and tricks to get your turtle looking just right.
Key Takeaways
- Start with the basics: gather your materials and learn simple stitches.
- Master the magic circle technique for a seamless start.
- Experiment with colors to give your turtle a unique personality.
- Use safety eyes and embroidery for expressive details.
- Practice regularly to improve your crochet skills.
Understanding the Basics of Crochet Turtle Making
Essential Tools and Materials
Before you get started on your crochet turtle, you’ll need to gather some essential tools and materials. Here’s a handy list to keep you on track:
- Yarn: Choose a yarn that suits your project. Worsted weight or DK yarn is often recommended for a nice balance of texture and size.
- Crochet Hook: Most turtle patterns work well with a 4.0 mm to 5.0 mm hook. Check your pattern for specifics.
- Stitch Markers: These are lifesavers for keeping track of your rounds, especially when working in spirals.
- Polyester Filling: This is used to stuff your turtle, giving it that adorable, plump shape.
- Safety Eyes: These add a professional touch to your turtle’s face, though embroidery is a great alternative.
Having the right materials can make or break your project. Take a moment to gather everything before diving in.
Basic Crochet Stitches for Turtles
To create your crochet turtle, you’ll need to master some basic stitches. Here are the key ones to focus on:
- Single Crochet (sc): This is the most common stitch in amigurumi, providing a tight weave for your turtle’s body.
- Half Double Crochet (hdc): Useful for adding texture and dimension.
- Double Crochet (DC): Sometimes used for larger areas or decorative elements.
These stitches form the foundation of your turtle, so take some time to practice them if you’re not already familiar.
Working in the Round Techniques
Most crochet turtles are made using the ‘working in the round’ technique. This method involves crocheting in a spiral without turning your work. Here’s how to get started:
- Magic Circle: Begin with a magic circle to create a tight, hole-free center.
- Continuous Rounds: Unlike traditional rows, you’ll continue crocheting in a spiral, which is perfect for creating the turtle’s round body and shell.
- Increasing and Decreasing: Learn to add and remove stitches to shape your turtle.
Working in the round might seem tricky at first, but with a bit of practice, you’ll be crafting turtles like a pro!
By mastering these basics, you’ll be well-equipped to start your crochet turtle project. Remember, practice makes perfect, and don’t hesitate to try different techniques to see what works best for you. Happy crocheting!
Step-by-Step Guide to Crocheting a Turtle
Creating the Magic Circle
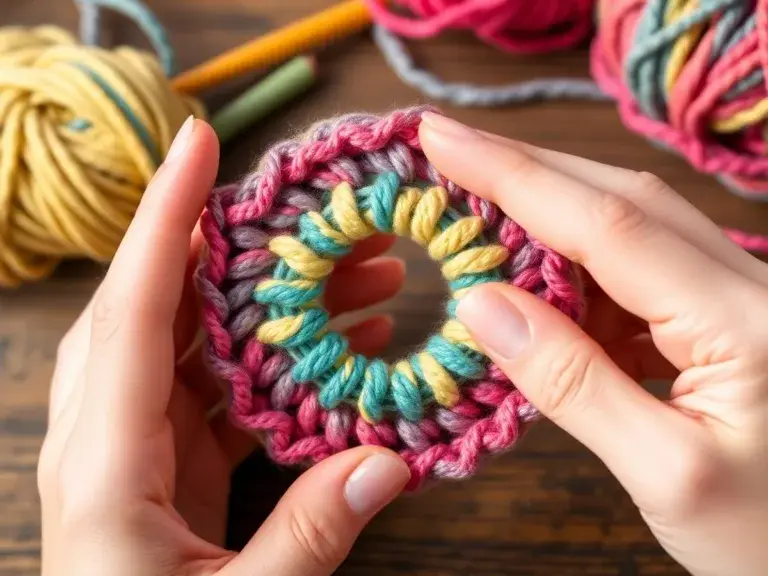
Starting your crochet turtle begins with the magic circle. This technique is a game-changer for creating a tight, seamless start for your turtle’s body. Here’s how you can master it:
- Create a Loop: Hold the yarn with the tail end facing you. Wrap it around your fingers to form a loop.
- Insert the Hook: Slide your hook under the loop, grab the working yarn, and pull it through.
- Yarn Over: Wrap the yarn over your hook and pull through the loop to make a chain stitch.
- Crochet Stitches: Crochet the required number of stitches into the loop, typically six single crochets for amigurumi-like turtles.
- Pull Tight: Pull the yarn tail to close the circle tightly.
For more detailed steps on creating the magic circle, check out this guide.
Crocheting the Turtle Shell
Once your magic circle is ready, it’s time to move on to the turtle shell, which is often the most colorful part of the project. You’ll work in rounds, increasing stitches to shape the shell.
- Round 1: Start with your magic circle and crochet six single crochets into the loop.
- Round 2: Increase by crocheting two single crochets in each stitch around (12 stitches).
- Round 3: Continue with a pattern of one single crochet in the first stitch, then two in the next, repeating around.
- Rounds 4 and Beyond: Keep increasing in each round until the shell reaches your desired size.
Assembling the Turtle Parts
Now that you’ve got all the pieces, it’s time to put them together. This step is like a puzzle, where each piece has its place.
- Attach the Head: Use a whip stitch to sew the head to the body.
- Add the Legs: Position the legs evenly around the body and sew them on securely.
- Secure the Tail: Sew the tail at the back of the body, ensuring it’s centered.
Assembling your crochet turtle is where it all comes together. Take your time to ensure each part is securely attached, giving your turtle a sturdy finish.
With patience and practice, your crochet turtle will come to life, ready to be admired or gifted to someone special. Remember, each stitch is a step closer to mastering amigurumi!
Adding Personality to Your Crochet Turtle
Choosing Colors and Patterns
One of the most exciting parts of making your crochet turtle is choosing the colors and patterns. You can really let your imagination run wild here. Whether you want a classic green turtle or something more vibrant, the choice is yours. Try mixing and matching different yarn colors to create a unique look. Pastels can give your turtle a soft, gentle appearance, while bold colors can make it pop. Consider using variegated yarn for a multicolored effect without having to switch skeins constantly.
Embellishing with Details
Adding little details can turn your simple turtle into a charming character. Consider stitching on a cute smile or adding rosy cheeks with a bit of blush yarn. You might also want to crochet some tiny accessories like a hat or a bow tie to give your turtle extra flair. These small touches bring your creation to life and make it truly one-of-a-kind.
Using Safety Eyes and Embroidery
When it comes to the eyes, you have a couple of options. Safety eyes are a popular choice because they are easy to attach and give a polished look. Just snap them into place, and you’re good to go. If you prefer a more handmade feel, you can embroider the eyes using yarn or embroidery floss. This method allows for more customization, letting you decide the size and expression of your turtle’s eyes. Remember to secure everything well, especially if your turtle is meant for a child.
Troubleshooting Common Crochet Turtle Issues
Fixing Tension Problems
Getting the tension just right can be tricky, especially if you’re new to crocheting turtles. Inconsistent tension can make your turtle look more like a lumpy rock than a cute critter. Here’s how to fix it:
- Practice with swatches: Before diving into your turtle, try crocheting small swatches to get a feel for your tension. This will help you see if you need to adjust your grip or hook size.
- Use the right hook: If your stitches are too tight, try a larger hook; if they’re too loose, go smaller.
- Relax: Sometimes, tension issues come from holding your yarn too tightly. Take a deep breath and loosen your grip a bit.
Remember, even tension is key to a smooth and even finish on your crochet turtle.
Correcting Stitch Mistakes
Stitch mistakes happen to the best of us. Whether it’s a missed stitch or an extra one, these errors can throw off your whole pattern. Here’s how to tackle them:
- Count your stitches: Regularly counting your stitches can help you catch mistakes early. Keep a tally as you go to ensure you’re on track.
- Use stitch markers: These handy little tools can help you keep your place and avoid losing count during complex patterns.
- Frogging: Sometimes, the best solution is to unravel (or “frog”) your work back to the mistake and start that section over. It might be a bit painful, but it’s often necessary for a clean finish.
Adjusting Turtle Shape
If your turtle’s shape is off, it might not sit right or look quite like you imagined. Here are some tips to adjust it:
- Check your stuffing: Overstuffing can warp the shape, while understuffing might leave it floppy. Aim for a balance that gives your turtle structure without distorting its form.
- Re-evaluate your pattern: Sometimes, the issue lies in the pattern itself. Double-check your instructions to ensure you’re following them correctly.
- Use blocking techniques: For larger pieces, blocking can help even out the shape. Wet the piece slightly, shape it as desired, and let it dry.
For more tips on managing tension and stitch issues in your projects, check out this guide. It’s a great resource for honing your crochet skills.
Exploring Advanced Crochet Turtle Techniques
Incorporating Textured Stitches
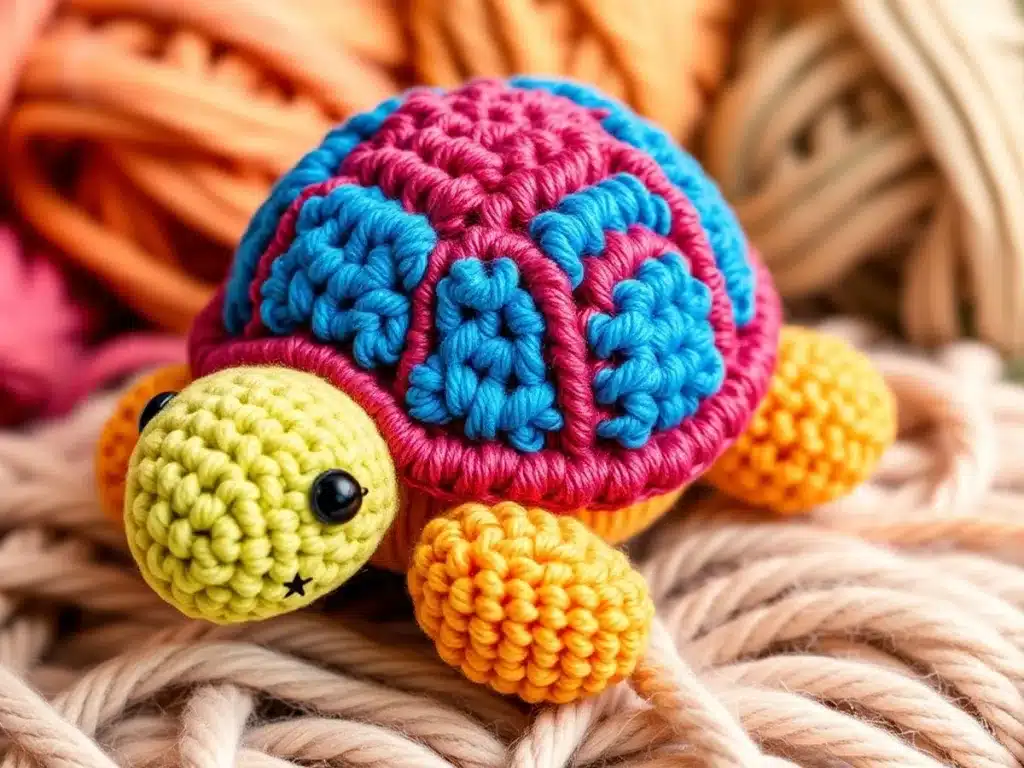
Adding textured stitches can really make your crochet turtle stand out. You can experiment with stitches like the bobble, popcorn, or even the puff stitch to give your turtle a unique look. These stitches add dimension and character, transforming a simple design into something extraordinary. Here’s a quick look at some popular textured stitches:
| Stitch Name | Description |
|---|---|
| Bobble | Creates a raised, bumpy texture. |
| Popcorn | Similar to bobble but denser, forming a thicker bump. |
| Puff | Uses multiple yarn overs for a soft, rounded texture. |
Experimenting with Yarn Types
The type of yarn you choose can dramatically change the feel and appearance of your turtle. Consider using a 4mm crochet hook with Eco Barbante Jade yarn for a soft and eco-friendly option. You might also try:
- Cotton yarn for a sturdy, washable turtle.
- Acrylic yarn for vibrant colors and easy care.
- Wool yarn for a warm, cozy finish.
Creating Custom Turtle Designs
Unleash your creativity by designing your own turtle pattern. Start by sketching your ideas on paper, focusing on unique shell patterns or body shapes. You can incorporate different colors and stitches to bring your vision to life. Here are some tips to get started:
- Sketch your design: Visualize what you want your turtle to look like.
- Choose your stitches: Decide which stitches will best bring your design to life.
- Select your colors: Pick a color palette that complements your design.
Every crochet project is a blank canvas. With a little imagination and some yarn, you can create a one-of-a-kind turtle that reflects your personal style.
Tips for Perfecting Your Crochet Turtle
Maintaining Consistent Tension
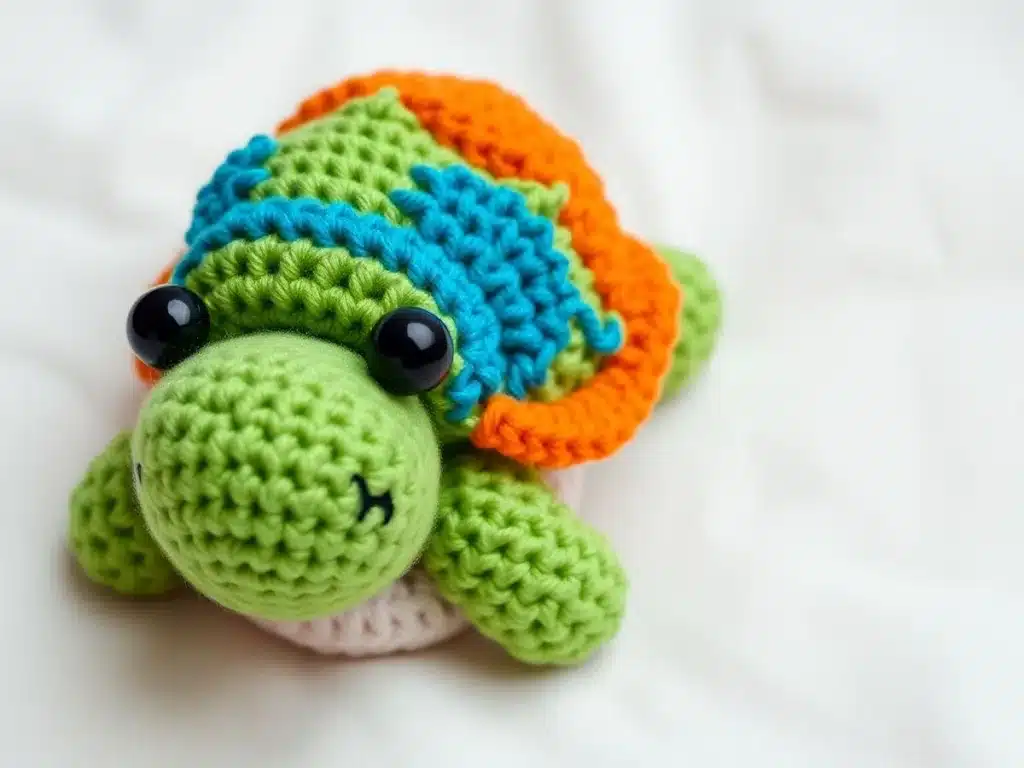
Keeping your tension consistent is like the golden rule for crochet. If your tension is all over the place, your turtle might end up looking more like a lumpy potato. To keep things even, try practicing with swatches. Swatches are small practice pieces that help you see how tight or loose your stitches are. If your stitches are too tight, your turtle might be stiff and tiny; too loose, and it’ll be floppy. Adjust your grip on the yarn, or try a different hook size if needed. Regular practice will help you find that sweet spot where your stitches are just right.
Using Stitch Markers Effectively
Stitch markers are like your crochet GPS. Without them, you might find yourself lost in a sea of stitches, wondering where the round began or how many stitches you’ve done. They’re especially handy when you’re working on something as detailed as a turtle. Place a marker at the start of your round to keep track. This way, you won’t accidentally add or skip stitches, and your turtle’s shell will come out nice and even. You can even use different colored markers to track different parts of your project.
Practicing Regularly for Improvement
Practice isn’t just about doing the same thing over and over. It’s about learning and getting better each time. Set aside a little time each day or week to crochet, even if it’s just a few rows. The more you crochet, the more your hands will get used to the motions and the more confident you’ll become. Over time, you’ll notice your stitches getting more even and your projects looking more polished. Remember, every expert was once a beginner, so keep at it and enjoy the process.
Crochet is a journey, not a race. Each project is a chance to learn and improve. Embrace the mistakes as they come, because they’re stepping stones to mastering your craft.
For those just starting, consider checking out this guide for crocheting a large turtle, which is perfect for beginners and uses premium yarns to ensure the best results.
Showcasing Your Finished Crochet Turtle
Photography Tips for Crochet Projects
Capturing your crochet turtle in photos can be as fun as making it. Start with a clean background to make your turtle pop. Natural light is your friend, so try to shoot during the day when you have plenty of it. If possible, use a simple setup like a white sheet or a plain wall. Avoid using flash, as it can create harsh shadows and distort the colors of your yarn.
Sharing on Social Media
Once you have your photos, it’s time to share your creation with the world. Platforms like Instagram and Pinterest are great for showcasing your work. Use relevant hashtags to reach a wider audience and connect with fellow crochet enthusiasts. Consider joining crochet groups on Facebook to engage with a community that shares your passion.
Joining Crochet Communities
Being part of a crochet community can be incredibly rewarding. You can find groups online or even local meetups where you can share tips, patterns, and encouragement. Participating in these communities not only helps you improve your skills but also allows you to inspire and be inspired by others. Sharing your finished turtle can spark conversations and even friendships with people who love crochet just as much as you do.
Completing a crochet project is more than just finishing a piece; it’s about sharing a part of your creativity with others. Whether online or in person, showcasing your work helps you connect with a broader crafting community.
Conclusion
So there you have it, your very own crochet turtle! With a bit of yarn and patience, you’ve crafted something special. Whether it’s your first amigurumi project or just another addition to your collection, making these little turtles is always a joy. Remember, the beauty of crochet is in its flexibility—feel free to tweak colors, add details, or even create a whole turtle family. Keep practicing, and soon you’ll be a pro at creating these charming creatures. Happy crocheting, and may your hooks always find the right loop!
Frequently Asked Questions
What do I need to start crocheting a turtle?
To begin crocheting a turtle, you’ll need a crochet hook, some yarn, a pair of scissors, and a tapestry needle. It’s also helpful to have stitch markers and a pattern to follow.
How can I make my crochet turtle look unique?
You can add personality to your crochet turtle by choosing different colors, adding embellishments like buttons or embroidery, and using safety eyes for a cute look.
Why is my crochet turtle not looking round?
If your turtle isn’t looking round, check your stitch tension and make sure you’re following the pattern correctly. Using the right amount of stuffing can also help maintain the shape.
What is the magic circle in crochet?
The magic circle is a technique used to start crocheting in the round. It helps create a tight center without a hole, which is perfect for projects like turtles.
How do I fix a mistake in my crochet project?
If you make a mistake, you can carefully undo your stitches back to the error and then redo them correctly. Using stitch markers can help prevent mistakes.
Can beginners crochet a turtle?
Yes, beginners can crochet a turtle by following simple patterns and taking their time to learn the basic stitches. With practice, it becomes easier.