DIYbrico | Discover, Create, Inspire

Getting Hooked: The Magic Circle Crochet Guide
Master magic circle crochet with our guide. Learn steps, tips, and projects for perfect circles.

Have you ever tried starting a crochet project and couldn’t get the hang of it? Yeah, me too. That’s where the magic circle crochet comes in. It’s like a little trick that makes it much easier to start projects like hats or amigurumi. Once you get it, you’ll wonder how you ever crocheted without it. So, let’s break it down and see why everyone is talking about this magic circle thing.
Key Takeaways
- Magic circle crochet helps start crochet projects with a tight, adjustable loop.
- It’s perfect for projects like hats, amigurumi, and anything around.
- Using a magic circle can prevent that annoying hole in the centre of your work.
- With practice, creating a magic circle becomes second nature.
- It’s a handy skill that makes your crochet projects look more polished.
Introduction to Magic Circle Crochet
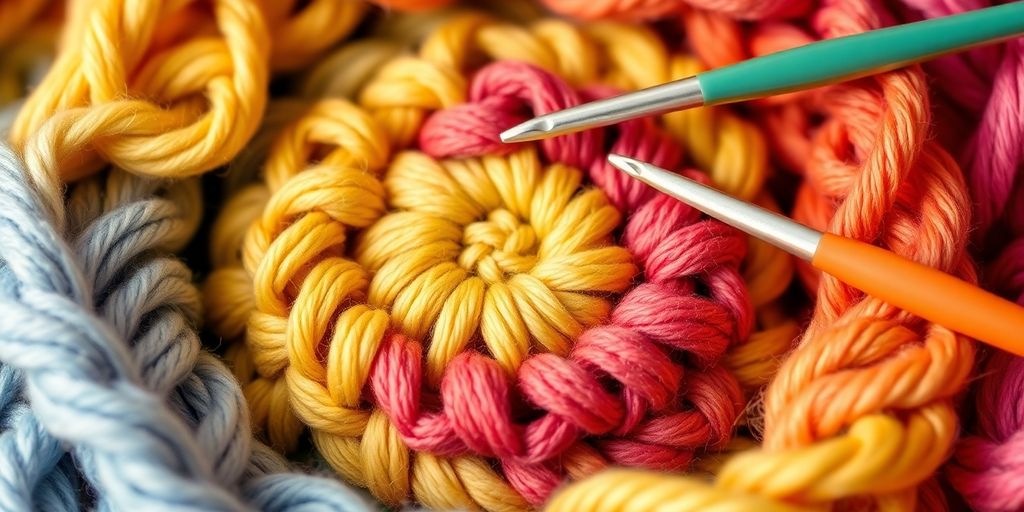
Crocheting is a craft that many find both relaxing and rewarding. Among various techniques, the magic circle is a favourite for creating projects that start in the round, like hats, amigurumi, or mandalas.
The magic circle method lets you begin with a snugly closed centre, effectively eliminating the annoying gap in the centre. This method is also known as the magic ring or magic loop, and it’s a game-changer for anyone looking to improve their crochet skills.
The magic circle is especially useful for projects where a neat start is crucial. Unlike the traditional method of chaining and slip stitching to form a ring, the magic circle gives you control over the tension and size of the opening. This can be particularly helpful when you’re working on intricate designs.
The magic circle is a simple yet transformative technique that enhances the quality of your crochet projects. It might seem tricky at first, but with a little practice, you’ll wonder how you ever crocheted without it.
If you’re new to this, don’t worry. There are plenty of resources, like step-by-step video tutorials, to guide you through the process. With a bit of patience, you’ll master the magic circle in no time.
Why Use a Magic Circle?
The magic circle technique is a game-changer when starting a crochet project, especially one that begins with a round shape. It allows for a neat, gap-free beginning, which is perfect for making items like hats and amigurumi. These projects demand a tight centre to prevent holes, and that’s where the magic circle shines.
Key Benefits of the Magic Circle
- No Gaps: Unlike traditional methods, the magic circle lets you close the centre tightly, ensuring no unsightly holes.
- Versatility: Whether you’re crafting a beanie, a toy, or a coaster, this method suits a wide range of projects.
- Easy Adjustments: You can easily adjust the circle’s size to fit the number of needed stitches.
Mastering the magic circle not only improves the look of your crochet projects but also boosts your confidence in tackling more complex patterns.
When to Use the Magic Circle
- Round Projects: Ideal for projects that start with a circle, such as hats, coasters, and toys.
- Amigurumi: Essential for creating tightly stitched toys and figures.
- Home Decor: Great for making round placemats, rugs, and other decorative items.
Incorporating the magic circle into your crochet toolkit opens up a world of creative possibilities. It’s a simple yet powerful technique that can elevate your crafting skills to new heights.
Materials Needed
Before diving into the world of magic circle crochet, gathering all the necessary materials is important. Having everything at your fingertips will make the process smoother and more enjoyable.
Yarn
Choosing the right yarn is the first step. The type of yarn you select can affect the look and feel of your project. Here are a few things to consider:
- Fibre Content: Cotton yarn is great for beginners because it doesn’t stretch much, making it easier to handle. Wool and acrylic are also popular choices.
- Weight: Yarn weight can range from fine to bulky. Medium weight (like worsted) is a good starting point for a magic circle.
- Colour: Pick a colour that you love. It’s easier to see your stitches with lighter colours, which is helpful when you’re just starting out.
Crochet Hook
The crochet hook is your main tool. The size of the hook will depend on the weight of your yarn. Here’s a quick guide:
| Yarn Weight | Hook Size (mm) |
|---|---|
| Fine | 2.25 – 3.5 |
| Medium | 4.0 – 5.5 |
| Bulky | 6.0 – 8.0 |
Scissors
A good pair of scissors is essential for cutting your yarn neatly. Small, sharp scissors work best for precision.
Stitch Markers
Stitch markers can be a lifesaver, especially when you’re working in the round. They help you keep track of your rounds and stitches, preventing mistakes.
Tapestry Needle
A tapestry needle is used for weaving in the ends of your yarn. It should have a large eye to accommodate the thickness of your yarn.
Getting the right materials is half the battle. Once you have your supplies, you’re ready to create something beautiful with your magic circle crochet skills.
Step-by-Step Guide to Creating a Magic Circle
Step 1: Holding the Yarn
First things first, you need to get a good grip on that yarn. Hold the yarn with your non-dominant hand. Let it drape over your fingers to keep some tension. This helps control the yarn as you work. Wrap it around your index and middle fingers to form an adjustable loop.
Step 2: Forming the Loop
Now, it’s time to make the loop. Cross the yarn over your fingers to form an “X”. This is your starting point. Slide your crochet hook under the first strand and grab the second. Pull it through to create a loop on the hook. A magic circle is created by wrapping yarn around the fingers to form a loop, allowing the hook to be inserted to start crocheting.
Step 3: Securing the Loop
With the loop on your hook, it’s time to secure it. Yarn over and pull through the loop on your hook. This creates a slip knot and secures your magic circle. Make sure it’s snug but not too tight. You want to be able to adjust it later.
Step 4: Crocheting into the Circle
Now, you’re ready to start crocheting into your circle. Insert your hook into the circle, yarn over, and pull up a loop. Yarn over again and pull through both loops on your hook. Repeat this to make the number of stitches needed for your pattern. Once done, pull the tail end of the yarn to close the circle tightly.
Getting the hang of the magic circle might take a few tries, but don’t stress. With a bit of practice, you’ll be making neat and tidy circles in no time. Remember, the goal is to create a tight and adjustable starting point for your crochet projects.
Common Mistakes and How to Avoid Them
Crocheting a magic circle isn’t always smooth sailing. Mistakes happen, but recognizing them early can save you a lot of hassle later.
Mistake 1: Yarn Slipping Out
One common issue is the yarn slipping out of the circle, leading to a loose and unstable start. To avoid this, make sure you’re holding the yarn securely when forming the loop. A firm grip can make all the difference.
Mistake 2: Uneven Tension
Another problem is uneven tension, which can make your circle look wonky. Consistent tension is key to a neat and tidy circle. Practice holding your yarn the same way throughout the process.
Mistake 3: Forgetting to Secure the Tail
Forgetting to secure the yarn tail is a rookie mistake. Without securing it, your circle might unravel. Always pull the yarn tail tight after completing the first round of stitches to keep everything in place.
Mistake 4: Miscounting Stitches
Miscounting stitches can throw off your entire pattern. It’s easy to lose track, especially if you’re just starting out. Count your stitches after each round to ensure you’re on track.
How to Avoid These Mistakes
- Hold the Yarn Properly: Keep a firm but gentle grip on your yarn to maintain control.
- Practice Consistent Tension: Regular practice can help you develop a feel for the right tension.
- Secure the Yarn Tail: Always remember to pull the tail tight after your first round.
- Count Your Stitches: Make it a habit to count your stitches after each round to avoid errors.
Remember, everyone makes mistakes when learning something new. It’s all part of the process. With practice and patience, you’ll get the hang of it.
By keeping these tips in mind, you’ll be well on your way to mastering the magic circle and avoiding common crochet mistakes that can trip you up.
Tips for Perfecting Your Magic Circle
Creating a magic circle can be tricky at first, but you’ll get the hang of it with a few simple tricks. Here’s how you can make your magic circle just right:
- Tension is Key: Keeping the yarn tension consistent is crucial. Too tight, and you can’t work into the circle; too loose, and it won’t hold its shape. Experiment with different tensions to see what works best for you.
- Practice Makes Perfect: Don’t expect to get it right the first time. Like anything else, practice will improve your skills. Try making several circles in a row to build muscle memory.
- Use the Right Yarn: Some yarns are easier to work with than others. If you’re struggling, switch to a different type or thickness to see if it helps.
- Check Your Loop Size: Ensure your initial loop isn’t too big or too small. A good rule of thumb is to make it large enough to fit your hook comfortably.
- Secure Your End: Pull the tail tight to close it up after completing your circle. This will help keep your work neat and tidy.
“Getting the magic circle just right takes patience and persistence. It’s all about finding that sweet spot where everything clicks.”
By following these tips, you’ll be on your way to mastering the magic circle in no time. Keep practising, and don’t be afraid to try new techniques until you find what works best for you.
Projects to Try with a Magic Circle
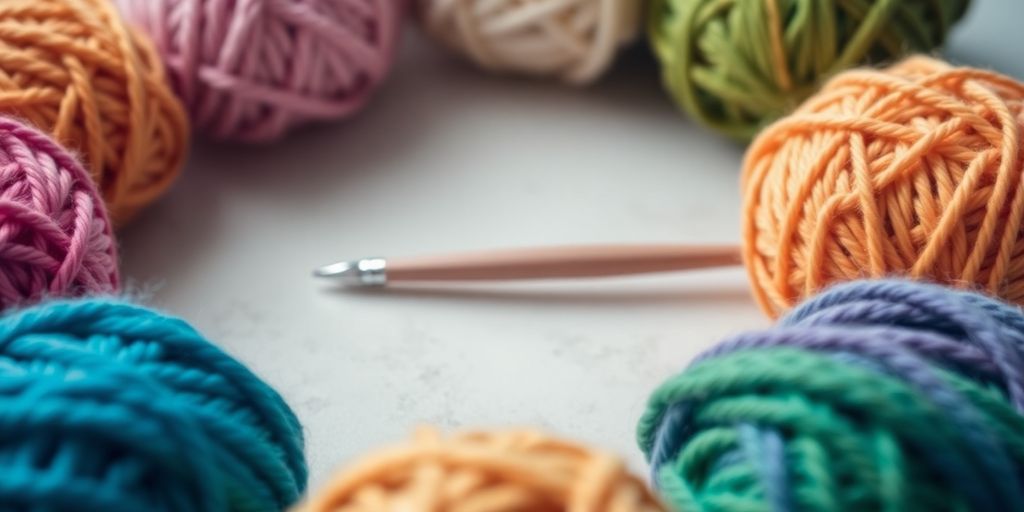
The magic circle is a fantastic technique in crochet that opens the door to various fun projects. It’s a game-changer for those circular patterns where you want a tight, neat start. Here are some projects where the magic circle shines:
- Amigurumi Creations: These adorable stuffed toys often begin with a tight circle, making the magic circle perfect for the job. Whether you’re crafting a small animal or a cute doll, this technique helps keep the stuffing in and the shape just right.
- Hats and Beanies: Starting your hat projects with a magic circle ensures a snug fit at the crown. This method prevents that pesky hole you sometimes find in the centre, giving your hat a professional look.
- Coasters and Doilies: For flat, round items like coasters or decorative doilies, the magic circle offers a smooth, gap-free centre. This is especially useful when working with intricate lace patterns.
- Bags and Pouches: Begin your bags or pouches with a magic circle to create a sturdy base. This technique helps maintain the structure and durability of your handmade accessories.
“The magic circle is not just a starting point; it’s a foundation for creativity in crochet. Once you master it, a world of circular projects awaits.”
Consider exploring different yarns and hook sizes to see how they affect your finished product. Don’t be afraid to experiment and make each project your own. If you’re new to this technique, check out our step-by-step guide to start confidently. Happy crocheting!
Conclusion and Next Steps
Wrapping up our journey into the world of magic circle crochet, it’s clear that mastering this technique opens up a world of creative possibilities. From the initial loop to finishing your project, each step adds to your growing skill set. Magic circles are a game-changer for creating seamless, round projects without that pesky hole in the centre.
As you continue to crochet, remember that every mistake is a step towards improvement. Each loop and stitch is a learning opportunity, helping you refine your craft and build confidence.
What’s Next?
- Practice Regularly: Like any skill, the better you get, the more you practice. Set aside some time each week to work on your magic circle technique.
- Experiment with Patterns: Try different patterns that incorporate the magic circle. This will help you understand how it can be used in various projects.
- Join a Crochet Community: Engage with others who share your passion. Communities can offer support, advice, and inspiration online or in person.
Further Learning
- Consider exploring other crochet techniques to expand your skills. This crochet guide is a great resource for beginners learning the basics and beyond.
- Watch tutorials or enrol in a workshop to see experts in action and learn new tips.
Final Thoughts
Crocheting with a magic circle might seem challenging initially, but persistence will make it become second nature. Keep experimenting, stay patient, and, most importantly, enjoy the process. Happy crocheting!
Wrapping It Up
So there you have it, the magic circle crochet guide in a nutshell. It’s not as tricky as it seems once you get the hang of it. Just remember, practice makes perfect. Don’t stress if your first few tries don’t look like the pictures. Everyone starts somewhere, and with a bit of patience, you’ll be creating beautiful crochet pieces in no time. Keep experimenting with different yarns and hooks; you’ll soon find your own style. Happy crocheting!
Frequently Asked Questions
What is a magic circle in crochet?
A magic circle is a way to start crocheting in the round without leaving a hole in the center. It’s a technique that lets you pull the yarn tight to close the starting loop.
Why should I use a magic circle instead of a regular chain?
Using a magic circle helps you avoid the hole at the beginning of your crochet project. It’s great for making hats, amigurumi, and other round items.
What kind of yarn is best for making a magic circle?
You can use any yarn for a magic circle, but beginners might find medium-weight yarn easier to handle. It’s thick enough to see the stitches clearly.
Can I use a magic circle for all crochet projects?
The magic circle is best for projects worked in the round, like hats or toys. For flat projects, you’ll want to use a different starting method.
How do I stop my magic circle from coming undone?
Make sure to pull the yarn tail tightly after you’ve made your stitches. This will secure the circle and prevent it from unravelling.
Is the magic circle technique hard to learn?
It might seem tricky at first, but with practice, it becomes easier. Watching video tutorials can also help you master the technique.