DIYbrico | Discover, Create, Inspire

10 Creative and Easy Paper Crafts to Spark Your Imagination
Explore 10 easy paper crafts to ignite creativity. Perfect for all ages, from origami to DIY cards. Get crafting!

Table of Contents
Feeling crafty but not sure where to start? Paper crafts are a fantastic way to get those creative juices flowing without breaking the bank. Whether you’re looking to spend a fun afternoon with the kids or just want to unwind with some easy paper crafts, this list has something for everyone. From origami to scrapbooking, these projects are simple and require minimal materials. So grab your scissors and glue, and dive into creative paper-crafting adventures!
Key Takeaways
- Paper crafts are a budget-friendly way to unleash creativity.
- Projects range from simple origami to more involved paper mache.
- Great for both solo crafting and group activities.
- Perfect for all ages, from kids to adults.
- Minimal materials needed, making it accessible for everyone.
1. Origami Animals
Origami, the art of paper folding, is a perfect way to start your papercraft journey. It’s not just about making pretty shapes; it’s about transforming a simple piece of paper into a work of art. The best part? You don’t need much to get started. Just grab some square sheets of paper, and you’re ready to go.
Getting Started
- Pick Your Paper: Choose colorful origami paper to make your creations pop. If you’re just starting out, a thinner paper is easier to fold.
- Follow a Guide: There are tons of tutorials out there to help you fold everything from a simple crane to a complex dragon. Find a step-by-step guide that suits your skill level.
- Practice Makes Perfect: Don’t worry if your first few attempts aren’t perfect. The more you fold, the better you’ll get.
Popular Origami Animals
- Cranes: A classic choice, cranes are not too complicated and look beautiful when finished.
- Frogs: These can actually “jump” when you press down on their back. Fun and interactive!
- Dragons: For those ready to take on a challenge, origami dragons are impressive and rewarding.
Folding paper into animals is more than just a craft; it’s a way to relax and focus your mind. The patience and precision required can be quite meditative.
Tips for Success
- Be Patient: Origami is all about precision. Take your time with each fold.
- Use a Flat Surface: This helps keep your folds sharp and neat.
- Start Simple: Begin with basic shapes and gradually move to more complex designs as you get more comfortable.
Whether you’re crafting a simple frog or an intricate dragon, origami animals are a delightful way to explore your creativity. So, grab some paper and start folding!
2. Colorful Paper Flowers
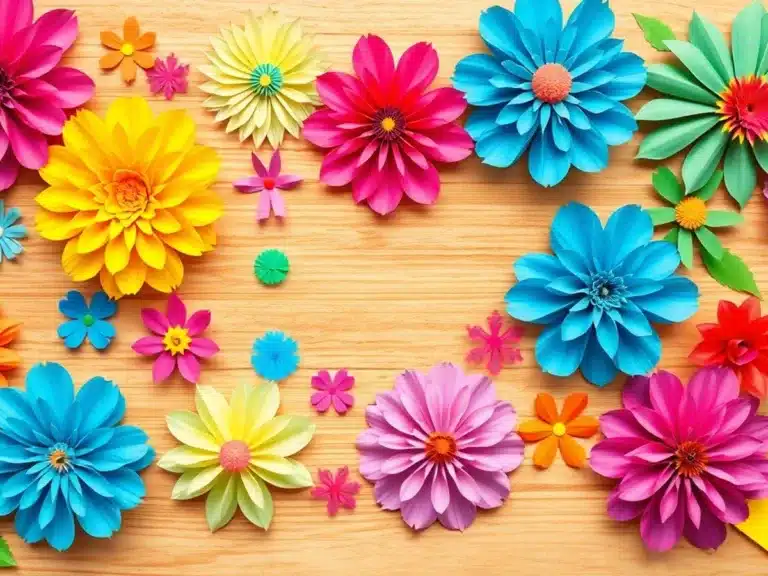
Creating paper flowers is like bringing a splash of color that never fades into your living space. These vibrant blooms can cheer up any room and make for thoughtful handmade gifts. No green thumb needed!
What You’ll Need
- Colored paper (choose your favorite shades)
- Scissors
- Glue or tape
- Optional: Floral wire for stems
Step-by-Step Guide
- Cut Out Petals: Start by cutting petal shapes from your chosen paper. You can go for classic shapes like circles or get creative with spirals and ovals.
- Add Texture: To give your petals a more realistic look, fold, curl, or crumple them. This adds a lovely dimension to your flowers.
- Assemble the Flower: Begin layering the petals, starting from the outside and working your way in. Use glue or tape to secure them.
- Attach the Stem: If you want a stem, attach a piece of floral wire to the back of your flower using tape or glue.
Making paper flowers is a fantastic way to explore different shapes and colors, offering endless possibilities for creativity. Don’t be afraid to mix and match to create your own unique bouquet.
Tips for Success
- Experiment with different paper types, like crepe or tissue, for varied textures.
- Try combining different sizes and colors for a more dynamic arrangement.
- Use a pencil to curl the edges of the petals for a more natural look.
Paper flowers are not just for decoration; they’re a fun, creative outlet that lets you express your artistic side. Whether you’re crafting alone or with friends, making these flowers is a delightful way to spend an afternoon. Ready to explore more paper crafts? Let’s dive into the world of creativity!
3. DIY Greeting Cards
Creating your own greeting cards is a wonderful way to show you care. It’s not just about the words you write but also about the effort you put into crafting something unique. Handmade cards are perfect for any occasion, whether it’s a birthday, holiday, or just because.
Steps to Make Your Own Greeting Cards
- Select Your Materials: Start with some sturdy cardstock as your base. You can also use patterned paper, stickers, and embellishments to decorate.
- Design Your Card: Think about the theme and layout. You might want to sketch your design first. Consider using stamps, drawings, or even cut-outs from construction paper crafts to add a special touch.
- Add a Personal Message: The heart of any greeting card is the message. Write something meaningful that resonates with the occasion.
Crafting your own greeting cards allows you to express your creativity and thoughtfulness in a way store-bought cards just can’t match. It’s a simple yet powerful way to connect with others.
4. Paper Collages
Creating paper collages is like painting with paper. You get to mix and match different colors, textures, and images to make something truly unique. It’s all about letting your creativity take the lead. Here’s how to get started:
- Gather Your Materials: You’ll need a variety of papers. Think old magazines, colored paper, newspapers, or even scraps from other projects. Scissors and glue are essential, too.
- Plan Your Design: Before you start cutting, have a rough idea of what you want to create. It could be a landscape, a portrait, or something abstract.
- Cut and Arrange: Cut out shapes, images, or patterns from your paper collection. Arrange them on a base paper or canvas until you like what you see.
- Glue It Down: Once you’re happy with your arrangement, start glueing the pieces down. Take your time to ensure everything sticks well and looks just right.
- Add Final Touches: Add any extra details or layers to give your collage more depth. This could be additional paper elements or even small objects.
Collaging is a fantastic way to express yourself without any rules or boundaries. It’s about experimenting and finding joy in the process.
For a fun twist, try creating painted paper by applying paint to sections of your paper before you start. This adds a whole new layer of texture and color to your collages. Enjoy the process, and don’t be afraid to try new things!
5. Scrapbook Fun
Scrapbooking is all about capturing those special moments and turning them into something you can look at and smile. It’s like making a time capsule with a personal touch. You can use photos, ticket stubs, postcards, or whatever else sparks a memory.
Getting Started with Scrapbooking
- Choose Your Theme: Decide on a theme for your scrapbook. It could be a special event, a vacation, or just a collection of random happy moments.
- Gather Supplies: You’ll need a scrapbook album, adhesive, scissors, and decorative elements like stickers or washi tape.
- Select Your Photos: Pick out the photos that best represent your theme. Don’t be afraid to mix in some candid shots!
- Layout Planning: Before gluing anything down, plan your layout. Think about how you want your pages to flow.
- Add Embellishments: Once your photos are in place, add embellishments to enhance the story you’re telling.
Scrapbooking is not just about preserving memories; it’s about discovering a variety of scrapbook ideas and creative embellishment techniques to express your creativity. You might find that the process itself is a wonderful way to relax and reflect on good times.
Whether you’re a seasoned scrapbooker or just starting out, the key is to enjoy the process and let your creativity shine. Each page is a piece of art that tells your story in a way only you can.
6. Decorative Paper Garlands
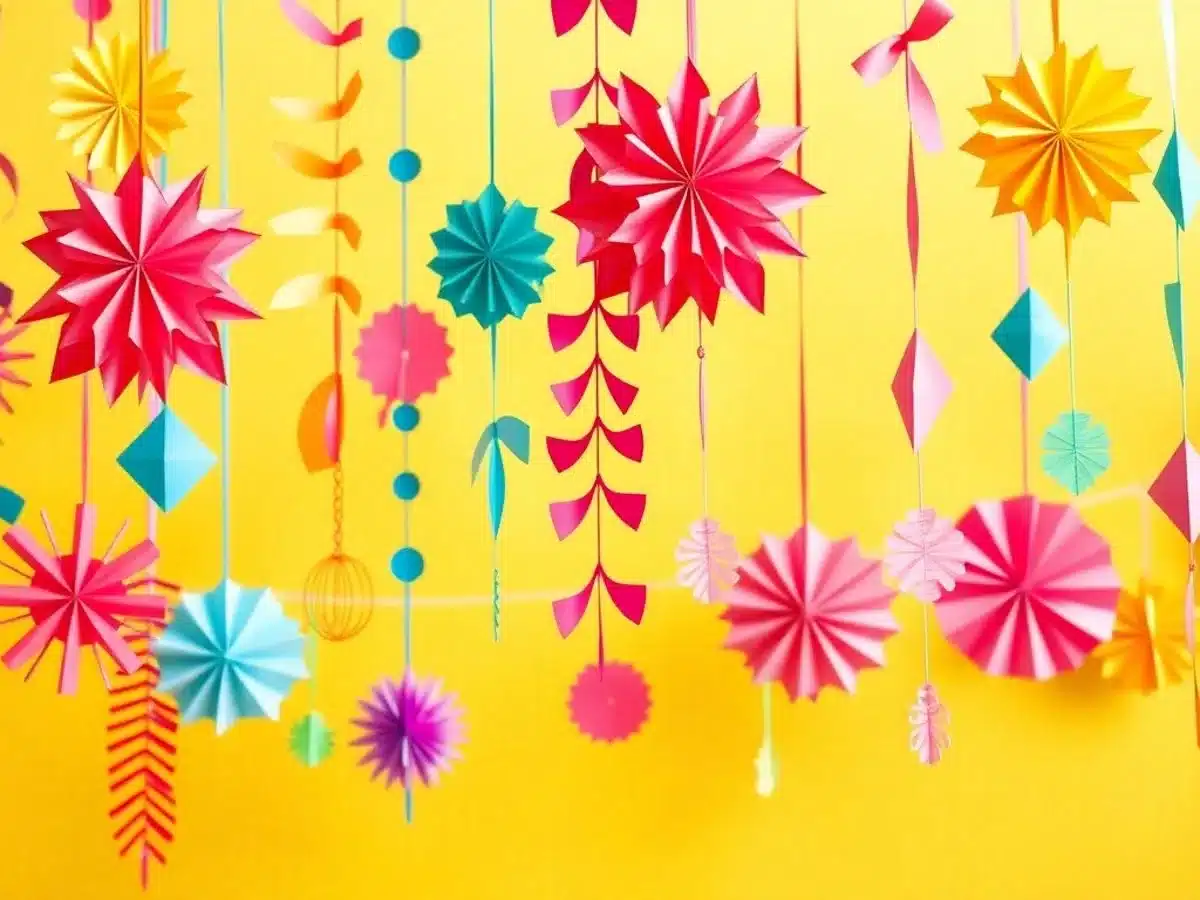
Decorative paper garlands are a delightful way to add a splash of color and cheer to any space. Whether you’re planning a party or just want to brighten up a room, these garlands are an easy and fun craft project.
Materials Needed
- Colorful paper (construction paper, scrapbook paper, or any patterned paper you like)
- Scissors
- String or twine
- Glue or tape
Step-by-Step Guide
- Cut Your Shapes: Start by cutting your paper into the shapes you want for your garland. Circles, stars, and hearts are popular choices, but feel free to get creative!
- Prepare the String: Measure out the length of string or twine you need. Make sure it’s long enough to hang where you want it.
- Attach the Paper: Use glue or tape to attach your paper shapes to the string. Space them out evenly for a balanced look.
- Hang and Enjoy: Once your garland is assembled, hang it up and admire your handiwork!
Making paper garlands is not just a craft, it’s a way to express your creativity and add a personal touch to your decor.
For more creative paper crafts that encourage imagination and fine motor skills, check out our festive paper chain garlands. These projects are perfect for sparking creativity and are both fun and educational.
7. Paper Mache Creations
Get Started with Paper Mache
Paper mache is all about getting your hands a bit sticky and having a blast while doing it. This craft is perfect for making anything from simple bowls to imaginative sculptures. The best part? It’s super budget-friendly and uses materials you probably already have at home.
Materials You’ll Need
- Newspaper or scrap paper
- Flour or PVA glue
- Water
- A base (like a balloon or cardboard)
- Paints for decorating
Steps to Create Your Masterpiece
- Prepare Your Paste: Mix one part flour with one part water to make a smooth paste. If you’re using glue, mix it with a bit of water to thin it out.
- Tear Your Paper: Rip your paper into strips. No need for scissors here; torn edges blend better.
- Dip and Layer: Dip each strip into the paste, remove excess, and layer it over your base. Repeat this until your piece is covered.
- Dry Completely: Let your creation dry thoroughly. Depending on thickness, this might take a day or two.
- Decorate: Once dry, paint your piece with bright colors or patterns.
Paper mache is not just about crafting; it’s about letting go and allowing yourself to create without limits. The joy is in the process, not just the end result.
Tips for Success
- Work in layers, letting each one dry before adding the next.
- Use a fan or heater to speed up drying times if you’re impatient.
- Don’t worry about perfection. The charm of paper mache lies in its imperfections.
For more creative paper craft ideas, explore different projects that suit all ages and skill levels.
8. Printable Coloring Pages
Creating your own printable coloring pages is a fantastic way to engage both kids and adults in a fun and relaxing activity. Whether you’re looking to fill a rainy afternoon or add a creative touch to a party, coloring pages are your go-to. The best part? You can customize them to fit any theme or occasion.
Why Printable Coloring Pages?
- Flexibility: You can choose designs that match your interests, whether it’s animals, landscapes, or abstract patterns.
- Cost-Effective: No need to buy expensive coloring books. Just print what you need.
- Easy Access: With 10,000 free coloring pages available online, the possibilities are endless.
How to Create Your Own
- Select a Theme: Decide on a theme that resonates with you or the person you’re creating for.
- Use Design Software: Programs like Canva or Adobe Spark can help you design intricate patterns with ease.
- Print and Color: Once your design is ready, print it on quality paper for the best coloring experience.
Coloring isn’t just for kids; it’s a stress-relieving activity that adults can enjoy too. Dive into the world of colors and let your creativity flow.
Tips for a Great Coloring Experience
- Choose the Right Tools: Invest in a good set of colored pencils or markers.
- Experiment with Techniques: Try blending colors or adding textures for a unique look.
- Share and Display: Once completed, share your masterpiece with friends or display it proudly at home.
With these tips, you’re all set to explore the world of printable colouring pages. Happy colouring!
9. Thoughtful Gift Boxes
Crafting Your Own Gift Boxes
Making your own gift boxes can turn a simple present into something truly special. With just a few supplies, you can create boxes that are as delightful as the gifts inside.
Materials Needed:
- Decorative paper or cardstock
- Scissors
- Glue or double-sided tape
- Ruler
- Pencil
Step-by-Step Guide
- Choose Your Paper: Start by picking out your favourite decorative paper. This sets the tone for your gift box, so go for something that complements the gift or the occasion.
- Measure and Cut: Use a ruler and pencil to measure out the dimensions of your box. Remember, you’ll need a base and a lid, so plan accordingly.
- Fold and Secure: Carefully fold along your measured lines. Use glue or double-sided tape to secure the edges, forming the box shape.
- Add Personal Touches: Decorate your box with ribbons, stickers, or even hand-drawn designs to make it uniquely yours.
Making a gift box by hand adds a personal touch that store-bought packaging just can’t match. It’s a small gesture that speaks volumes.
Creative Ideas for Gift Boxes
- Themed Boxes: Tailor your box design to match the gift inside, like using floral patterns for a garden-themed gift.
- Multi-layered Boxes: Create a box within a box for a fun twist on the traditional gift-giving experience.
- Eco-friendly Options: Use recycled paper or old maps for a sustainable touch.
These craft gift ideas are perfect for those who love to give presents with a personal touch. Whether it’s for a birthday, holiday, or just because, a handmade gift box makes any occasion more memorable.
10. Fun Mini Notebooks
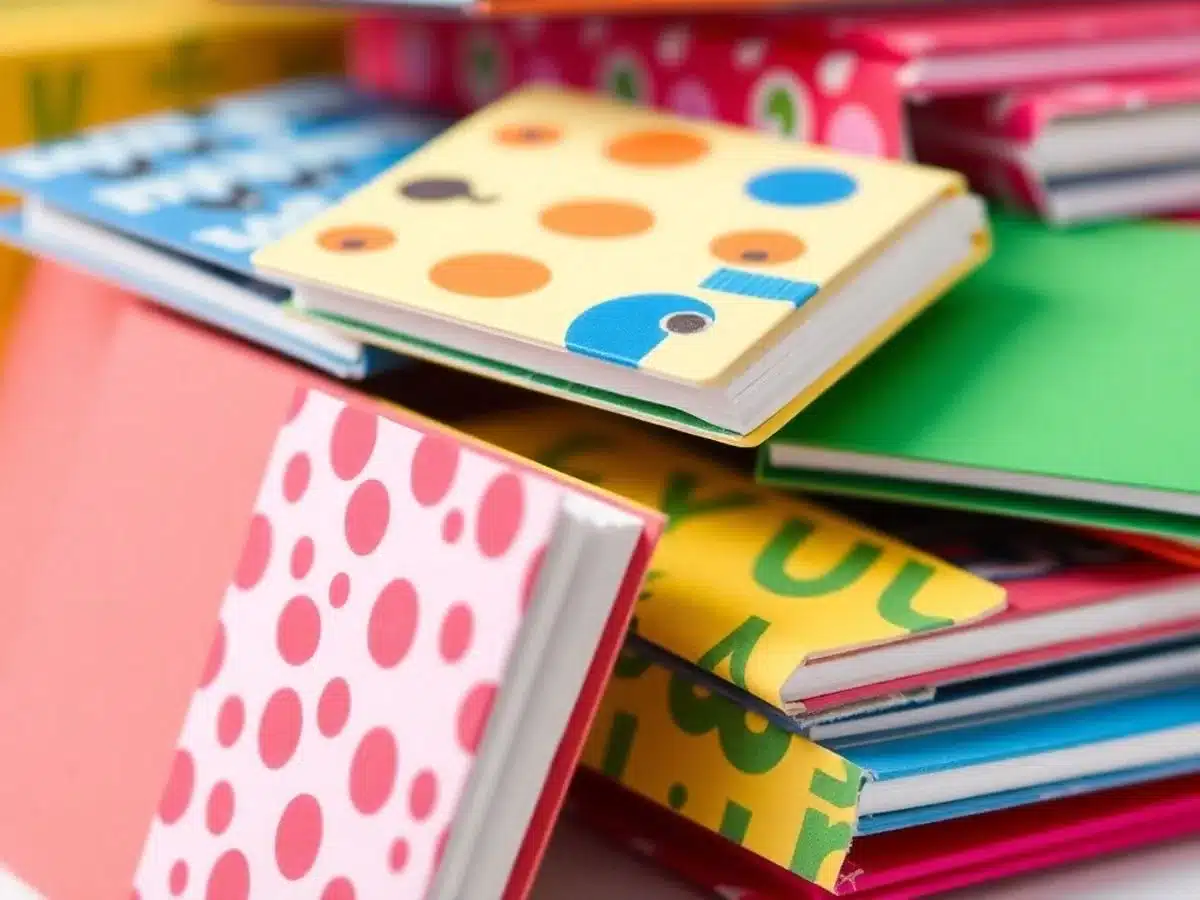
Crafting Your Own Mini Notebooks
Creating mini notebooks is a fantastic way to recycle paper scraps while making something useful and unique. These tiny books are perfect for jotting down quick notes, sketching, or even as thoughtful gifts. Here’s a simple guide to crafting your own.
Materials Needed
- Paper scraps or any decorative paper
- Scissors
- Stapler or needle and thread
- Ruler
- Pencil
Step-by-Step Instructions
- Gather Your Paper: Start by collecting paper scraps. You can use plain paper for writing or mix in some patterned papers for a decorative touch.
- Cut to Size: Decide on the size of your notebook. A common size is about 3×4 inches, but feel free to customize. Use a ruler and pencil to mark your paper, then cut it out.
- Stack and Fold: Stack several sheets together. Fold them in half to form the pages of your notebook.
- Bind Your Notebook: You can staple along the fold for a quick bind. Alternatively, use a needle and thread to sew along the crease for a more handmade look.
- Create a Cover: Use a thicker piece of paper or cardstock for the cover. Fold it around your pages and trim any excess.
- Final Touches: Personalize your notebook with stickers, stamps, or anything else you like.
Making mini notebooks is not just a fun craft, it’s a way to give new life to paper that might otherwise go to waste. Plus, each notebook you create is a little piece of art.
So, grab those paper scraps and get crafting! These mini notebooks are not only practical but also a delightful way to express your creativity.
Conclusion
So there you have it, ten paper crafts that are not only easy but also a ton of fun. Whether you’re looking to fill a rainy afternoon or just want to try something new, these projects are perfect for sparking your creativity. Remember, crafting is all about enjoying the process, not just the end result. So grab your paper, scissors, and glue, and let your imagination run wild. Who knows? You might just discover a new favorite hobby. Happy crafting!
Frequently Asked Questions
What are some easy paper crafts for beginners?
Simple projects like origami animals, paper flowers, and greeting cards are great for beginners. They require basic materials and are easy to follow.
What materials do I need for paper crafting?
You’ll need paper, scissors, glue, and sometimes additional items like markers or stickers, depending on the craft.
Can paper crafts be educational for kids?
Yes, paper crafts can help kids develop fine motor skills, creativity, and even teach them about shapes and colors.
How do I make paper flowers?
Cut petal shapes from colored paper, layer them, and glue them together to form a flower. You can add a stem with green paper.
What is origami?
Origami is the art of folding paper into various shapes and designs, like animals or flowers, using a square piece of paper.
Are there any eco-friendly paper crafts?
Yes, you can use recycled paper or materials from around the house to create eco-friendly crafts like collages or gift boxes.