DIYbrico | Discover, Create, Inspire

Creative and Fun Beginner Woodworking Projects to Kickstart Your DIY Journey
Kickstart your DIY journey with creative beginner woodworking projects. Perfect for honing skills and home decor.

Thinking about diving into the world of woodworking? It’s a fantastic hobby that lets you craft cool stuff from scratch. Don’t worry if you’re new to this; everyone starts somewhere. The key is to begin with simple projects that build your skills and confidence. Plus, nothing is like the satisfaction of making something with your hands. So, let’s explore some creative and fun beginner woodworking projects to get your DIY journey off the ground.
Key Takeaways
- Starting with simple projects is the best way to learn woodworking.
- Essential tools include a saw, hammer, and sandpaper.
- Safety gear like goggles and gloves is crucial for protection.
- Measuring twice and cutting once can save you time and materials.
- Joining a woodworking community can offer support and inspiration.
Essential Tools for Beginner Woodworking Projects
Must-Have Tools for Starters
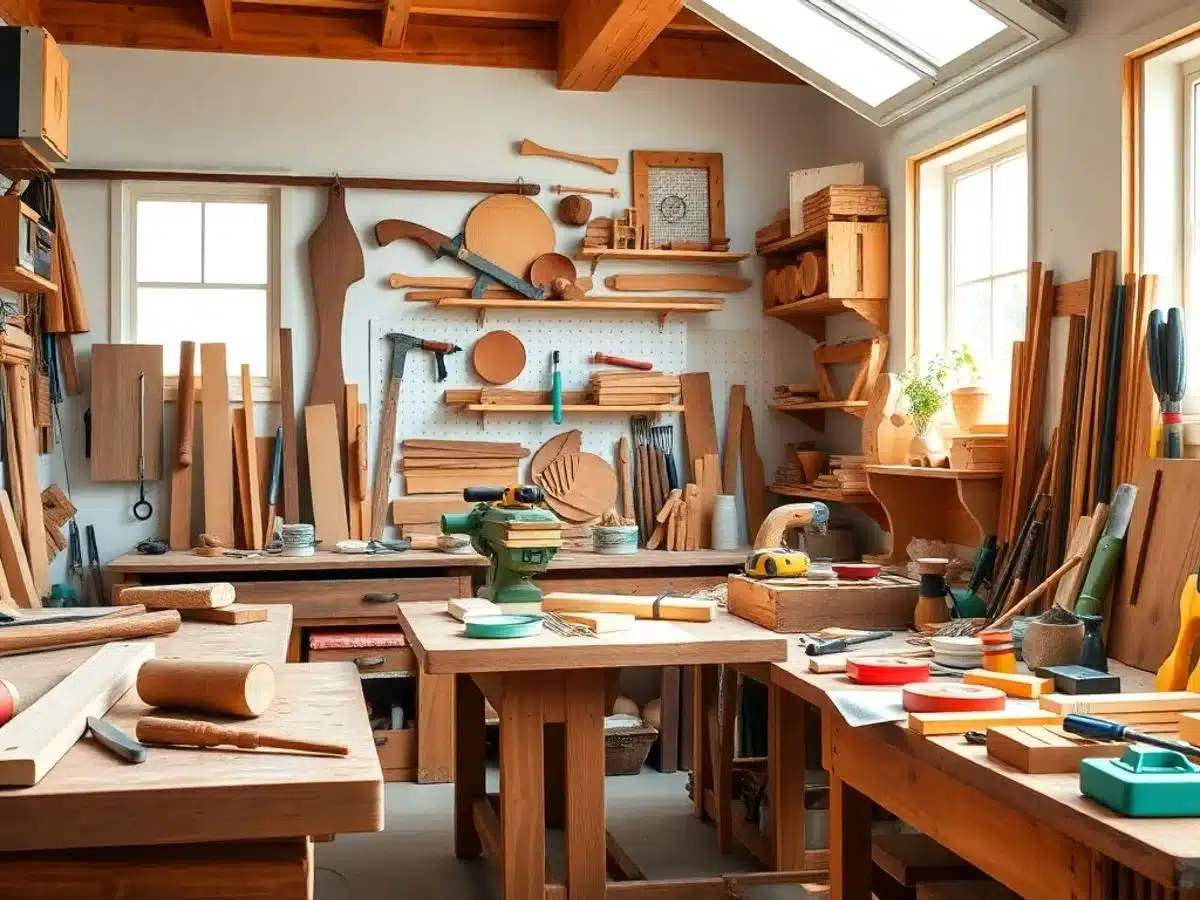
Starting your woodworking journey is exciting, but it can also be a bit overwhelming when you see the variety of tools available. Don’t worry; you don’t need everything to get started. Here’s a list of essential tools that every beginner should have:
- Hammer: A good claw hammer is indispensable for driving nails and removing them. It’s one of the most basic tools you’ll use frequently.
- Screwdrivers: A set of flathead and Phillips screwdrivers will cover most of your needs, from assembling furniture to fixing small issues.
- Saw: Whether you choose a hand saw or a power saw, it’s crucial for cutting wood to size. A jigsaw is versatile for beginners.
- Tape Measure: You’ll need this to ensure accurate measurements, which is crucial in woodworking.
- Square: This helps you make straight lines and perfect 90-degree angles, ensuring your projects are well-aligned.
Choosing the Right Wood
Picking the right type of wood is just as important as having the right tools. Different projects require different types of wood, so here’s a quick guide:
- Softwoods (like pine and cedar): These are easier to work with and are great for beginners. They’re generally less expensive and lighter.
- Hardwoods (like oak and maple): These are more durable and ideal for furniture-making. They can be a bit challenging to work with but offer a beautiful finish.
- Plywood: A versatile option for many projects, plywood is strong and comes in various thicknesses. It’s perfect for shelving and cabinets.
Safety Gear and Precautions
Safety should always be your top priority when working with woodworking tools. Here are some essential safety gear items and precautions to keep in mind:
- Safety Glasses: Protect your eyes from flying debris and sawdust.
- Ear Protection: Power tools can be loud, so using earplugs or earmuffs can prevent hearing damage.
- Dust Mask: Sawdust can be harmful if inhaled, so wearing a mask is a good habit.
- Gloves: Protect your hands from splinters and cuts, but be cautious when using power tools, as gloves can get caught.
Starting with the right tools and materials sets the foundation for successful woodworking projects. Remember, practice makes perfect, and safety should always come first. With these essentials, you’re well on your way to creating beautiful wooden pieces.
Simple Woodworking Projects to Get You Started
Building a Wooden Birdhouse
Starting with a wooden birdhouse is a classic and rewarding project for beginners. It’s not just about creating a cozy spot for birds; it’s a way to practice basic woodworking skills. Here’s a simple guide to get you started:
- Gather Your Materials: You’ll need wood (like pine or cedar), nails, wood glue, and a saw.
- Cut the Pieces: Follow a simple plan to cut out the front, back, sides, roof, and base.
- Assemble the House: Use nails and glue to put the pieces together. Make sure everything fits snugly.
- Add Finishing Touches: Sand any rough edges and optionally paint or stain your birdhouse to weatherproof it.
This project is perfect for honing your cutting and assembling skills while creating something functional and decorative.
Crafting a Basic Bookshelf
A basic bookshelf can be a fantastic project for those who want to combine functionality with creativity. Bookshelves are not only practical but also allow you to experiment with different styles and finishes.
- Select Your Wood: Choose a sturdy wood like oak or birch.
- Design Your Shelf: Decide on the size and number of shelves.
- Cut and Assemble: Cut the wood to size and assemble using screws and brackets for stability.
- Finish and Decorate: Sand the surface smooth and apply a finish or paint to match your decor.
Building a bookshelf not only provides storage but also adds a personal touch to your living space.
Creating a Simple Picture Frame
Creating a picture frame is a wonderful way to showcase your favorite photos or artwork. It’s a straightforward project that can be completed in an afternoon.
- Choose Your Wood: Softwoods like pine are easy to work with for frames.
- Cut the Frame Pieces: Cut four pieces at 45-degree angles to form the corners.
- Assemble the Frame: Use wood glue and clamps to secure the corners.
- Add the Backing and Glass: Once dry, attach a backing board and glass or acrylic front.
Picture frames are a great way to practice precision cutting and joining techniques. Plus, they make for thoughtful, handmade gifts.
Remember, woodworking is a journey. Each project you complete builds your skills and confidence. Embrace the process and enjoy the satisfaction of creating something with your own hands.
Creative Ideas for Personalized Woodworking
Designing Custom Coasters
Creating custom coasters is a fantastic way to add a touch of personality to your home. Start by selecting a wood type that matches your decor—oak and walnut are popular choices for their rich tones. Once you’ve chosen your wood, cut it into squares or circles, depending on your preference. Personalize your coasters by engraving initials, a favorite quote, or a simple design using a wood-burning tool or a laser cutter. Finish them off with a coat of varnish to protect against moisture and enhance the wood’s natural beauty.
Making a Unique Wall Clock
A wall clock can be more than just a timepiece; it can be a statement piece in your home. Begin by choosing a piece of wood that you love—something with a unique grain or color. Cut it into the shape of your choice, whether round, square, or something more abstract. Drill a hole in the center for the clock mechanism. You can use creative paper crafts to design the clock face, adding numbers or patterns that reflect your style. Assemble the clock parts, and voila, you have a custom timepiece that’s both functional and decorative.
Crafting Personalized Name Signs
Personalized name signs are a wonderful way to make any space feel welcoming. Start by selecting a piece of wood that suits the size you need. Sand it down to a smooth finish and apply a base coat of paint if desired. Sketch out the name or phrase you want on the sign, then carefully paint or carve it into the wood. For an extra touch, consider adding decorative elements like floral motifs or geometric patterns. Seal your work with a clear coat to ensure it lasts for years to come.
Personalized woodworking projects not only showcase your creativity but also make thoughtful gifts that are treasured for their uniqueness and the effort behind them.
Tips for Successful Beginner Woodworking Projects
Measuring and Cutting Accurately
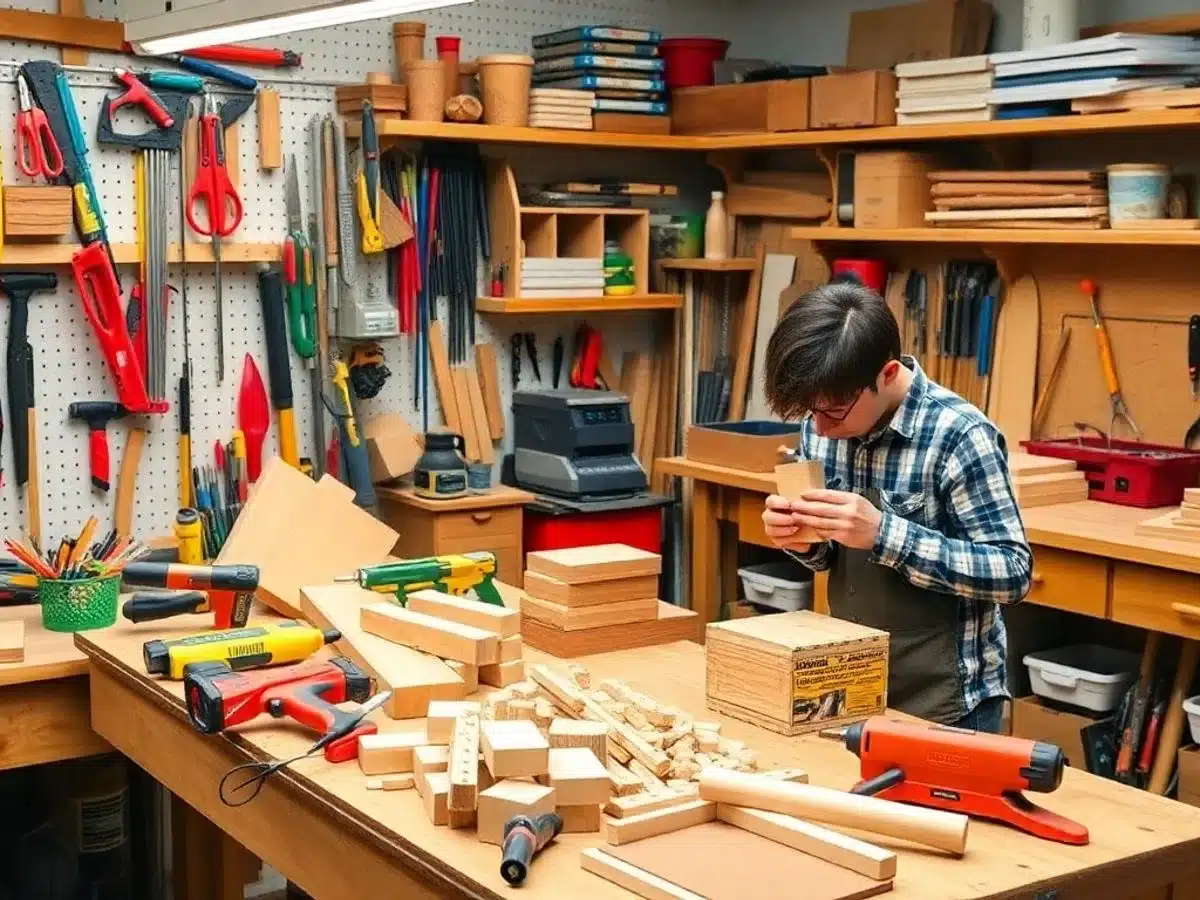
When it comes to woodworking, precision is everything. Measure twice, cut once is a golden rule that every woodworker should live by. This simple mantra can save you from costly mistakes and wasted materials. Here’s a quick checklist to help you measure and cut accurately:
- Use a reliable tape measure or ruler.
- Double-check your measurements before making any cuts.
- Mark your measurements clearly with a pencil.
- Use a square to ensure straight lines.
- Cut slowly and steadily to maintain control.
Taking the time to measure and cut correctly will not only improve the quality of your projects but also boost your confidence as you see your plans come to life.
Sanding and Finishing Techniques
Sanding might seem like a tedious task, but it’s crucial for achieving a smooth, professional finish. Start with a coarse grit sandpaper to remove any rough spots, and gradually work your way to a finer grit for a polished look. Don’t rush this step; patience is key. Here’s a simple guide to sanding and finishing:
- Begin with 80-grit sandpaper and move to 120-grit, then finish with 220-grit.
- Always sand in the direction of the grain to avoid scratches.
- Wipe away dust with a damp cloth before applying any finish.
- Choose a finish that suits your project: oil for a natural look, varnish for durability, or paint for color.
- Apply the finish in thin, even coats and let it dry completely between applications.
Avoiding Common Mistakes
Even seasoned woodworkers make mistakes, but being aware of common pitfalls can help you avoid them. Here are some typical errors beginners should watch out for:
- Not having the right tools for the job.
- Ignoring safety precautions.
- Choosing the wrong wood for specific projects.
- Rushing through the process without proper planning.
Remember, woodworking is a journey of learning and improvement. Each project will teach you something new, and mistakes are just part of the process. Embrace them, learn from them, and keep honing your skills. Whether you’re crafting a simple picture frame or a colorful yarn project from The Woobles Crochet Kit, patience and practice will lead you to success.
Incorporating Woodworking into Home Decor
Creating Rustic Shelves
Rustic shelves are a fantastic way to add some warmth and character to any room. They’re not just practical for storage but also a great way to display your favorite items. To start, you’ll need some reclaimed wood or even pallet wood to give it that rustic feel. Cut the wood to your desired length, sand it down to smooth out any rough edges, and finish it with a stain or sealant to protect it. Attach the shelves to the wall using sturdy brackets, and voilà, you have a charming addition to your home.
Building a Coffee Table
A coffee table is often the centerpiece of a living room, so why not make it a conversation starter? Building your own coffee table allows you to customize it to fit your space perfectly. Start with a plan, sketching out the dimensions and style you want. Whether you prefer a minimalist look with clean lines or a more intricate design with carved details, the choice is yours. Gather your materials, which might include hardwood or even a mix of wood and metal for a modern touch. Assemble the pieces, ensuring everything is level and secure. Finish it off with a coat of varnish or paint, and you’ve got yourself a unique piece that reflects your style.
Designing a Wooden Plant Stand
For those who love greenery, a wooden plant stand is a must-have. Not only does it elevate your plants, but it also adds a natural element to your decor. Start by deciding on the height and width of your stand, considering the size of the pots you’ll be using. Choose a sturdy wood that can support the weight, like oak or pine. Cut the pieces according to your design, and assemble them using wood glue and screws for extra stability. Sand the surface smoothly, and apply a finish that complements your home. Now, your plants have a beautiful new home that’s both functional and stylish.
Embracing woodworking projects for your home decor not only enhances the aesthetic appeal but also brings a sense of accomplishment and personal touch to your space. Let your creativity flow and make your home truly yours.
Exploring Outdoor Woodworking Projects
Constructing a Garden Bench
Building a garden bench is a great project to start with if you’re looking to enhance your outdoor space. It’s not just about having a place to sit; it’s about creating a spot where you can enjoy the beauty of your garden. To get started, you’ll need some basic materials like wood planks, screws, and a saw. Don’t forget your safety gear! Here’s a simple guide to building your own bench:
- Choose Your Wood: Opt for weather-resistant wood like cedar or redwood.
- Cut the Pieces: Measure and cut the wood to size. Typically, you’ll need two long planks for the seat, two for the backrest, and shorter ones for the legs.
- Assemble the Frame: Secure the seat and backrest to the legs using screws.
- Sand and Finish: Sand all surfaces smooth and apply an outdoor wood finish to protect against the elements.
Building a Bird Feeder
A bird feeder is a simple yet rewarding project that invites nature right into your backyard. It’s perfect for beginners and can be completed in a weekend. Here’s how you can create one:
- Materials Needed: A small wooden plank, nails, a saw, and some bird seed.
- Design: Decide on a simple design, like a platform or a house shape.
- Assembly: Cut the wood to your design specifications and nail the pieces together.
- Finishing Touches: Add a hook for hanging and fill with birdseed.
Designing Outdoor Planters
Outdoor planters are not only functional but also add a decorative touch to your garden or patio. Crafting your own gives you the freedom to choose the size and style that best fits your space.
- Select Your Wood: Use treated wood to withstand outdoor conditions.
- Plan Your Design: Decide the dimensions and shape of your planter.
- Construction: Cut the wood panels and assemble them into a box shape, securing them with screws.
- Finishing: Drill drainage holes at the bottom and apply a weatherproof finish.
Building outdoor woodworking projects not only beautifies your space but also gives you a sense of accomplishment. It’s about enjoying the process and seeing your ideas come to life. Whether it’s a garden bench, a bird feeder, or a planter, each project adds a personal touch to your outdoor environment.
Joining the Woodworking Community

Finding Local Workshops
Getting involved in woodworking can be a lot more fun when you do it with others. One way to dive in is by finding local workshops. These are often organized by community centers or local woodworking clubs. They offer a hands-on experience and the chance to learn from seasoned woodworkers. Plus, you get to work on projects alongside others who share your interests. Check out bulletin boards at your local hardware store or community center for announcements.
Joining Online Forums
If you’re more of an online person, there are plenty of forums and social media groups dedicated to woodworking. These platforms are great for asking questions, sharing your projects, and getting feedback. You can find groups that focus on specific types of woodworking or general communities where all topics are welcome. Engaging in these spaces can help you learn new techniques and find inspiration.
Participating in Craft Fairs
Craft fairs aren’t just for selling your creations; they’re also a great place to meet other woodworking enthusiasts. By showcasing your work, you can get feedback and ideas from others. It’s also a chance to see what others are making and get inspired. Participating in a Group Build can also be a fantastic way to connect with others, as these events often have a collaborative spirit where everyone pitches in and learns together. Whether you’re attending as a vendor or a visitor, craft fairs are a wonderful way to feel part of the woodworking community.
Being part of a community not only enhances your woodworking journey but also opens doors to new friendships and learning opportunities. Don’t hesitate to dive in and be an active member of the woodworking world!
Conclusion
So there you have it, folks! Woodworking is not just a hobby; it’s a journey full of creativity and fun. Whether you’re crafting a simple birdhouse or a more intricate piece, each project is a chance to learn and grow. Don’t worry about making mistakes; they’re just stepping stones to becoming better. With each cut and join, you’ll find yourself more confident and skilled. So grab your tools, pick a project, and start building. The world of woodworking is waiting for you, and who knows, you might just discover a hidden talent along the way. Happy crafting!
Frequently Asked Questions
What tools do I need to start woodworking?
To get started with woodworking, you’ll need some basic tools like a saw, hammer, screwdriver, tape measure, and sandpaper. As you progress, you might want to add power tools like a drill or jigsaw.
Is woodworking safe for beginners?
Yes, woodworking is safe if you follow some basic safety rules. Always wear safety goggles and gloves, keep your work area clean, and double-check your measurements before cutting.
What type of wood is best for beginners?
For beginners, softwoods like pine or cedar are great because they are easy to work with and less expensive. As you gain experience, you can try using hardwoods like oak or maple.
How do I avoid making mistakes in woodworking?
To avoid mistakes, always measure twice and cut once. Take your time to plan out your project, and don’t rush through the steps. It’s also helpful to practice on scrap wood first.
Can kids try woodworking projects?
Yes, kids can try simple woodworking projects with adult supervision. Projects like building a birdhouse or a small shelf can be fun and educational for children.
How can I make my woodworking projects look professional?
To make your projects look professional, focus on sanding and finishing. Use fine-grit sandpaper to smooth the surfaces and apply a wood finish or paint to protect and enhance the wood’s appearance.