DIYbrico | Discover, Create, Inspire

9 Easy Woodworking Projects You Can Complete This Weekend
Discover 10 easy woodworking projects perfect for beginners to complete over a weekend.

Do you have some free time this weekend, and are you feeling crafty? Dive into woodworking with these 10 easy projects you can finish in a few days. Whether you’re a seasoned pro or just starting, these projects are perfect for anyone looking to add a personal touch to their home. From a sleek magazine rack to a functional plant stand, there’s something here for everyone. So grab your tools and get ready to create something amazing!
Key Takeaways
- Woodworking projects can be simple and quick to complete.
- You don’t need a lot of experience to start woodworking.
- These projects can add a personal touch to your home decor.
- Woodworking is a great weekend activity for relaxation.
- You can create functional and stylish items with basic tools.
Easy Woodworking Projects – Wooden Sofa Sleeve
Ever find yourself balancing your coffee on the couch arm, hoping it doesn’t spill? A wooden sofa sleeve could be the solution you didn’t know you needed. This simple yet practical project is perfect for those who want to add a touch of functionality to their living space without the hassle of a full-scale woodworking project.
Materials Needed:
- One sturdy board (about 1 inch thick)
- Cordless drill
- Hole saw for the cup holder
- Sandpaper
- Wood stain or paint (optional)
Steps to Create Your Sofa Sleeve:
- Measure and Cut: Start by measuring the width of your sofa arm. Cut your board into three pieces: one for the top and two for the sides.
- Drill the Cup Holder: Use the hole saw to cut a circular hole in the top piece where you want your cup holder. Make sure it’s large enough for your favorite mug or glass.
- Assemble the Sleeve: Drill angled pocket holes into the side pieces to attach them to the top board. This technique helps hide screws and gives a clean look.
- Sand and Finish: Sand all surfaces smooth to avoid splinters. If desired, apply a wood stain or paint to match your decor.
Who knew that a little woodworking could make such a big difference in your daily comfort?
This project not only saves space but also keeps your drink secure while you enjoy your favorite shows. Plus, it’s a great way to enhance your living space with a bit of personal flair. Give it a try and see how this small addition can make your lounging experience even more enjoyable!
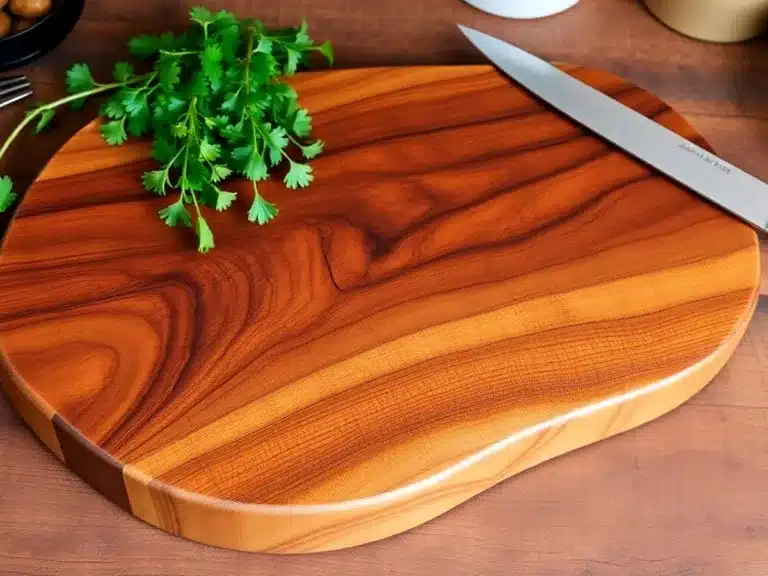
Wooden Chopping Board
Creating a wooden chopping board is a fantastic woodworking project for beginners. It’s not just about the utility; it’s also about crafting something beautiful that you can use daily. Here’s how you can make one over a weekend.
Materials Needed
- Hardwood plank (like maple or walnut)
- Food-safe mineral oil
- Sandpaper (120, 180, 220 grit)
- Wood glue (optional for multiple pieces)
Tools Required
- Circular saw or hand saw
- Power sander or sanding block
- Clamps (if gluing multiple pieces)
Steps to Create Your Chopping Board
- Select Your Wood: Choose a hardwood that’s durable and food-safe, like maple or walnut. These woods are less likely to dull your knives.
- Cut to Size: Decide on the dimensions for your board. A typical size might be 12″ x 18″, but it’s up to you. Use a saw to cut the wood to your desired size.
- Sand the Surface: Start with 120-grit sandpaper to smooth out the surface, then move to 180-grit, and finish with 220-grit for a silky finish.
- Optional – Glue Pieces: If using multiple pieces of wood, apply wood glue along the edges, clamp them together, and let dry overnight.
- Final Touches: Sand the edges to round them slightly, making the board comfortable to handle. Apply several coats of food-safe mineral oil to protect the wood and bring out its natural color.
Making a chopping board not only gives you a useful kitchen tool but also a chance to practice basic woodworking skills. It’s a project that combines practicality with creativity, allowing you to personalize your kitchenware.
For those who enjoy creative paper crafts, a wooden chopping board project can be a nice change of pace, offering a tactile and rewarding experience.
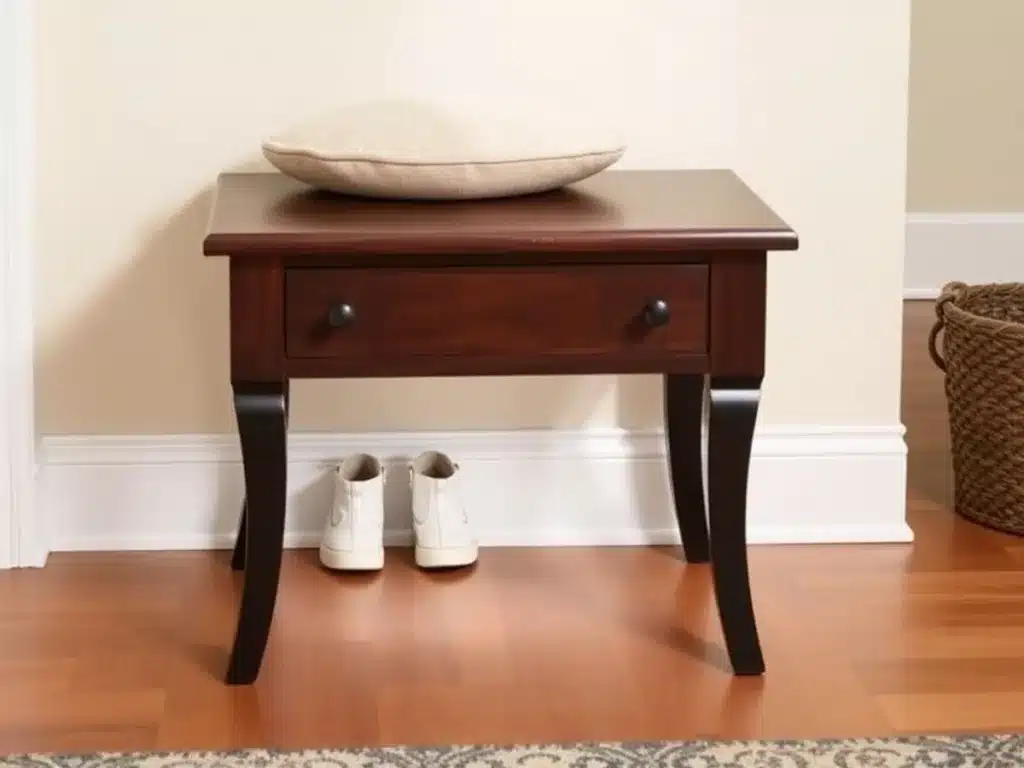
Shoe Storage Booster Stool
Introduction
A shoe storage booster stool is a nifty little project that combines functionality with style. It’s perfect for those who need a bit of extra height to reach high shelves or just want to keep their shoes organized and off the floor. This stool not only provides a place to sit but also offers a great storage solution for your footwear.
Materials Needed
- 4 ft. x 4 ft. sheet of 3/4-in. plywood
- Wood glue
- Handful of 8d finish nails
- Saw (for cutting plywood)
- Hammer
- Measuring tape
Steps to Build Your Shoe Storage Booster Stool
- Cut the Plywood: Start by cutting the plywood into the required pieces. You’ll need two sides, a back, a top, and two shelves. Ensure your cuts are straight and precise for a snug fit.
- Assemble the Frame: Begin by attaching the sides to the back. Use wood glue at the joints for added strength, then nail through the sides into the back using 8d nails.
- Add the Top: Once the frame is secure, place the top piece on. Again, use wood glue and nails to secure it through the top into the sides and back.
- Install the Shelves: Measure and mark the positions for the shelves inside the frame. Nail through the sides into the shelves to secure them in place. Make sure they are level and evenly spaced.
- Finish Up: Sand any rough edges and apply a finish if desired. This will protect the wood and give your stool a polished look.
Benefits of a Shoe Storage Booster Stool
- Space-Saving: Ideal for small spaces, it keeps shoes organized without taking up a lot of floor space.
- Multi-Functional: Use it as a stool to reach high places or as a storage unit for shoes.
- Customizable: Adjust the size and finish to suit your home’s decor.
Building a shoe storage booster stool is not just about creating a piece of furniture; it’s about crafting a solution that fits perfectly into your lifestyle. With just a few materials and some basic tools, you can create something that’s both useful and stylish.
Final Thoughts
This project is perfect for beginners looking to try their hand at woodworking. It’s quick, easy, and doesn’t require a lot of materials. Plus, it adds a touch of personalization to your space. So why not give it a try this weekend?
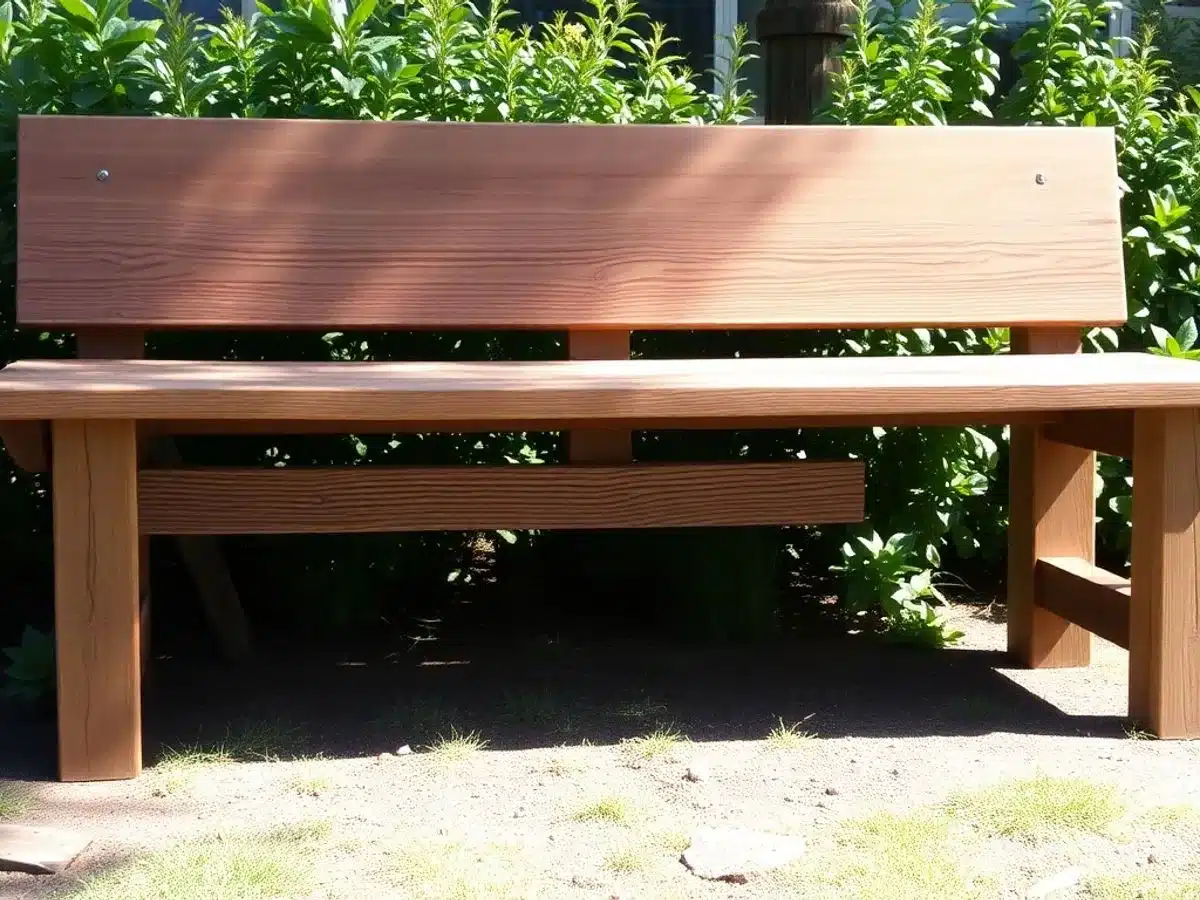
Two-Board Wooden Bench
Building Your Own Two-Board Wooden Bench
Ever thought about making a simple yet functional piece of furniture? A two-board wooden bench might just be your next weekend project. It’s straightforward, doesn’t require a lot of materials, and is perfect for both beginners and seasoned DIYers.
Materials Needed:
- 2 pieces of 2″ x 8″ lumber (around 6 feet each)
- 18 screws
- Sandpaper
- Wood stain or paint (optional)
Tools Required:
- Drill
- Saw (a jigsaw or a handsaw will do)
- Measuring tape
- Screwdriver
Steps to Construct Your Bench
- Measure and Cut: Start by measuring and cutting your two boards to the desired length. Typically, a length of about 4 feet works well for a comfortable seating area.
- Prepare the Boards: Sand down the edges and surfaces of the boards to remove any splinters or rough spots.
- Assemble the Bench: Place the boards parallel to each other, about 18 inches apart. Use the screws to attach them securely, ensuring that the bench is stable.
- Finish the Surface: If you want a polished look, consider applying a coat of wood stain or paint. This not only enhances the appearance but also provides some protection against the elements.
Building a wooden bench is not just about creating a place to sit. It’s about crafting a piece of furniture that adds character to your space, a testament to your creativity and effort.
For those interested in a more detailed beginner to intermediate woodworking project, consider adding a middle table between the seats for added functionality. This variation uses additional materials like 2×6 and 2x4s, alongside basic tools such as a table saw.
Stone-Top Patio Table
Every backyard needs a sturdy table to hold drinks and snacks during gatherings or lazy afternoons. Building a stone-top patio table is a straightforward project that can be completed in just a few hours. The only electric tool you’ll need is a miter saw, making it accessible even if you’re new to woodworking.
Materials Needed
- Stone Top: Slate, granite, or limestone are budget-friendly options. For a more upscale look, consider marble or decorative tiles.
- Wood for Legs: Choose wood with a thickness between 1 ½ to 2 inches for stability.
- Tools: Miter saw, drill, screws.
Steps to Build
- Cut the Wood: Use the miter saw to cut the wood for the legs to your desired height.
- Assemble the Base: Drill the pieces together to form a sturdy frame.
- Attach the Stone: Carefully place the stone top on the frame and secure it with screws.
Building your own DIY outdoor coffee table is a rewarding project. It not only saves money but also adds a personal touch to your outdoor space.
Tips
- Weight Consideration: Ensure the base is strong enough to support the weight of the stone.
- Sealing the Stone: Apply a sealant to protect the stone from weather elements.
This project is perfect for anyone looking to add a touch of elegance to their patio without spending a fortune. Plus, the satisfaction of completing it yourself is unmatched!
Modern-Style Birdhouse
Building a modern-style birdhouse is a great weekend project that combines creativity and functionality. This project is perfect for improving your woodworking skills while adding a stylish touch to your garden. Here’s how you can create your own modern birdhouse:
Materials Needed
- 6′ 1×6 Board
- 2’x4′ 1/4″ Plywood
- 3/8″ Dowel Rod
- 2×2 Board
- 2-inch screws
Tools Required
- Miter saw
- Table saw
- Electric drill
Steps to Build
- Cut the Wood: Start by cutting the 1×6 board into pieces for the sides, front, and back of the birdhouse. Use the plywood for the roof and base.
- Drill Entry Hole: Drill a hole in the front panel for the birds to enter. The size of the hole can vary depending on the bird species you want to attract.
- Assemble the Body: Use screws to attach the sides, front, and back pieces together. Ensure the structure is sturdy.
- Attach the Roof: Secure the plywood roof pieces on top of the birdhouse, ensuring they overlap slightly to keep rain out.
- Add the Perch: Insert the dowel rod below the entry hole to create a perch for the birds.
The whole project should cost you around $20 and take just a couple of hours. Once finished, your birdhouse will not only attract birds but also add a modern flair to your yard.
Building a birdhouse from scratch is not just about nailing pieces of wood together. It’s about creating a welcoming space for nature in your backyard. Enjoy the process and watch as your garden comes to life with chirping visitors.
If you’re interested in exploring more creative projects beyond woodworking, you might find inspiration in ten imaginative paper crafts that are perfect for all ages.
Floating Shelves
Why Floating Shelves?
Floating shelves are a great way to add storage and display space without taking up floor area. They can be customized to fit any room’s style, whether you’re going for a minimalist look or something more rustic.
Materials Needed
- Wooden planks (length and width depend on your space)
- Brackets or hidden shelf supports
- Screws and wall anchors
- Drill
- Level
- Sandpaper
- Paint or wood stain (optional)
Steps to Build Floating Shelves
- Plan Your Design: Decide where you want the shelves and how many you need. Consider the weight they’ll hold to choose the right brackets.
- Prepare the Wood: Cut the wood to the desired length. Sand down any rough edges and finish with paint or stain if you like.
- Install Brackets: Use a level to mark where the brackets will go. Drill holes and insert wall anchors if needed. Secure the brackets.
- Mount the Shelves: Place the wooden planks on the brackets. Ensure they’re level and secure them with screws.
Floating shelves not only free up floor space but also add a modern touch to any room. They can transform a plain wall into a stylish focal point.
Styling Tips
- Use modern floating shelves with a picture frame border to enhance their appeal.
- Mix and match items like books, plants, and art pieces for a balanced look.
- Keep the arrangement simple to avoid a cluttered appearance.
Plant Stand
Build Your Own Plant Stand
Spending a weekend building a plant stand is a great way to add a touch of nature to your home decor. Whether you’re looking to display your favorite potted plants or need a spot for your succulents, this project is both functional and stylish.
Materials Needed:
- Wooden boards (choose a type that suits your aesthetic)
- Wood glue
- Screws
- Sandpaper
- Paint or stain (optional)
- A saw (hand saw or power saw)
- Drill
Steps to Create a Simple Plant Stand:
- Measure and Cut: Begin by measuring the space where you plan to place your stand. Cut the wooden boards to fit the desired height and width. Remember, precision is key to ensuring stability.
- Assemble the Base: Use wood glue and screws to attach the cut pieces, forming a sturdy base. Make sure everything is aligned and level.
- Smooth the Surface: Sand down any rough edges to prevent splinters and give your stand a polished look.
- Finish with Style: If you want to add a personal touch, paint or stain your plant stand to match your home decor.
Building a plant stand is not just about functionality; it’s a chance to express your creativity. With a few simple materials and a bit of time, you can create an elegant display for your plants.
For detailed plans and step-by-step instructions, consider checking out the outdoor plant stand plans which include dimensions, a materials list, and 3D drawings to guide you through the process.
Magazine Rack
Creating a magazine rack is a fantastic woodworking project for a weekend. It’s not only practical but also a great way to discover simple woodworking projects for beginners. Here’s how you can make your own:
Materials Needed:
- 1/4-inch plywood (2 ft. x 4 ft. sheet)
- Two 6-ft. long 1×4 boards
- Wood glue
- Finishing nails
- Sandpaper
- Paint or wood stain (optional)
Steps to Build Your Magazine Rack:
- Cut the Wood: Start by cutting your plywood into four equal sections. These will form the sides and bottom of your magazine rack. Use a jigsaw or band saw for precise cuts.
- Assemble the Frame: Take two pieces of cut plywood and attach them to the 1×4 boards using wood glue and finishing nails. This will form the sides of the rack.
- Create the Base: Attach the remaining two pieces of plywood to the bottom of the frame. Ensure they are securely fastened to support the weight of magazines.
- Sand and Finish: Smooth out any rough edges with sandpaper. If you want a polished look, consider painting or staining the rack to match your decor.
- Final Assembly: Once everything is dry, check the stability of the rack. Make any necessary adjustments to ensure it stands firm.
Building a magazine rack is a straightforward project that can add a touch of organization to your living space. Plus, it’s a great way to practice your woodworking skills and create something truly functional.
This project is perfect for those who want to combine utility with creativity. The magazine rack not only helps organize your reading materials but also serves as a decorative piece in any room. Enjoy crafting your personalized magazine rack this weekend!
Conclusion
So, there you have it—ten woodworking projects you can knock out over a weekend. Whether you’re a seasoned pro or just starting out, these projects offer a little something for everyone. From a simple birdhouse to a sleek wine rack, you can create something useful and stylish without spending weeks on it. Plus, there’s nothing quite like the satisfaction of saying, “I made that.” So grab your tools, pick a project, and get started. Who knows? You might just find your new favorite hobby.
Frequently Asked Questions
What basic tools do I need for these projects?
For most of these woodworking projects, you’ll need a saw, a drill, some sandpaper, and a tape measure. These tools will help you cut, shape, and smooth the wood.
Can beginners try these woodworking projects?
Absolutely! These projects are designed to be simple and perfect for beginners. Just take your time and follow the instructions carefully.
How long does it take to complete one project?
Each project can typically be completed over a weekend, taking anywhere from a few hours to two days, depending on your pace and skill level.
Do I need a lot of space to work on these projects?
Not really. A small garage or a corner of your basement can be enough space to complete these projects. Just make sure you have enough room to move around safely.
Where can I find the materials for these projects?
You can find most of the materials at your local hardware store. They usually have all the wood and tools you need to get started.
Can I customize the designs?
Yes, you can! Feel free to change the measurements or add personal touches to make the projects your own.