DIYbrico | Discover, Create, Inspire

Create Beautiful Home Décor with a Floral Crochet Pattern: 10 Unique Ideas
Explore 10 unique home decor ideas using a floral crochet pattern. Perfect for adding charm to any space.

Table of Contents
Decorating your home can be a fun journey, especially when you add a personal touch with a floral crochet pattern. With just a few yarns and hooks, you can create unique pieces that brighten up any room. Whether you’re a crochet pro or just starting out, these 10 ideas will inspire you to make something special. Let’s dive into the world of crochet and see what beautiful home decor you can create.
Key Takeaways
- Floral crochet patterns add a personal touch to home decor.
- Crochet projects are suitable for all skill levels, from beginner to advanced.
- Using different yarns can change the look and feel of your crochet pieces.
- These projects can be both functional and decorative.
- Creating crochet decor can be a relaxing and rewarding hobby.
1. Floral Triangle Crochet Bunting
Creating a floral triangle crochet bunting is a fantastic way to bring a splash of color and warmth to your home. This project is beginner-friendly and quick to complete, making it ideal for those who want to see results fast. Imagine a string of charming triangles adorned with delicate flower motifs draped across your living room or bedroom. It’s a simple yet effective way to add a handmade touch to your space.
Here’s a quick guide to get you started:
- Choose Your Yarn and Colors: Select various colors that complement your room’s decor. Pastels work well for a soft, spring vibe, while bold colors can make a striking statement.
- Find the Right Pattern: Look for a pattern that suits your skill level. There are plenty of free and paid patterns available, like those on DIYbrico, which offer detailed instructions.
- Gather Your Tools: You’ll need a crochet hook, scissors, and a yarn needle. Make sure your hook size matches your yarn weight.
- Start Crocheting: Begin with a simple triangle shape. Once you have the base, you can add floral embellishments to each triangle.
- Assemble Your Bunting: Connect the triangles with a chain stitch or a piece of ribbon, leaving enough space between each one for a nice drape.
Crafting your own floral bunting is not just about the end product, but also about enjoying the process of creating something unique. Whether you’re making it for a party or just to brighten up your home, this project is sure to bring joy and satisfaction.
Remember, the beauty of crochet is its flexibility. You can customize the length and color scheme to fit your personal style. So grab your crochet hook and start crafting!
2. Plant Hanger
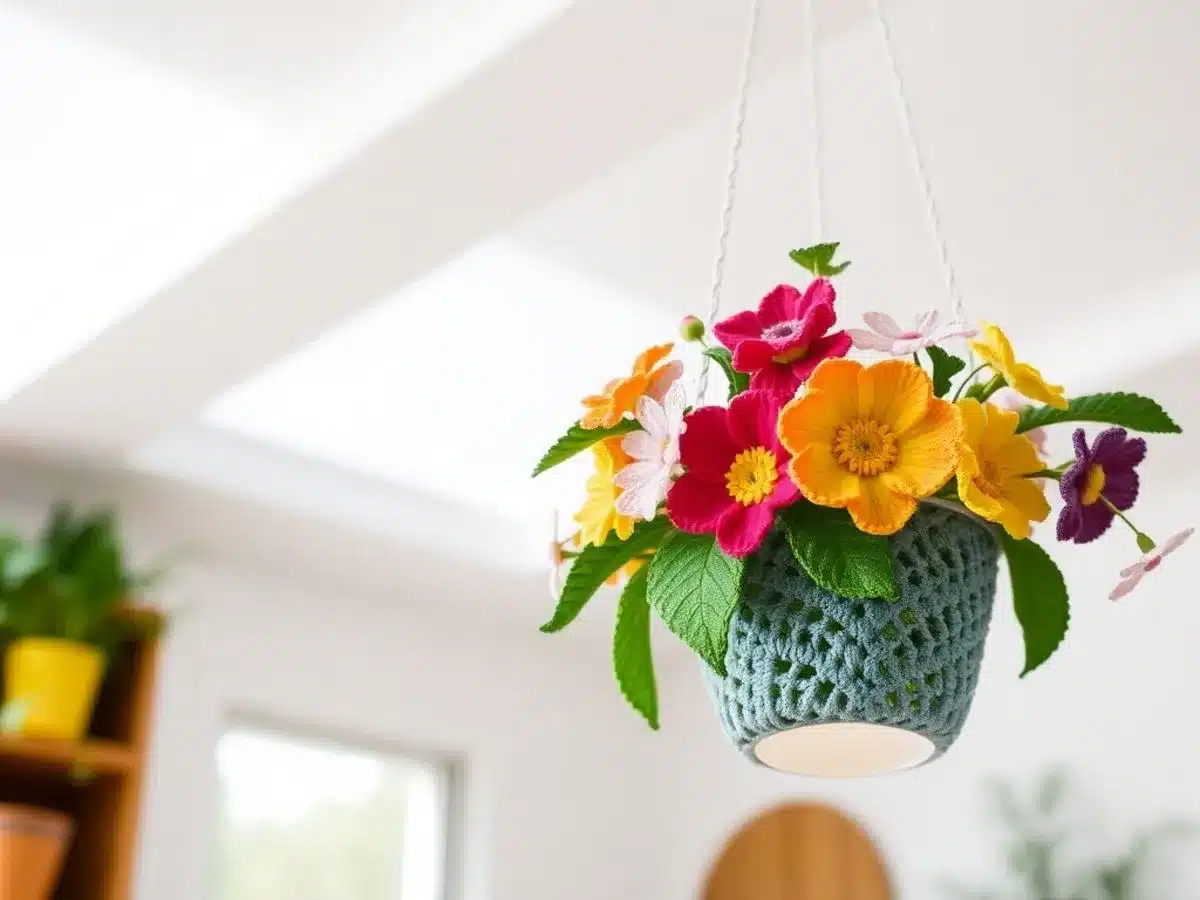
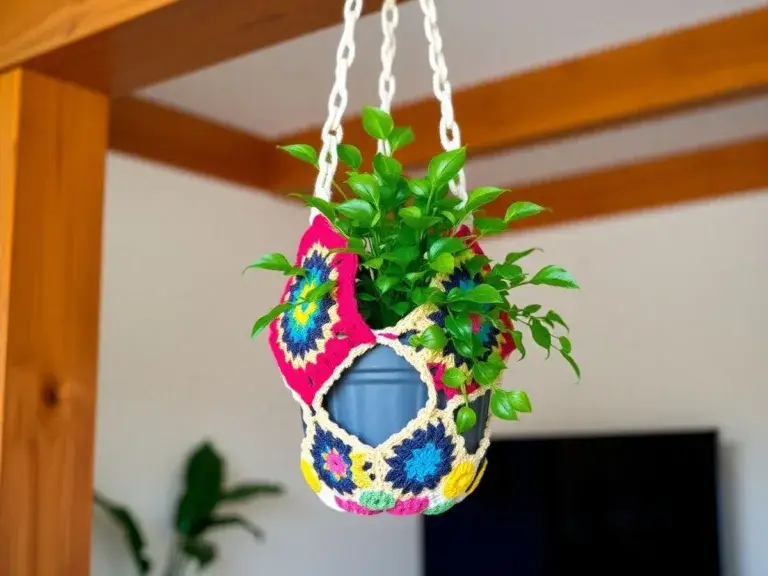
Creating a crochet plant hanger is a fantastic way to add a personal touch to your indoor greenery. These hangers can be as simple or as intricate as you like, making them a great project for any skill level. The beauty of a crochet plant hanger is its versatility and charm. Whether you’re looking to hang a small succulent or a larger potted plant, there’s a pattern out there that will suit your needs.
Getting Started with Crochet Plant Hangers
To begin, you’ll need some basic supplies:
- A crochet hook (size depends on your chosen pattern)
- Yarn (cotton is a popular choice for its durability)
- Scissors
- A potted plant or planter
Steps to Crochet Your Plant Hanger
- Select Your Pattern: Choose a pattern that matches your skill level and the size of the pot you plan to hang. There are countless patterns available, from beginner-friendly to more advanced designs.
- Gather Materials: Make sure you have all the necessary materials. Cotton yarn is often recommended because it holds up well and is easy to work with.
- Start Crocheting: Follow your chosen pattern step by step. If you’re new to crochet, consider starting with a simple design to get the hang of it.
Tips for Success
- Tension is Key: Keep your stitches even to ensure the hanger supports the weight of the plant.
- Customization: Feel free to add embellishments like beads or tassels to make your hanger unique.
- Safety First: Ensure the hanger is securely fastened to avoid any mishaps.
Crafting a crochet plant hanger not only enhances your home decor but also gives a sense of accomplishment. It’s a small project that packs a big punch, turning your plants into eye-catching displays.
For those exploring different designs, check out three crochet plant hanger patterns that are perfect for beginners. These patterns are available for instant download and offer a great start for your DIY home decor projects.
3. Crochet Flower Bouquet
Creating a crochet flower bouquet is like crafting a garden that never fades. These delightful bouquets are not only a joy to make but also a wonderful way to brighten up any space or occasion. Whether it’s a wedding or a simple home decoration, a crochet flower bouquet can add a touch of charm and color.
Supplies You’ll Need:
- Yarn: Opt for lighter-weight yarns like fingering or DK for delicate flowers.
- Hooks: Smaller hooks, usually up to 4mm, are ideal.
- Floral Wire and Tape: These help in assembling your bouquet.
- Scissors and Glue: Essential for cutting yarn and securing your flowers.
Best Crochet Flowers for a Bouquet
- Roses: Classic and versatile, perfect for any bouquet.
- Daisies: Their simplicity and charm are hard to resist.
- Lilies: Elegant and great for adding a touch of sophistication.
Steps to Create Your Bouquet
- Choose Your Patterns: Select a variety of flower patterns to add diversity.
- Crochet the Flowers: Follow the patterns using your chosen yarn and hooks.
- Assemble the Bouquet: Use floral wire to arrange your flowers, securing them with floral tape.
- Add Finishing Touches: Wrap the stems with yarn or ribbon for a polished look.
Creating a crochet flower bouquet is not just about the end result. It’s about enjoying the process and seeing your creativity come to life. The satisfaction of crafting something beautiful with your hands is truly unmatched.
For those looking to explore the art of crochet with various stitches, there’s a whole world of creativity waiting. From simple to intricate designs, each stitch can transform your bouquet into a masterpiece.
4. Crochet Wall Hanging
Creating a crochet wall hanging is a fantastic way to add a personal touch to your home decor. It’s a project that combines creativity with functionality, offering a beautiful piece of art that can hang proudly in any room.
Why Crochet Wall Hangings?
- Unique Decor: Crochet wall hangings are unique and can be customized to fit any style or color scheme.
- Versatile: They can be as simple or as complex as you like, making them perfect for both beginners and advanced crocheters.
- Cost-Effective: Using leftover yarn or inexpensive materials, you can create something that looks high-end without breaking the bank.
Steps to Create a Crochet Wall Hanging
- Choose Your Design: Start by deciding what kind of pattern you want. You can go for something geometric, floral, or even abstract.
- Select Your Yarn and Hook: Pick the yarn colors that match your decor and the appropriate hook size.
- Create the Base: Crochet the base of your wall hanging. This could be a simple rectangle or a more intricate shape.
- Add Details: Once the base is done, add details like tassels, beads, or additional crochet motifs.
- Attach to a Dowel: Use a wooden dowel or a branch to hang your creation. This adds a rustic touch and makes it easy to mount.
Tip: Experiment with different textures and stitches to give your wall hanging depth and interest. Don’t be afraid to mix and match colors for a vibrant look.
Consider trying a crocheted wall hanging featuring a checkered design of pink and yellow squares, each adorned with a flower. This vibrant piece could be the perfect addition to your living space, bringing both color and charm.
5. Decorative Pillow Covers
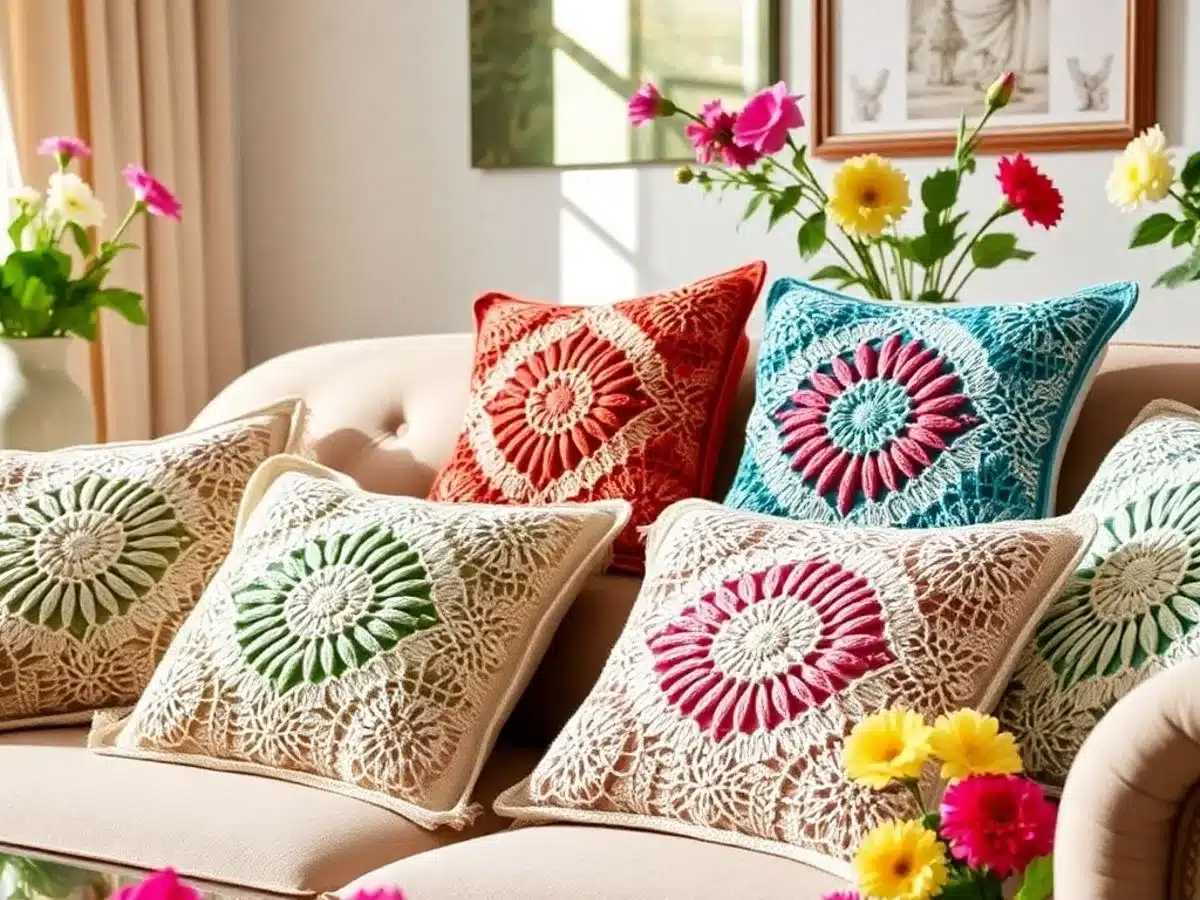
Decorative pillow covers are a fantastic way to add a splash of personality to your living space. Crochet pillow covers are not only unique but also allow you to infuse your own style into your decor. Here are a few ideas to get you started:
- Choose Your Yarn Wisely: The type of yarn you select can make a huge difference in the look and feel of your pillow cover. For a soft and cosy finish, consider using bulky yarn. A cotton or blended yarn might be the way to go if you’re going for a more polished look.
- Experiment with Patterns: Don’t be afraid to mix and match different crochet patterns. You can create a patchwork effect by combining various stitches or keep it simple with a classic granny square pattern.
- Add Some Embellishments: Buttons, tassels, or even a contrasting border can give your pillow cover that extra bit of flair. This is where you can really let your creativity shine.
- Think About Functionality: If you plan on using the pillow for lounging, make sure the cover is easy to remove and wash. Consider adding a zipper or buttons for convenience.
Crocheting pillow covers is a wonderful way to practice your skills while making something beautiful and functional for your home. Whether you’re a seasoned pro or just starting out, there’s a pattern out there for everyone.
For those new to crocheting, exploring essential techniques and stitches can be a great starting point. This will help you build a strong foundation and boost your confidence as you tackle more complex projects.
6. Table Runner
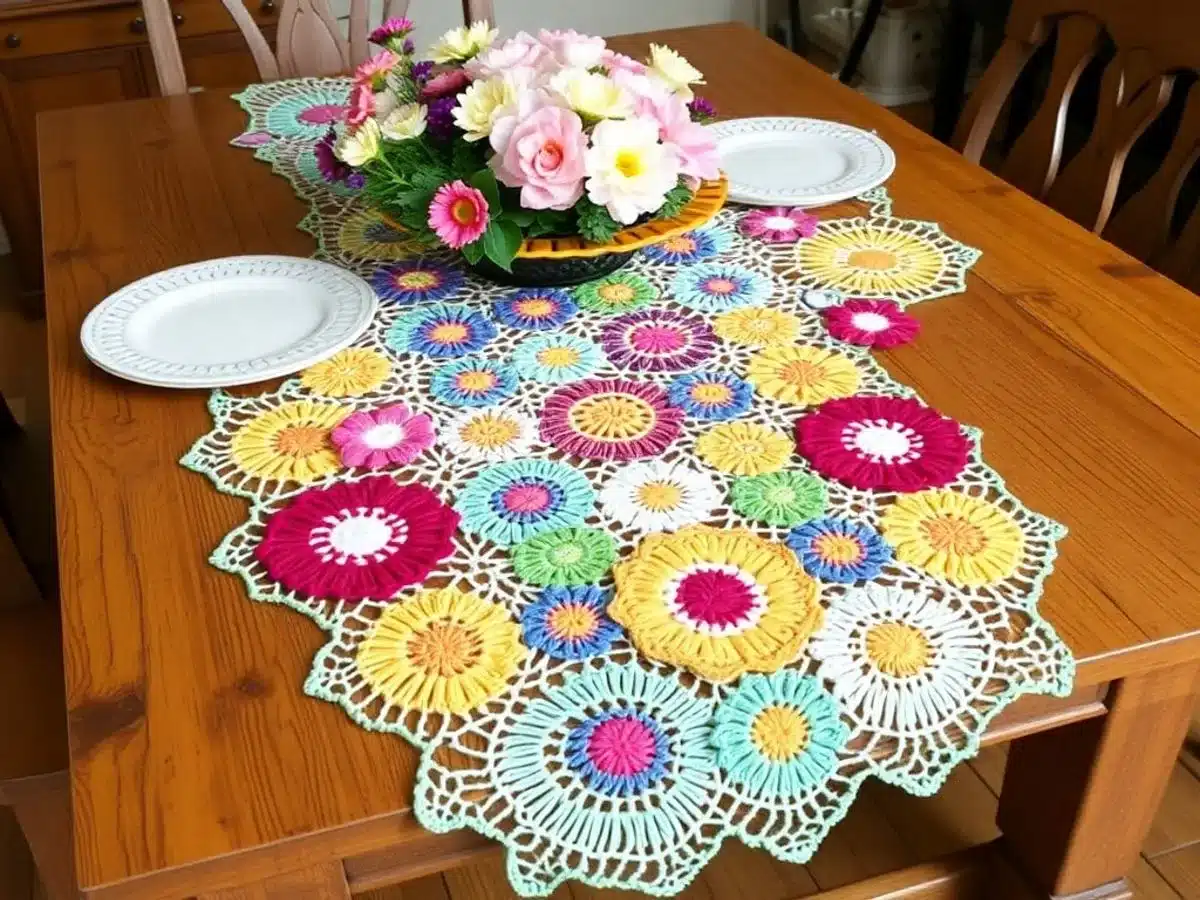
A crochet table runner can be a stunning centrepiece for any dining table, adding both colour and texture to your dining experience. Crafting a table runner with floral crochet patterns can transform a simple table setting into something truly special.
Steps to Create a Floral Crochet Table Runner
- Choose Your Yarn and Colors: Pick colors that match your dining room decor. You might want to use a single color for a classic look or multiple colors for a more vibrant effect.
- Select the Right Crochet Pattern: Look for floral patterns that appeal to you. There are countless options available, from simple flower motifs to intricate designs.
- Measure Your Table: Decide on the length and width of your runner. This will guide you in how many motifs you’ll need to crochet.
- Start Crocheting: Begin with the floral motifs. You can crochet them individually and then join them together, or work them into a continuous pattern.
- Assemble the Runner: Once all motifs are ready, sew or crochet them together to form the runner. Be sure to weave in any loose ends for a clean finish.
- Add Finishing Touches: Consider adding a border to your runner for a polished look. You might also want to block the finished piece to ensure it lays flat.
A well-crafted table runner not only protects your table but also adds a touch of elegance. It’s a wonderful way to showcase your crochet skills and make your dining area inviting.
For those interested in a ready-made option, there are beautiful floral crochet table runners available in various colors like white, brown, green, purple, orange, and teal. These can add a pop of color and style to your table effortlessly.
7. Crochet Coasters
Crafting Crochet Coasters
Crochet coasters are a fantastic way to add a handmade touch to your home while keeping your surfaces safe from drink rings. These little pieces are not only practical but also allow you to experiment with different yarns and stitches. They’re a quick project that can be completed in just an evening.
Materials Needed
To get started, you’ll need:
- Cotton yarn (preferably for its absorbency and durability)
- Crochet hook (size recommended by your yarn choice)
- Scissors
- Tapestry needle for weaving in ends
Basic Steps to Create a Crochet Coaster
- Choose Your Pattern: Start with a simple circle or square pattern if you’re new to crocheting. You can find patterns that incorporate flowers or other motifs for a more decorative touch.
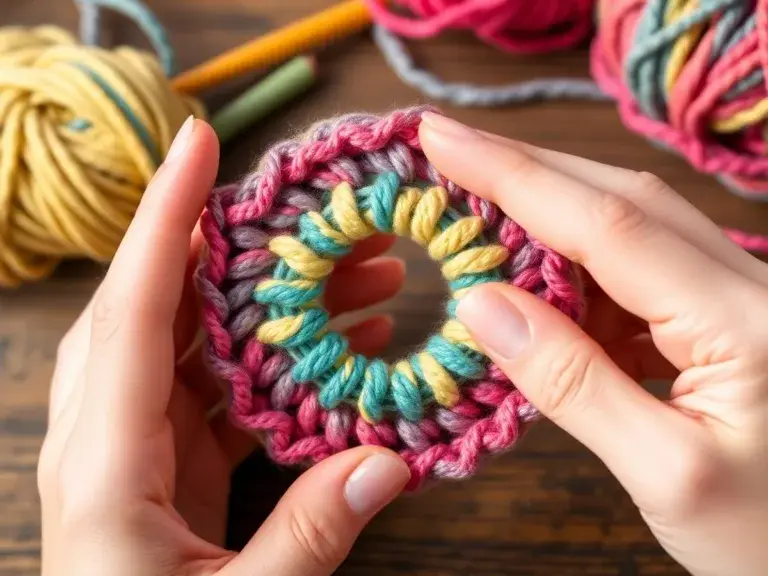
- Start with a Magic Circle: This technique helps create a tight center, perfect for coasters. If you’re unfamiliar with this, check out guides on mastering the magic circle for a seamless start.
- Crochet in Rounds: Work in continuous rounds to build up your coaster, ensuring you increase stitches evenly to maintain a flat shape.
- Finish Off: Once your coaster reaches the desired size, fasten off and weave in any loose ends with the tapestry needle.
Creative Ideas
- Mix and Match Colors: Use different colors for each round to create a striped effect.
- Add Edging: A scalloped or picot edge can add a nice finishing touch.
- Experiment with Textures: Try different stitches like bobbles or shells for varied textures.
Crocheting coasters is a delightful way to practice new stitches, experiment with colors, and create something both beautiful and useful. Dive into this small project and let your creativity flow.
8. Crochet Tablecloth
Creating a crochet tablecloth is a rewarding project that can transform your dining space into a cozy, handmade haven. The intricate designs and patterns available make each tablecloth a unique masterpiece. Whether you’re hosting a dinner party or simply want to add a touch of elegance to your everyday meals, a crochet tablecloth can do wonders.
Here’s a simple guide to get you started:
- Choose Your Yarn and Hook: Opt for a durable yarn like cotton for easy maintenance and a size hook that complements your yarn choice.
- Select a Pattern: You can go for classic lace designs or modern geometric patterns. The choice is yours!
- Measure Your Table: Ensure your tablecloth will fit perfectly by measuring your table’s dimensions and adding extra for drape.
Crafting a crochet tablecloth isn’t just about the end product; it’s about enjoying the process of creation. The rhythmic motion of crocheting can be quite meditative, providing a sense of calm and satisfaction.
For those just starting out, consider beginning with a smaller project like a cozy blanket to get familiar with basic stitches. Once you’re comfortable, tackling a full tablecloth will be a breeze. Remember, patience is key, and the result is always worth it.
9. Crochet Flower Pot Covers
Crochet flower pot covers are a fantastic way to spruce up your plant display. They add a touch of personality and charm to any room. Imagine your favorite plant wrapped in a colorful, textured pattern that complements your decor.
Why Crochet Flower Pot Covers?
- Personalization: Customize each cover to match your room’s color scheme.
- Protection: Helps shield the pot from scratches and dirt.
- Aesthetic Appeal: Instantly elevates the look of your plants.
Materials Needed
- Yarn: Choose a yarn that suits your style and is durable.
- Crochet Hook: The size will depend on your yarn choice.
- Scissors: For cutting yarn.
- Tapestry Needle: To weave in the ends.
Steps to Create a Crochet Flower Pot Cover
- Measure Your Pot: Start by measuring the circumference and height of your pot.
- Create a Base: Crochet a circle that matches the pot’s base diameter.
- Build Up the Sides: Continue crocheting upwards, adjusting the pattern to fit snugly around the pot.
- Finishing Touches: Add a decorative edge or embellishments like buttons or flowers.
Crocheting flower pot covers is a simple yet effective way to bring a bit of handmade beauty into your home. It’s a project that combines creativity with functionality, allowing you to express your style while caring for your plants.
For those new to crochet, learn how to crochet a stylish hat to practice your skills with basic stitches and techniques.
10. Crochet Garland
Creating a crochet garland is a delightful way to bring a splash of color and charm into your home. It’s a versatile piece that can be customized to fit any occasion or season. Whether it’s a festive holiday or a simple summer gathering, a crochet garland can set the mood just right.
Steps to Make a Crochet Garland
- Choose Your Yarn and Hook: Select yarn in colors that match your theme. A size G/4.0 mm hook is usually a good fit for most garland designs.
- Create the Base Chain: Start by making a foundation chain to the desired length of your garland. This will be the base where you’ll attach your crochet motifs.
- Design Your Motifs: Decide on the shapes you want to include. Flowers, stars, and hearts are popular choices.
- Attach Motifs to Chain: Using slip stitches, attach your motifs at regular intervals along the base chain.
- Finish and Secure: Weave in any loose ends and secure the motifs to ensure they hang nicely.
For a festive touch, consider making a peppermint garland using a crochet pattern. It adds a cozy and seasonal flair to any space.
Tips for Customization
- Color Coordination: Use colors that complement your home’s decor or the event’s theme.
- Varying Shapes: Mix different shapes and sizes to add visual interest.
- Incorporate Beads or Bells: Add small beads or bells for a bit of sparkle and sound.
Creating a crochet garland is not only fun but also a great way to use up leftover yarn from other projects. It’s a simple project that can bring a lot of joy and creativity into your crafting routine.
Conclusion
So there you have it, ten unique floral crochet ideas to spruce up your home decor. Whether you’re a crochet newbie or a seasoned pro, these patterns offer something for everyone. From cozy blankets to charming wall hangings, the possibilities are endless. Plus, making your own decor adds a personal touch that store-bought items just can’t match. So grab your hooks, pick your favorite yarn, and start creating something beautiful today. Happy crocheting!
Frequently Asked Questions
What is the best yarn for crochet home decor?
For crochet home decor, it’s best to use durable yarns like cotton or acrylic. These materials hold up well and are easy to wash.
How do I choose the right crochet hook size?
The right crochet hook size often depends on the yarn you’re using. Check the yarn label for a recommended hook size or experiment to find what works best for your project.
Can beginners make crochet flower bouquets?
Yes, beginners can make crochet flower bouquets! Start with simple patterns and practice basic stitches to build your skills.
How do I care for my crochet home decor items?
To care for crochet items, gently hand wash them in cold water and lay them flat to dry. Avoid wringing them out to maintain their shape.
What are some easy crochet projects for kids?
Kids can start with simple projects like crochet coasters or small toys. These projects use basic stitches and are quick to complete.
How long does it take to complete a crochet wall hanging?
The time it takes to complete a crochet wall hanging varies based on the pattern’s complexity and your skill level. It could take anywhere from a few days to a couple of weeks.