DIYbrico | Discover, Create, Inspire

10 Amazing Woodworking Projects You Can Create This Weekend
Discover 10 amazing woodworking projects to craft this weekend, perfect for DIY enthusiasts.

Have you ever thought about picking up a saw and some wood on a lazy weekend? Well, you’re in luck because we’ve got a list of fantastic woodworking projects you can tackle in just a few days. These projects are perfect for both beginners and seasoned DIYers. Whether you’re looking to add a bit of charm to your garden or a unique piece to your living room, there’s something here for everyone. So grab your tools and dive into these fun and fulfilling projects!
Key Takeaways
- Birdhouses are a classic project that can be customized in endless ways.
- A cutting board is practical and can be a beautiful addition to your kitchen.
- Building a simple step stool can be a great way to practice basic woodworking skills.
- A potting bench can make gardening tasks more comfortable and organized.
- Creating a jewelry box can be a thoughtful gift or a personal treasure.
1. Amazing Woodworking Projects – Birdhouse
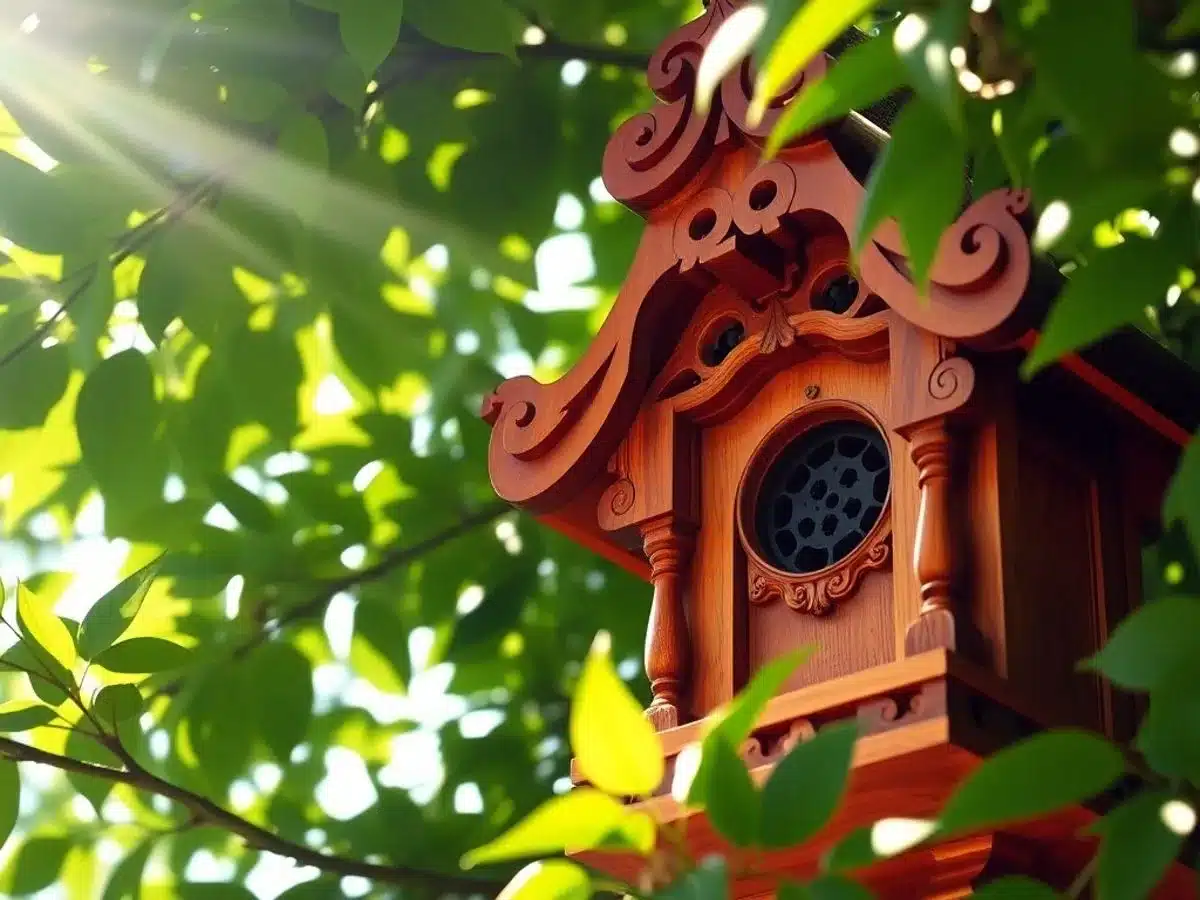
Building a birdhouse is a classic woodworking project that’s both fun and rewarding. It’s a simple project that can be completed in just a few hours, making it perfect for a weekend activity. Plus, it’s a great way to invite more birds into your yard. Birdhouses can be as simple or as intricate as you like, depending on your skill level and the time you wish to invest.
Materials Needed:
- Softwood (like pine, cypress, or redwood)
- Nails or screws
- Wood glue
- Sandpaper
- Paint or wood stain (optional)
Basic Steps:
- Design Your Birdhouse: Decide on the size and shape. Different birds prefer different sizes, so choose based on the birds you want to attract.
- Cut the Wood Pieces: You’ll need a front, back, two sides, a bottom, and a roof. Make sure to cut an entrance hole in the front panel.
- Assemble the Birdhouse: Use nails or screws to assemble the sides, front, and back. Attach the bottom, ensuring there are small drainage holes.
- Attach the Roof: Secure the roof pieces, leaving one side open for cleaning.
- Finish the Birdhouse: Sand the edges smooth and apply paint or stain if desired.
Building a birdhouse is not just about creating a home for birds; it’s about crafting a piece of art that adds charm to your garden. Each birdhouse tells a story, reflecting your creativity and care for nature.
This project is a great way to explore simple woodworking projects that can be completed over a weekend, making it ideal for both beginners and experienced woodworkers. Whether you’re building with your kids or just looking for a quick solo project, a birdhouse is a perfect choice.
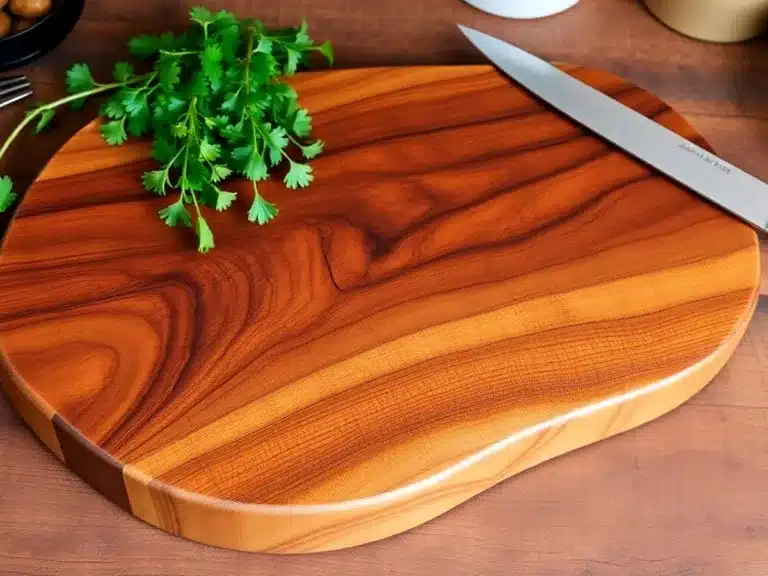
2. Cutting Board
Creating a cutting board is a fantastic project for both beginners and seasoned woodworkers. It’s a simple yet rewarding task that can be completed in just a weekend. Here’s how you can make your own:
Materials Needed:
- A piece of hardwood (like maple, walnut, or cherry)
- Food-safe wood glue
- Sandpaper (various grits)
- Mineral oil or a food-safe finish
Steps to Create a Cutting Board:
- Select Your Wood: Choose a dense hardwood with a closed grain. This ensures durability and prevents bacteria from seeping into the wood.
- Cut to Size: Using a saw, cut your wood to the desired dimensions. A typical size is around 12″ x 18″, but you can adjust it based on your needs.
- Glue the Pieces: If you’re using multiple pieces of wood, apply food-safe wood glue to the edges and clamp them together tightly. Let it dry completely.
- Sand Smooth: Start with a coarse grit sandpaper and gradually move to a finer grit. This will smooth out any rough edges and prepare the surface for finishing.
- Apply Finish: Use mineral oil or another food-safe finish to seal the wood. This not only protects the board but also brings out the natural beauty of the wood grain.
A cutting board isn’t just a kitchen tool; it’s a piece of art that showcases the natural beauty of wood. By choosing different types of wood, you can create patterns and designs that are truly unique.
For those interested in a more decorative approach, consider making a vintage-style breadboard inspired by Pottery Barn. It’s an easy and affordable project that adds a touch of elegance to your kitchen.
Whether you’re crafting a simple board or experimenting with intricate designs, this project is a perfect way to spend your weekend creatively.
3. Simple Step Stool
This weekend, why not try building a simple step stool? It’s a fantastic project for beginners and a useful addition to any home. With just a single 1″x10″ board, you can create a sturdy and reliable stool. Here’s how you can do it:
Materials Needed
- 1″x10″ board (about 6 feet long)
- Wood glue
- Sandpaper (medium and fine grit)
- Wood finish (optional)
Tools Required
- Saw (hand saw or circular saw)
- Drill
- Clamps
- Measuring tape
Steps to Build
- Cut the Board: Start by cutting your board into three pieces: two legs and one top. The legs should be about 18 inches long, and the top should be around 20 inches.
- Shape the Legs: Use a saw to cut a slight angle at the bottom of each leg to give the stool stability.
- Assemble: Attach the legs to the top using wood glue and screws. Make sure everything is aligned properly.
- Sand: Once assembled, sand the entire stool to smooth out any rough edges.
- Finish: Apply a wood finish if desired, to protect the stool and give it a polished look.
A simple step stool is not just a piece of furniture; it’s a practical tool that can help you reach those high shelves or give your little ones a boost in the bathroom. It’s a project that combines functionality with a touch of craftsmanship, perfect for honing your woodworking skills.
4. Potting Bench
Building a potting bench is a rewarding project that combines both style and functionality. This piece of outdoor furniture is perfect for gardening enthusiasts who want to keep their tools and plants organized while working at a comfortable height.
Materials Needed:
- Cedar or pine wood (weatherproof or pressure-treated)
- Screws and nails
- Wood glue
- Sandpaper
- Outdoor wood finish or sealant
Tools Required:
- Table saw
- Drill
- Screwdriver
- Measuring tape
- Level
Steps to Build:
- Plan Your Design: Sketch out your potting bench, considering dimensions that suit your space and needs.
- Cut the Wood: Use a table saw to cut your wood pieces according to your design. If you don’t own a saw, get the wood pre-cut at a lumber yard.
- Assemble the Frame: Start by putting together the frame using screws and wood glue for extra stability.
- Add the Shelves and Work Surface: Attach shelves and the main work surface, ensuring they are level and secure.
- Finish the Bench: Sand down any rough edges and apply a weatherproof finish to protect your bench from the elements.
A potting bench is not just for potting plants; it can also double as a bar or grill cart, adding versatility to your outdoor space.
For those new to woodworking, beginner-friendly projects like this potting bench can be a great way to start. You’ll find that with minimal tools and experience, creating something both decorative and functional is entirely possible. With a bit of effort, you’ll have a stylish piece that enhances your garden or patio.
5. Jewelry Box
Build Your Own Jewelry Box
Creating a jewelry box is a rewarding project that combines both craftsmanship and creativity. A well-crafted jewelry box not only stores precious items but also becomes a cherished piece itself. Here’s how you can make your own:
- Gather Your Materials: You’ll need some quality wood, such as oak or maple, a miter saw, sander, and a circular saw. For more intricate designs, consider adding wooden inlays or small drawers.
- Design Your Box: Sketch out your design, keeping in mind the size and compartments you want. This is where you can get creative with the layout and features.
- Cut and Assemble: Use your miter saw to cut the wood to the desired dimensions. Sand down any rough edges to ensure a smooth finish.
- Add Details: If you’re feeling adventurous, incorporate inlays or carve patterns to personalize your box.
- Finish Up: Apply a finish that suits your taste, whether it’s a clear varnish to highlight the wood’s natural beauty or a stain for a more polished look.
Building a jewelry box is not just about functionality; it’s about creating something that reflects your style and skill. As you work on this project, you’ll find that each step is an opportunity to express your creativity and attention to detail.
This project is perfect for those who want to create a meaningful gift or a personal keepsake. Whether you’re new to woodworking or an experienced hand, a jewelry box is a project that inspires creativity and craftsmanship, aligning perfectly with the spirit of handmade artistry.
6. Coffee Table
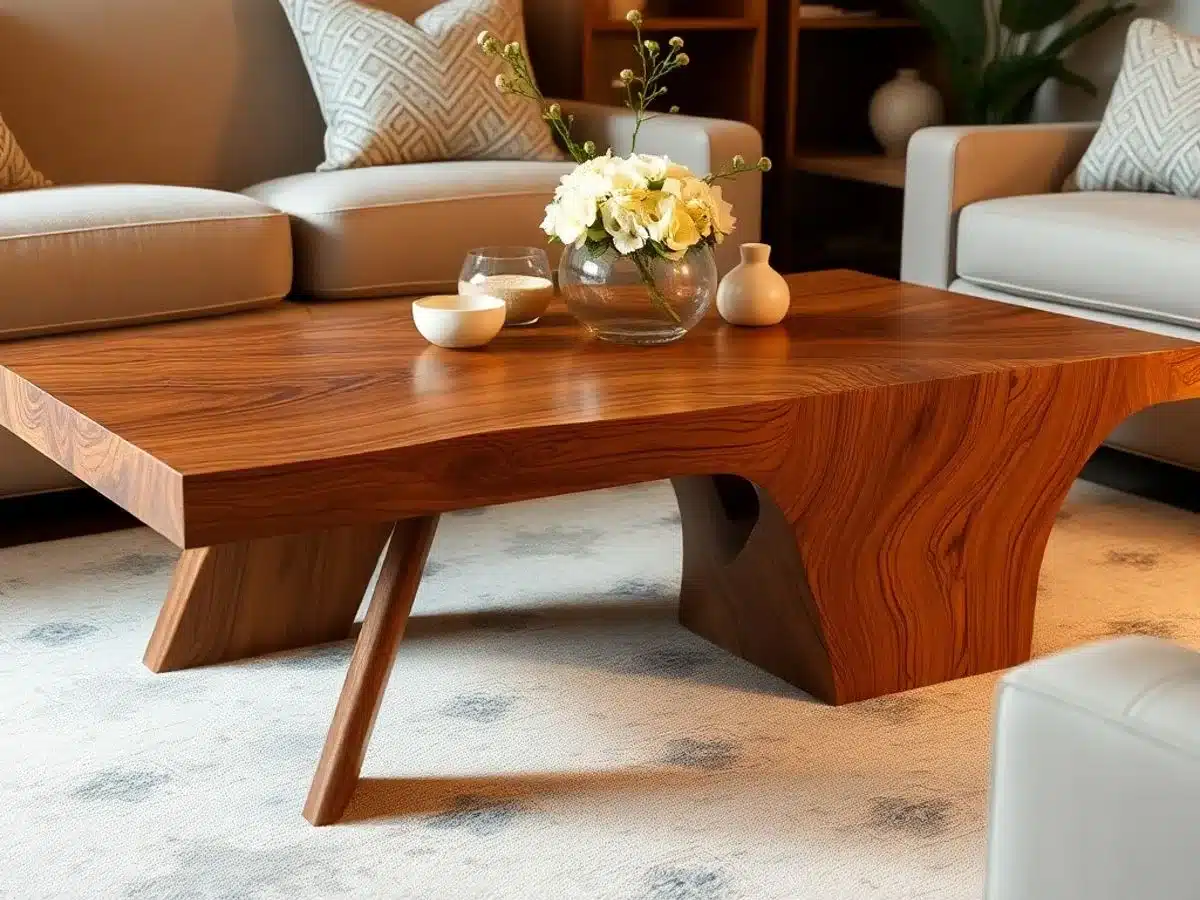
Building a coffee table is a rewarding project that can transform your living room into a cozy and stylish space. This is a perfect weekend project for those with moderate woodworking skills. Whether you’re going for a rustic look or a sleek modern design, a coffee table can be customized to suit your taste and home decor.
Materials Needed
- Wood of your choice (oak, walnut, or pine are popular options)
- Wood screws
- Wood glue
- Sandpaper
- Finish (varnish or paint)
Tools Required
- Saw (circular or hand saw)
- Drill
- Screwdriver
- Measuring tape
- Sander
Steps to Build a Coffee Table
- Design Your Table: Decide on the size and style of your table. Sketch it out with dimensions.
- Cut the Wood: Use a saw to cut your wood pieces to size. You’ll need a top, legs, and support pieces.
- Assemble the Frame: Attach the legs to the top using wood screws and glue. Ensure everything is level.
- Sand the Surfaces: Smooth out all surfaces using sandpaper to prepare for finishing.
- Apply Finish: Use your chosen finish to protect the wood and enhance its appearance.
A coffee table doesn’t just serve as a functional piece of furniture; it’s a canvas for your creativity. You can incorporate unique features like a turned leg design or a storage shelf underneath.
For a detailed guide on creating a DIY Turned Leg Coffee Table using minimal materials and tools, check out this comprehensive plan. It’s a great resource for anyone looking to add a personal touch to their home with a handcrafted piece.
7. Wall Cabinet
Building a wall cabinet is a fantastic way to add storage and style to any room. This project is perfect for those who want to keep their spaces organized while showcasing their woodworking skills. You’ll be surprised at how much you can accomplish in just a weekend! Here’s a simple guide to get you started:
Materials Needed
- Plywood or solid wood
- Wood glue
- Screws
- Hinges
- Sandpaper
- Finish of your choice
Tools Required
- Table saw
- Drill
- Screwdriver
- Measuring tape
- Square
- Sander
Steps to Build a Wall Cabinet
- Design Your Cabinet: Start by sketching out your design. Consider the size and the space where you plan to hang it. A typical cabinet might be around 42 inches wide, but feel free to adjust based on your needs.
- Cut the Pieces: Use a table saw to cut your wood to the desired dimensions. You’ll need pieces for the back, sides, top, bottom, and shelves.
- Assemble the Frame: Begin by attaching the sides to the top and bottom pieces using wood glue and screws. Ensure everything is square.
- Add the Back Panel: Secure the back panel to the frame with screws. This adds stability to your cabinet.
- Install the Shelves: Depending on your design, you can either fix the shelves in place or make them adjustable.
- Attach the Doors: Use hinges to attach the doors to the cabinet. Make sure they align properly and open smoothly.
- Sand and Finish: Sand all surfaces until smooth and apply your chosen finish. This could be paint, stain, or a clear varnish.
Building a wall cabinet not only helps organize your space but also gives you a chance to experiment with different woodworking techniques. It’s a rewarding project that results in a practical and beautiful piece of furniture.
For those looking to enhance your woodworking skills, consider incorporating unique features like a bowfront with a subtle curve. Using a mix of cherry, Douglas fir, and cocobolo wood can add a touch of elegance, and vacuum press veneering techniques can elevate the overall look of your cabinet. Happy building!
8. Infinity Table
Building an infinity table is like creating a little piece of magic for your living room. This project is all about the illusion of endless light. Imagine a coffee table that, when lit, seems to stretch into infinity. It’s a real conversation starter and surprisingly budget-friendly.
Materials Needed
- Two-way mirror
- Standard mirror
- LED strip lights
- Plywood
- Wood stain or paint
Steps to Create Your Infinity Table
- Cut the Wood: Start by cutting your plywood into the desired shape for your table. An octagonal shape works great for this project.
- Assemble the Frame: Use the cut pieces to build the frame of your table. Make sure all joints are secure.
- Install the Mirrors: Place the standard mirror at the bottom and the two-way mirror on top.
- Add the Lights: Attach the LED strip lights around the inside of the frame. This will create the infinity effect when turned on.
- Finish Up: Sand any rough edges and apply your choice of wood stain or paint for a polished look.
This DIY project not only transforms your space but also offers a unique lighting feature without the hassle of cords. It’s battery-operated, so you can place it anywhere.
If you’re ready to create a custom infinity coffee table, this project combines simple construction with a dazzling effect. It’s perfect for those who love to mix creativity with a bit of woodworking.
9. Serving Tray
A serving tray is a versatile addition to any home, whether you’re hosting a party or just enjoying a quiet meal. Creating a serving tray is an ideal project for beginners because it combines simplicity with functionality. Here’s a step-by-step guide to crafting your own tray this weekend:
Materials Needed:
- A wooden board (your choice of wood)
- Sandpaper
- Wood glue
- Handles (metal or wooden)
- Wood finish (oil or varnish)
Steps to Create:
- Select Your Wood: Choose a piece of wood that suits your style. Hardwood like oak or walnut can add a touch of elegance, while pine offers a rustic charm.
- Cut to Size: Measure and cut the wood to your desired tray size. A standard serving tray might be around 12×18 inches.
- Sand the Edges: Use sandpaper to smooth out any rough edges, ensuring a sleek finish.
- Attach the Handles: Decide on the placement of your handles and drill holes for them. Secure the handles with screws.
- Apply Finish: Coat your tray with a wood finish to protect it and enhance its natural beauty.
Crafting a serving tray not only adds a personal touch to your home but also makes for a thoughtful gift. It’s a simple project that yields a practical and stylish result.
For more beginner-friendly woodworking crafts, consider exploring other simple projects that can be completed in a weekend. These projects offer a great way to develop your skills while creating beautiful and functional items for your home.
10. Wood Log Faux Fireplace Insert
Want to add some charm to that unused fireplace? Building a wood log faux fireplace insert is a fantastic weekend project that brings warmth and coziness to your living space without the mess of real logs.
Materials Needed
- Plywood board
- Log slices
- Black paint
- Wood glue
- Saw
Steps to Create
- Cut the Plywood: Measure your fireplace opening and cut a piece of plywood to fit snugly.
- Paint the Plywood: Apply a coat of black paint to the plywood to mimic the depth of a real fireplace.
- Prepare the Logs: Slice logs into thin rounds, aiming for a variety of sizes for a natural look.
- Arrange the Slices: Lay out the log slices on the painted plywood to find a pleasing arrangement.
- Glue the Slices: Secure each slice with wood glue, pressing firmly to ensure they stick.
- Let It Dry: Allow the glue to dry completely before moving the insert.
This project is not only easy but also budget-friendly, perfect for those looking to spruce up their space with a touch of rustic elegance.
Consider using these wood slices as a unique wall covering to complement your faux fireplace insert. They add a realistic ‘faux’ log stack effect, enhancing the cozy vibe of your room.
Wrapping Up Your Weekend Woodworking Adventure
So there you have it, ten awesome woodworking projects you can tackle this weekend. Whether you’re a seasoned pro or just starting out, there’s something here for everyone. From simple birdhouses to more intricate tables, these projects not only add a personal touch to your space but also give you a sense of accomplishment. Plus, it’s a great way to spend your weekend doing something creative and hands-on. So grab your tools, pick a project, and get started. Who knows, you might just discover a new favorite hobby!
Frequently Asked Questions
What tools do I need to start woodworking?
To start woodworking, you’ll need basic tools like a saw, hammer, measuring tape, drill, and sandpaper. As you progress, you might add more specialized tools.
How much time do these projects take?
Most of these projects can be completed over a weekend. Some may take just a few hours, while others might need a full day or two.
Is woodworking safe for kids?
Woodworking can be safe for kids if supervised by an adult. It’s important to teach them how to use tools safely and always wear protective gear.
What type of wood is best for beginners?
Softwoods like pine are great for beginners because they are easy to work with and less expensive. As you get better, you can try hardwoods like oak or maple.
Can I do woodworking projects indoors?
Yes, you can do woodworking indoors, but make sure the area is well-ventilated, and you have a way to manage dust. A garage or basement is often a good choice.
Do I need special skills to start woodworking?
You don’t need special skills to start woodworking. Many projects are designed for beginners, and you can learn as you go. Practice and patience are key.